The Image element

Inserts an imported TIF/BMP/JPG image in the design.
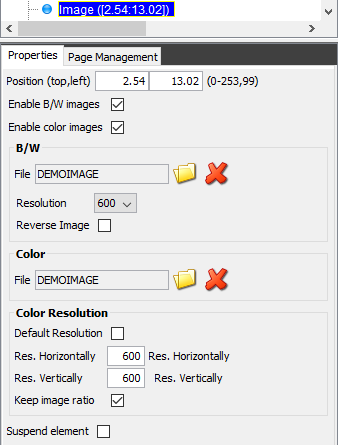
This image must have previously have been imported in InterForm400. You can select either a black/white image, a color image or both:

You can chose to include the image on either the black/white, the color or both outputs, by selecting the ‘Enable x images’. You get the best quality of output if you select separate images for B/W and color like above. The image is inserted by clicking the folder icon, which lists the images installed in InterForm400.
If you click the red X you will delete the reference to the image - NOT the installed image.
You can install images in two ways:
1. Via the green screen.
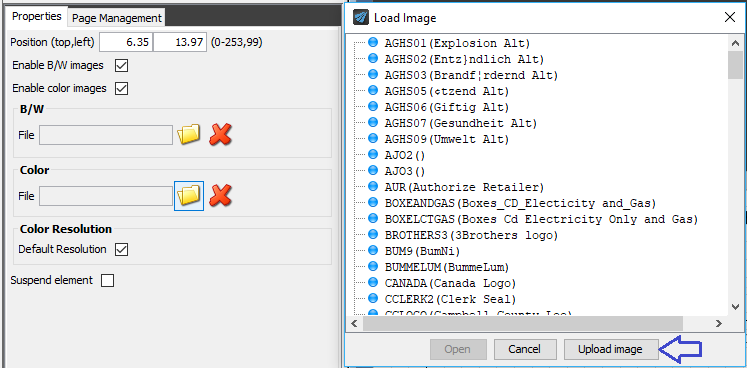
2. You can also install color images directly from the graphical designer, by clicking the yellow folder next to it, and then click ‘Upload image’:

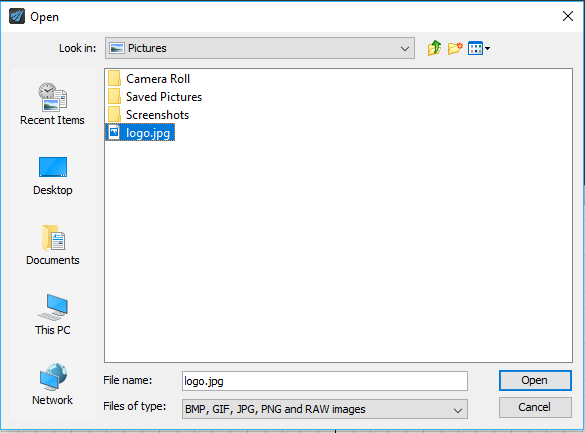
After you click Upload image you are presented with a file explorer, from where you can select the image (supported images are: bmp, gif, jpg, png, raw and tiff):

This video shows how to install an image via the designer:
Resolution/resizing
You can resize the image by changing the resolution. The higher the resolution the smaller the image. The resolution for the B/W image can only be changed in fixed steps, while you can set the color resolution to any value. If you remove the ‘tick’ for the ‘Default resolution’ you can drag in the corners of the color image to resize it.
The Reverse image option for the B/W image switches the colors black and white. You can check the color and B/W output by clicking the Toggle color icon in the top:

Image inserted in Label overlays cannot be scaled, but are simply printed in the resolution of the printer. So to find out the printed size of an image you need to divide the size of the image in dots/pixels with the resolution of the printer.
An image that is e.g. 450 dots by 300 dots will on a 200 DPI printer print as 2.25 inches by 1.50 inches. The same image used on a 300 DPI printer will print an image in size 1½ inches by 1 inches.
Label images can be rotated in the image element.