Before we can start signing with the signpad, we need to tell InterFormNG where the signature is to be inserted, and how large an area that should allocated for the signature. That is done by inserting a box in the template, that you use for the merge:
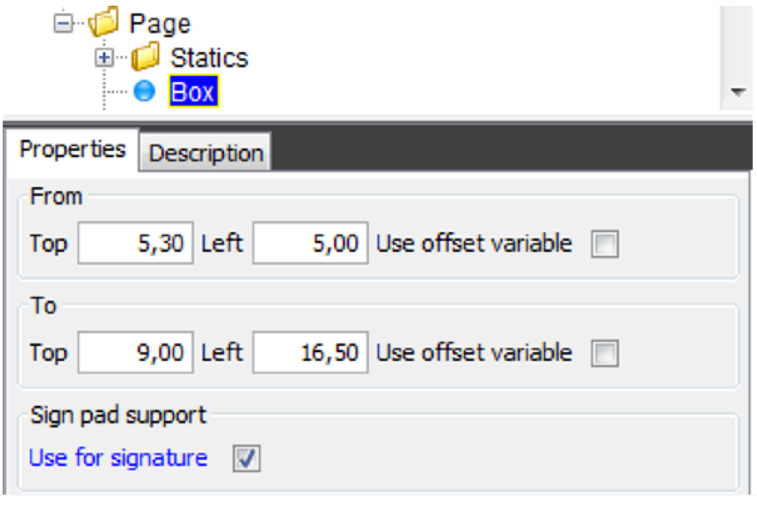
Notice the ‘Use for signature’ option in the bottom. If you have defined multiple boxes for signing, then only the last box in the output will be used.
Workflow setup
When you have configured both InterFormNG and the signpad client (and started both the InterFormNG processor service and the signpad client), then you start signing PDF files.
You configure that via the workflow:

Under ‘Actions’ you select ‘signpad’. Under meta data in the same rule you define the specifications for the output:
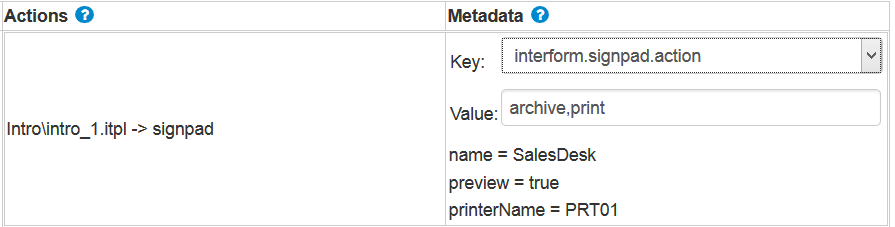
These meta data keys are relevant:
interform.signpad.action
This is the action or actions to do for the signed PDF file. The possible values are the same as for the mediaType meta data key i.e. print, archive, email (case sensitive). You can select multiple delimited with a comma. If you select print, the selected printer must be a postscript printer.
interform.signpad.name
The name of the signpad to use.
interform.signpad.preview
If you want to display the full PDF file before signing, then you can set this meta data key to true. If you set it to false, then you are directly asked to sign. (False is default).
The output printer and printer configuration must be set in the rule triggering the signpad as mentioned above. It cannot be set in the output configuration, that can be used for all other print outputs.