Printer configuration
Under the ‘Printer’ tab you can change settings for the printers and activate/disable installed printers. Only activated printers can be used in InterFormNG.
Please notice, that there are specifics and limitations to the printer support on IBM i (iSeries):
•The print data streams: Driver print and Postscript are not supported on this platform.
•The printers are specified as the output queue and output queue library on which the output print is placed.
The main settings are these:

Active
This should be selected to enable printing.
Save print
If selected the resulting printer data stream will be saved as a file (.prn) in the path stated as the Save print dir parameter.
Add printer
When you add a new printer, InterFormNG will assume the printer to be added is a printer, that is also defined on the operating system (System / OS), but you can create a new printer of each of the supported connection types (selected by clicking one of the blue headers):
System / OS |
Printer defined on the operating system |
Print directly to printer via port number 9100 |
|
Print via a Print server (Line Print Deamon) |
|
Print via Internet Printing Protocol |
|
Configure a printer for ZPL/DP preview from the designer |
Each of the printer types are described in detail below.
(Please remember not to define more printers than your license key will allow. Processing might stop if you define too many printers).
As a part of the printer definition you also need to state the print protocol/data stream, that is sent to the printer. The supported print data stream are also covered in the sections below.
When you add a printer, you state a printer name, that can be referred to later in the workflow and the template during.
Document types for a printer
In the bottom of the printer configuration, you can also refer to one or more document types. You can add a new document type for a printer, by typing the document type and click Add document type. That can be used as a way to select a printer indirectly in the workflow and the template, where you select a value for the documentType meta data key instead of selecting a printer.
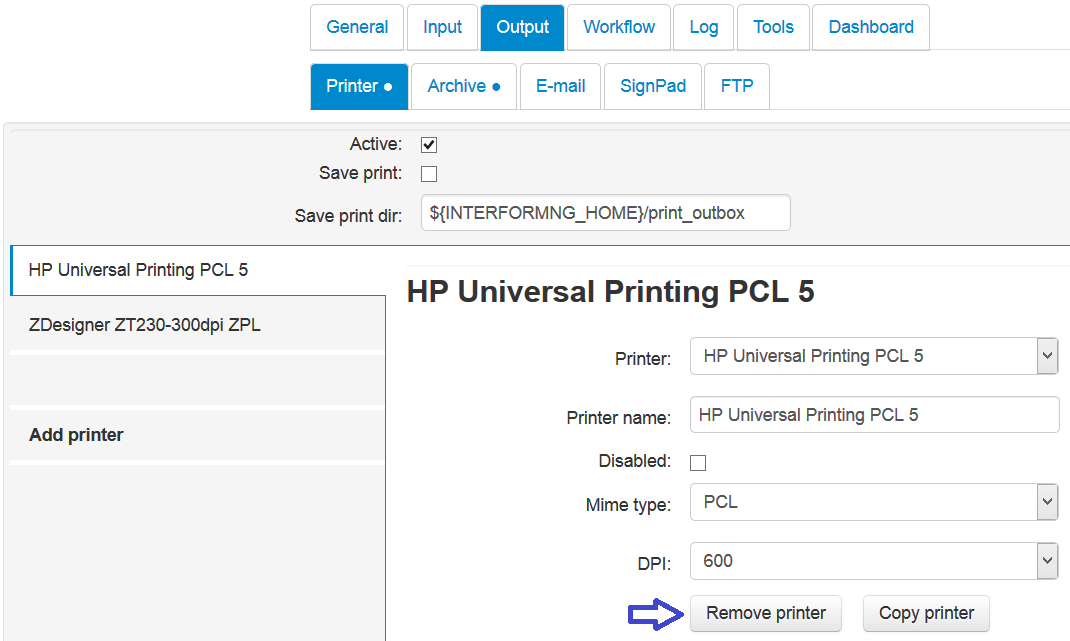
Remove/delete a printer
To delete a printer from the printer list you need to click the Remove printer icon below:
The printer can be selected directly in the used template by setting meta data key, ‘interform.destination.printer.printerName’ (selecting via the name), via ‘interform.destination.printer.printerId ‘, or by setting the meta data key ‘documentType’ in the template, and linking the documentType with a printer here.
For the document type you can set a single one with the value of ‘*’, if you want only to use one specific printer and then link this value with the printer in question. Alternatively you can add various document types e.g. ‘invoice’ and ‘label’ and select that as the meta data ‘documentType’ in the template.