This is a text style.

Insert this style to tell InterFormNG, what font (and font attributes) you want to use for the subsequent text elements. The style element has these properties:
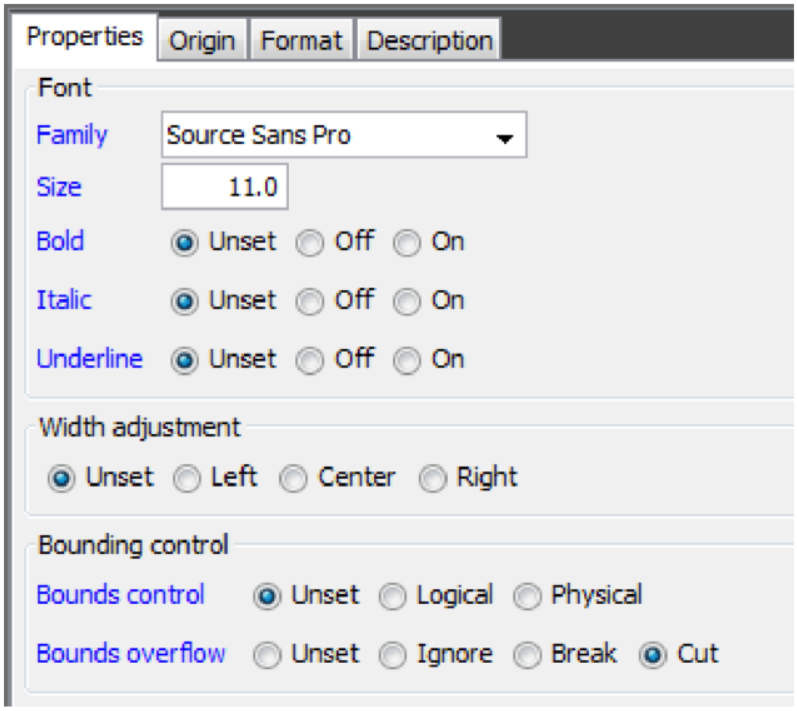
Family
The type of font to use. The possible fonts are limited to the fonts, that you have imported as described on page . You can also specify ‘Unset’ for this field, if you want to keep a font family previously set.
Size
The size of the font measured by the height in dots.
Bold/Italic/Underline
Chose if the font should be Bold, italic or underlined.
Width adjustment
If you have set the text element to a fixed width, then you can use this to horizontally position the text inside the reserved area.
Left
Positions the text on the left. (Default)
Center
Centers the text relative to the area.
Right
Place the text to the right inside the area.
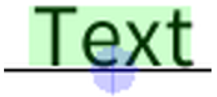
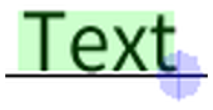
Example: This is a text with a fixed width of ½ inch, which is using width adjustment=Right:
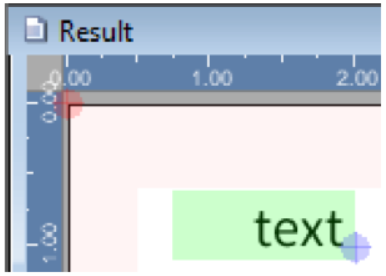
The green box shows the area for the text element. The blue dot shows, where the text is positioned (1 cm from the top and 2 cm from the left). The horizontal adjustment mentioned below will set the origin (alignment) of the complete area.
Bounding control
Bounds control
The bounds control sets how the boundaries (or actually the preceeding/trailing spaces) of the text should be considered. The values are:
Logical (Default):
The trailing/leading spaces are a part of the text and will be used when aligning.
Physical
Any trailing blanks are ignored, when you set the text to be left or right aligned. You can think of this parameter as ‘Ignore trailing blanks’, when ‘Physical’ is selected.
Bounds overflow
On the text element you can (under advanced settings) set a maximum width of the text element. If you do that, then this setting is used.
Break:If you set it to ‘break’, then a line break (like the NewLine element) will be added, when the maximum width of the text is reached. You should only use the ‘break’ option within a flow area to make sure, that the line break will do a line feed.
Cut: Set it to ‘cut’ to simply cut the text element at the specified width.
Origin tab
On the Origin tab of the text style you see this:
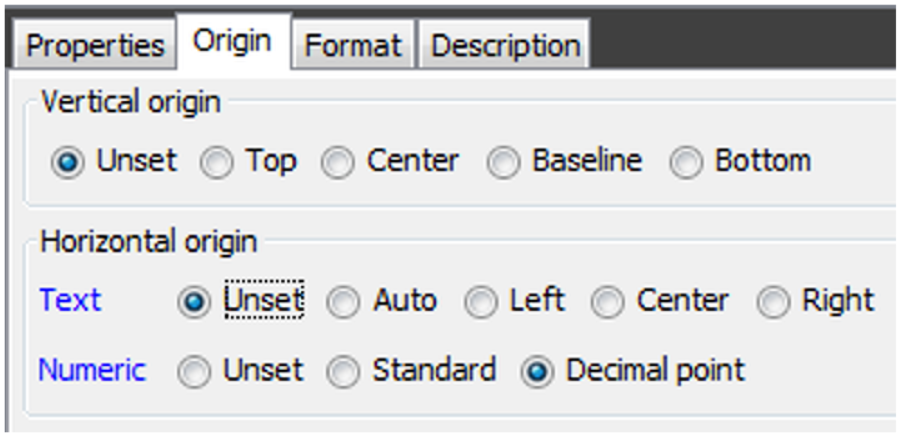
Vertical origin
What reference point to use when positioning the text.
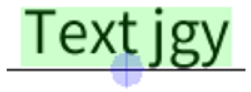
Top
Top means, that the top of the text will be placed on the vertical position stated and that the text will ‘grow’ downwards, if you later increase the size:
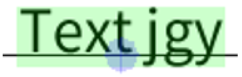
Center
The middle of the text is used.
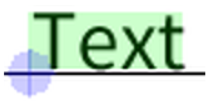
Bottom
The very bottom of the text is the reference/origin. You should avoid using ‘Bottom’ unless necessary, as this is not supported for rotation 90,180 and 270 for ZPL output.
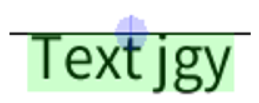
Baseline
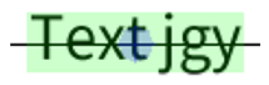
The baseline of the text is used as reference - as shown below:
Horizontal origin
How to place the text relative to the position stated. Here you can e.g. make the text right adjusted or centered.
Auto
Works like left origin.
Left (Default)
Use the left of the text as origin/reference.
Center
Centers the text around the origin.
Right
Use the right of the text as the origin.
Numeric origin
The numeric origin sets the horizontal origin/alignment texts, that have been set to be numeric.
The possible values are:
Standard (Default)
Use whatever is setup for normal texts, which are as default using the left edge as the origin.
Numeric
Use the decimal point, which must be a dot (.) for the texts, that has been defined as numeric.
The Format tab contains possible ways to represent dates, times and numbers. In order to format a date, time or number, the data must fit the xml requirements for a valid date, time or number. You can chose to specify a mask for the output.
Numeric format
To recognize a number as numeric the format of the data must be -###.## i.e. no thousand separator and a dot as decimal point and a preceding minus for negative numbers. However if you want a different format in your output you can use the table below for a reference of how you can alter various input formats into a new output format:
Input format |
|||||
Output format |
1234.5 (numeric) |
1,234.5 |
1.234,5 |
1234,5 |
|
1234.5 |
Mask: ####.# Locale: en-US |
translate("{@in}",",","") |
translate("{@in}",",.",".") |
translate("{@in}",",",".") |
|
1,234.5 |
Mask: #,###.# Locale: en-US |
No action needed |
translate("{@in}",",.",".,") |
translate("{@in}",",",".") (*) |
|
1.234,5 |
Mask: #,###.# Locale: de-DE |
translate("{@in}",",.",".,") |
No action needed |
translate("{@in}",",",".") (*) |
|
1234,5 |
Mask: ####.# Locale: de-DE |
translate("{@in}",".,",",") |
translate("{@in}",".","") |
No action needed |
|
1234.50 |
Mask: ####.#0 Locale: en-US |
translate("{@in}",",","") Mask: ####.#0, en-US |
translate("{@in}",",.",".") (*) |
translate("{@in}",",",".") (*) |
|
Numeric calculations |
No action needed |
translate("{@in}",",","") |
translate("{@in}",",.",".") |
translate("{@in}",",",".") |
|
These tricks can be used for setting the output format:
1.In the formulas above {@in} indicates a variable, in that contains the input data.
2.The function, translate is able to translate one character into another. This will e.g. replace any comma with a dot in the variable, in: translate(“{@in}”, ”,” , ”.”)
3.The locale style decides what characters the decimal point and the thousand separator should be (if used). Above en-US is used for a comma as thousand separator and a dot as decimal point. The de-DE selects the opposite. You may use your own locale - if it fits the output you want.
4.The trailing 0 in the format ###.#0 selects a 2 decimal format. This is e.g. often used for amounts.
5.Negative values must be written with a preceding minus to be recognized correctly. If you want a different output format you write the format for negative values after a semicolon like e.g.: ###.#;###.#- (if you want a trailing minus for negative values).
6.For all cells marked with a (*) above you need to use the same numeric formatting as in the leftmost column.
7.To use the numeric formatting the text element must also be set as numeric.
8.For most of the formulas above the result is not ‘real’ numeric i.e. it cannot use the numeric formatting. If you want to use numeric formatting use the formulas in the bottom row (numeric calculations) and use the numeric mask in the leftmost column.
Xpath Round off
Please note this regarding numeric presentation: Xpath use as default round half to even i.e. when you e.g. use a numeric mask to output a number with a limited number of decimals. This means e.g. that if you print out the number 1.125 with 2 decimals with the mask ##.00, then the result is 1.12, while 1.135 will be rounded of to 1.14. If you want to use ‘normal’ round half up, then you can the round of with the XPath round() function like to:
round(1.125*100) div 100 = 1.13
round(1.135*100) div 100 = 1.14
You can read more about the various round possibilities here:
https://en.wikipedia.org/wiki/Rounding#Round_half_to_even
A date must be written in the format yyyy-MM-dd (Year-Month-Day) with preceding zeroes i.e. 2018-08-31 is valid while 2018-8-31 is not valid. The input date format found in the XML file might however be different from this, and the requested output format might of course also be different. Refer e.g. to this link for explanation of how to type a date mask:
http://docs.oracle.com/javase/7/docs/api/java/text/SimpleDateFormat.html
The table below should also help you to convert dates. You can convert the date format in three ways:
1.Use the concat and substring xpath functions to build up the requested format - this is not always simple.
2.Convert the input format into the correct format (yyyy-MM-dd), and convert the date into the right output format via the formatting in the text style.
3.Convert the date from any format to another via the built-in InterFormNG Xpath function, ng:dateFormat.