For the general use of the designer the icons are relevant:
Searching in the designer
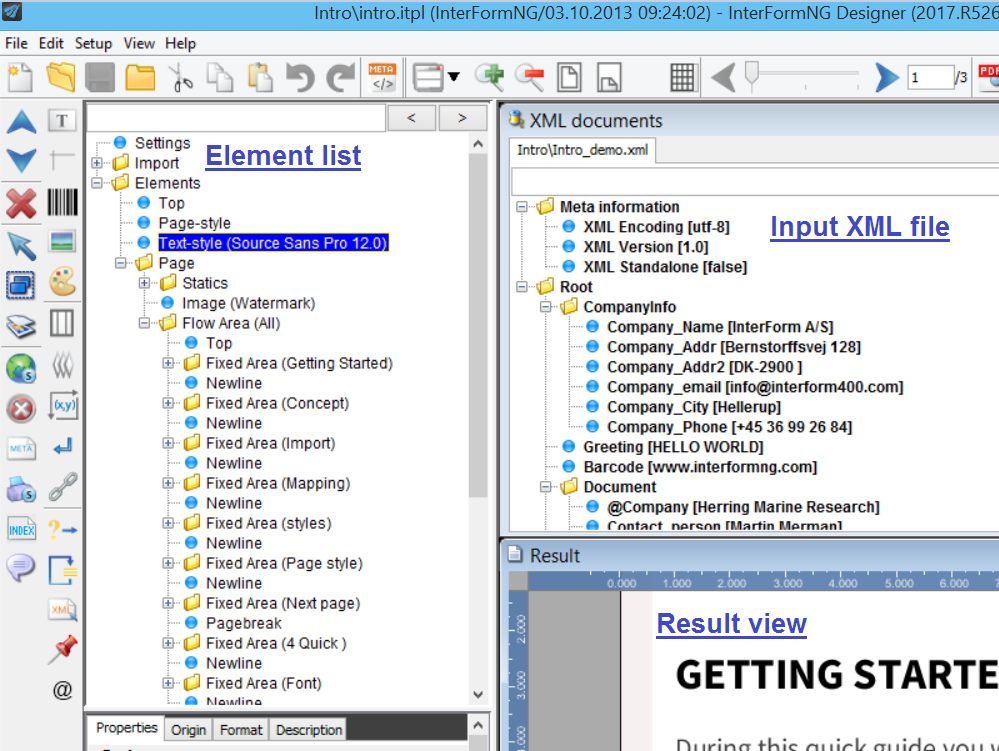
Above the element list and the Input file there is a search field. In these you can type in a search text (non-case-sensitive search). After you have entered the search text, you will immediately see the number of hits. With the arrow key to the right of the fields you can down or up in the list of hits.
The search in the element list returns the hits for text elements, font names and colors.
On the very left of the screen you have these icons:
The first two can change the position of an element in the element list. The sequence of the elements can be very important as physical elements are affected by the style(s), that was previously executed.
Click this icon to move the selected element upwards in the element list:

Click this icon to move the selected element downwards in the element list:

To delete elements, you first select them (select multiple elements by holding down <CTRL>, or SHIFT to mark the first and last in a list) and then click the icon below - or use the <Delete> key on your keyboard:

On the top of the designer screen these icons can be found:
Press this icon to create a new template:

This icon opens an existing template for editing:
The template must be placed in the right resource directory for template (or in a sub folder inside).

This saves the current template:
It is a good idea to create sub folders to store your resources e.g. template (.itpl) files in. You can e.g. create a folder for production and another for test.

This closes the opened template:

You can also use the normal clipboard option cut/copy/paste to change the elements as well as ‘undo’ and ‘redo’ the last changes.
All elements are placed between ‘Top’ and ‘Bottom’ in the element list. Activate the position between ‘Top’ and ‘Bottom’, where you want to insert the element, before you insert it. The new element will be placed after this position.