Below a simple setup is done to illustrate how the REST webservice basic can be setup. The example below can be run without any programming at all.
First a simple template to prove, that the workflow has worked and returned a PDF:
The template is called MultiplierTemplate.itpl and it has only these two text elements:

The first one is a fixed text and the second is an xpath expression to display two numeric input fields and display the result, when multiplying the two fields:
concat(/Root/a, ' times ',/Root/b,' is: ',/Root/a*/Root/b)
The template is designed for this XML file:
<?xml version="1.0" encoding="UTF-8"?> <Root> <a>123</a> <b>5</b> </Root> |
Now we need to setp the workflow to activate this template:
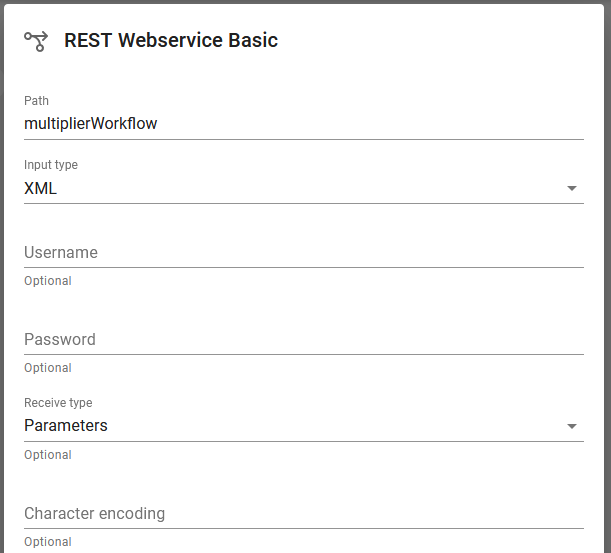
A new workflow is added (Input type is REST Webservice Basic) with the path, multiplierWorkflow, input type XML and receive type, Parameters:

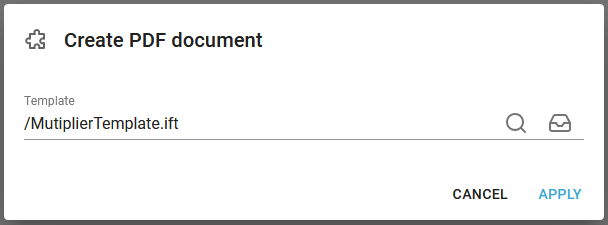
Inside the workflow we add a component to generate a PDF (without storing it anywhere as it is to be returned to the web request):

To trigger the workflow we need to run an html file in a browser. This html file will do the trick:
<body> <form action="https://localhost:8086/basicws/multiplierWorkflow" method="post"> <textarea name="xml"></textarea> <input type="submit" value="Contact" /> </form> </body> |
In the html file I specify https as this installation is setup to use https for signing on to InterFormNG2.
The port number 8086 is the default port for signing on, and that is also used in this example.
The path of the workflow is multiplierWorkflow, so that is used as a part of the action.
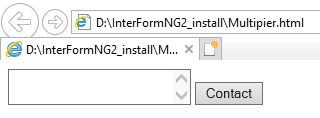
When the html is run, then this is shown, so that you can input an xml file:

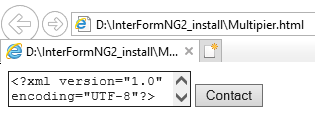
Now you can paste the contents of the XML file as below and click the Contact icon on the right:

Now you see the resulting PDF:
