The spooled file extractor selects data from all the pages of the spooled file. The output XML file is a file with a node for each spooled file page, so it is very each to see from which spooled file page the XML data was extracted.
First you need of course to create a new spooled file extractor (also covered in the linked section).
Now you see this:
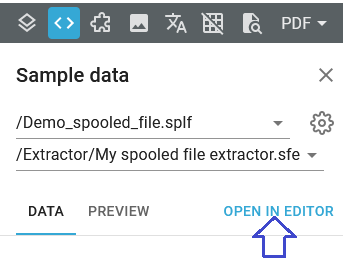
Now you need to click the Open in editor text (marked with the blue arrow) to start mapping data:
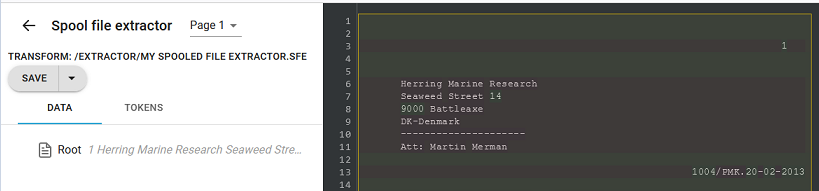
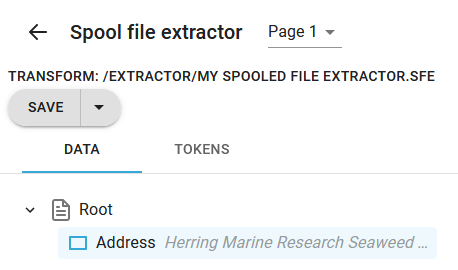
On the left you can in the Data tab see the XML data, that is currently extracted from the spooled file. In a new, empty spooled file extractor all data is extracted into a Root node, but you cannot use this for anything, so now you need to select at least one area in the spooled file.
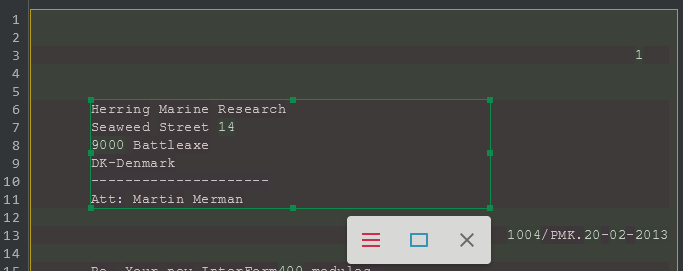
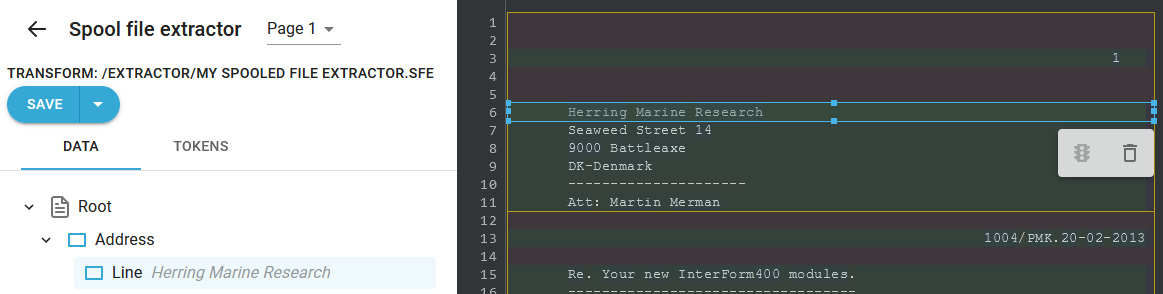
You can e.g. select the address by pressing down the left mouse button and drag around the lines and positions, that contains the address:
You can see the line and position (column) of the current cursor position in the top right corner of the designer:
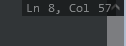
This indicates, that the cursor is currently in line 8 position 57.
You can drag in the green spots of the selected frame to change the selection of lines and positions.
When you release the left mouse button you will see this pop-up window:
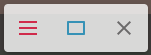
This icon will tell InterFormNG2, that you want to create a line definition:

And this selects a block definition:

This will cancel the creation of the line/block definition:

The main difference between a line and a block is, that a line element is repeated horizontally within the block, in which it is inserted (if it is taking up the full width, then it is actually repeated vertically). The block is repeated vertically.
If you create a line or a block definition, you can still convert it into the other type on the next pop up window (marked with arrows on the left):
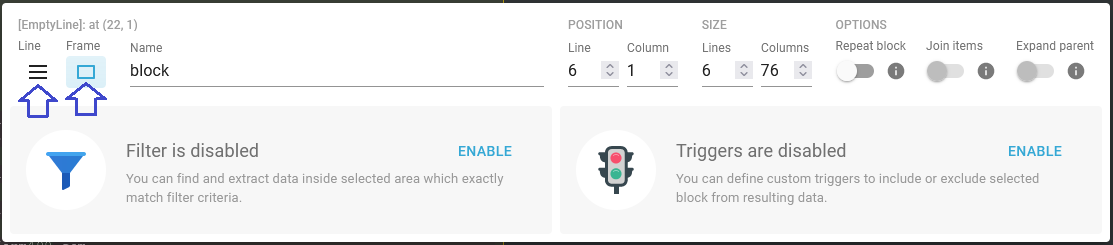
This is the edit mode, which you can always get into, by clicking an element either in the data section on the left or if you click the lines of a field in the spooled file view.
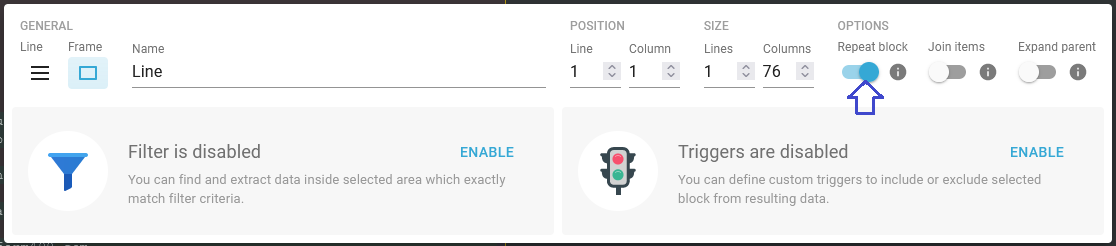
The name defines the name of the node in the XML file. The default name is block, but in this case we will change this into Address. It is also possible now to resize the selected area by either dragging the selection in the spooled file view or by typing in (or clicking the small arrows) a new position and size.
If you now want to get out of the edit mode, then you can e.g. click the Root node in the Data view on the right and of course consider to save your changes with the save option on the top left. You can also immediately create a new mapping by dragging around a new area in the spooled file view.
With the changes described above you will now see this in the data view on the left:
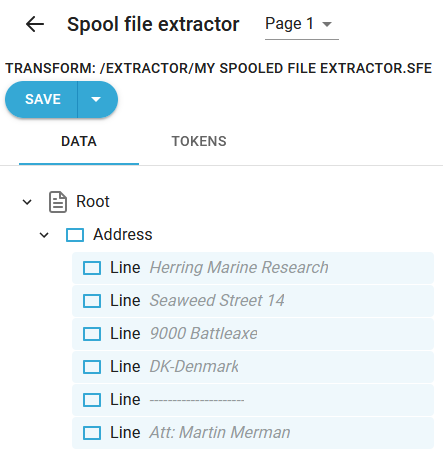
The Address node contains the 4 lines of the address and you may notice, that the Root node now only contains the Address node and nothing else. This is the way, that extractor works, when it comes to parent/child setup: If you insert a block or a line inside another line or a block, then the parent will loose all data in the root and only the children may contain spooled file data.
Simple vertical repeat
If we add another block element (which only picks up a single line) inside the Address block, then we will see this:
Now the Address block has lost the other lines and the block element inside (named Line) only contains the first line of the Address, but with the repeat option on the Line we can make it repeat for all lines inside of the Address block:
The new result is seen on in the Data section:
You can now continue to define fixed lines and blocks. You can in this way define all the elements, that has a fixed line and position in the spooled file. The data is picked on all pages of the spooled file.
Horizontal repeat
If you have many fixed columns in a spooled file line, then you can use the line selection and create a repeat, that extracts the columns into individual nodes in the output XML file.
If we e.g. insert a line element inside the Line block above with this definition:
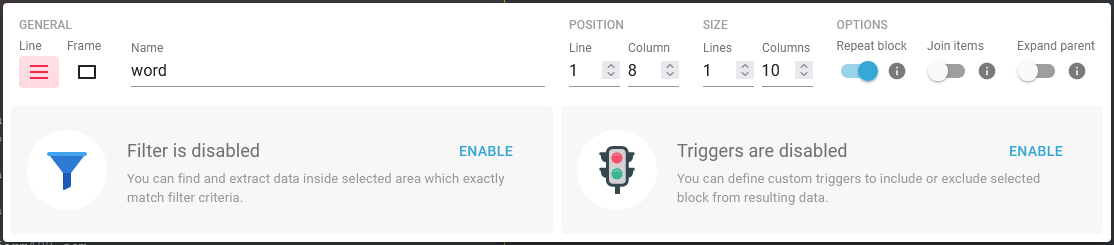
Then we are telling InterFormNG2 to start at position 8 and extract sections of 10 characters each and create a new word node for each, which results in this output:

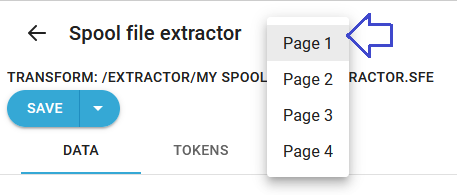
If you want to verify how it works on a specific page, then you can select the page on the top of the extractor editor: