If you want to use a user and password and/or SSL/STARTTLS for InterForm400 SMTP, then you should press F8=Gateway security on the SMTP configuration screen.
In the bottom of the SMTP configuration screen above you might see the message:
Error D/202 occured starting secure environment.
This message indicates that you have not setup any SSL or STARTTLS preferences and setup DCM (Digital Certificate Manager). That can be used for InterForm SMTP (if you have setup an email gateway) by pressing F8=Gateway security:
Configure email SMP400D
Email recovery subsystem : MAILINTER Library . . . . . . . : APF3812
Email gateway security User . . . . . . . . . . . interformng@gmail.com > Password . . . . . . . . . xxxxxxxxxxx >
Connection type . . . . . 2 0=Clear text, 1=SSL, 2=STARTTLS SSL/STARTTLS security Certificate validation . . 0 0=Check certificate issued by a trusted CA 1=Trust ONLY the retrieved certificate
Press Enter to retrieve a new SSL/STARTTLS certificate
Last retrieved gateway server certificate Email gateway . . . . . : smtp.gmail.com Common name . . . . . . : smtp.gmail.com Serial number . . . . . : 3b:74:ff:7b:00:00:00:00:68:a8 Valid to . . . . . . . . : 2013-06-07 21:43:27
F3=Exit F10=Display retrieved certificate F12=Cancel F22=Display entire field
|
Notice, that this is only used, if you have selected InterForm SMTP, and typed in an Email gateway in the previous screen.
The user and the password is used for signing on to the mail server.
For the user and password you can extend the entry field from 80 to 128, if you place the cursor on either of these entry fields and then press F22 Display entire field.
Connection type
The connection type sets the format via which InterForm400 will communicate with the mail server. If you set the connection type to be either SSL or STARTTLS, then you should also consider to set the certificate validation to decide how to validate the certificate.
Certificate validation
0=Check certificate issued by a trusted CA: Use this option to accept any certificate issued by a trusted CA in DCM. If you select this, then the emailing will still work after the current certificate runs out.
1=Trust ONLY the retrieved certificate: If you select this option, then only the current certificate is used/trusted. When it runs out you will need manually to install a new certificate.
With F10=Display retrieved certificate you can view the certificate, that is used.
Below it is described how to setup and install the necessary certificates in Digital Certificate Manager.
It is also possible to define multiple SMTP gateways.
Getting a Certificate file
When encrypting the data exchanged with the mail server, you will need to get the ‘public key’ of the mail server, so that only the mail server is able to decrypt the email using the secret ‘private key’. The public key should be freely available as a .cer file, but often you will need to contact the mail server to get it. One way is to use a free tool called ‘OpenSSL’, which you can download here:
http://slproweb.com/products/Win32OpenSSL.html
After installation you run it via DOS session. In the DOS session you change the directory to the bin directory containing the OpenSSL installation. This can e.g. be C:\OpenSSL-win64\bin:
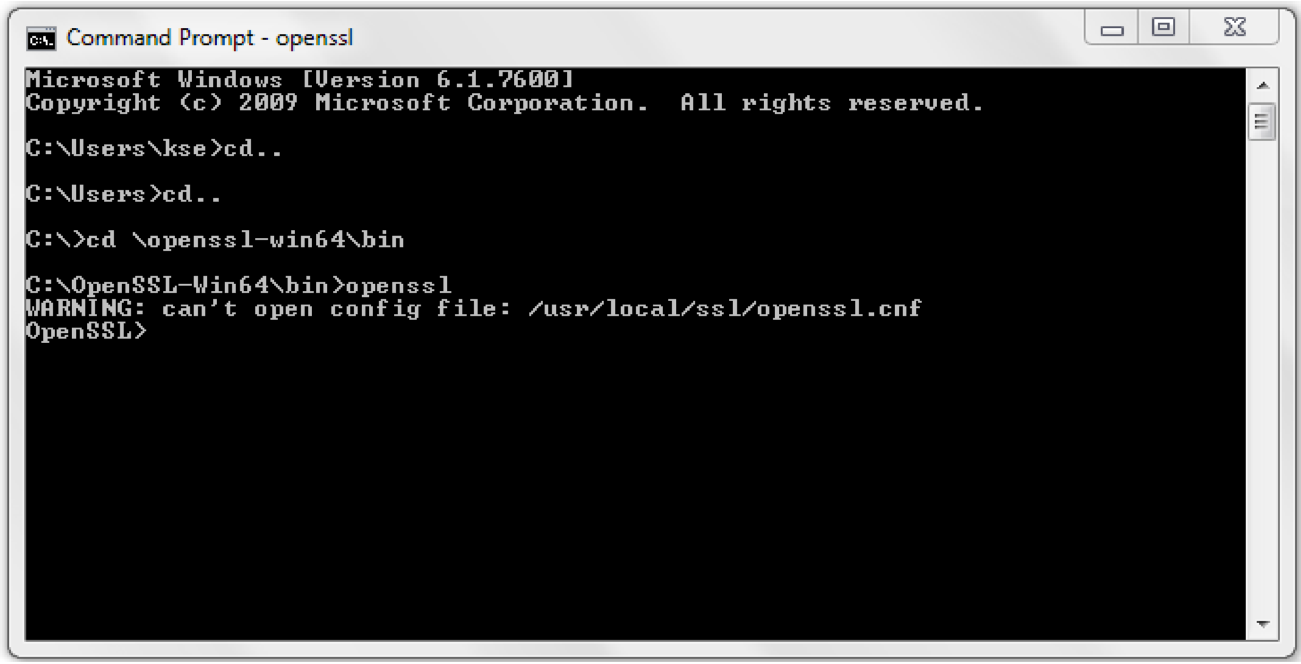
After executing ‘openssl’ you will get an OpenSSL prompt like above.
For getting the SSL certificate from e.g. Gmail you should run this command:
s_client -connect smtp.gmail.com:465
This command will get the TLS certificate:
s_client -connect smtp.gmail.com:587 -starttls smtp
In the DOS Session you will see a lot of data and the certificate starting with
-----BEGIN CERTIFICATE----- and ending with -----END CERTIFICATE-----
like below:
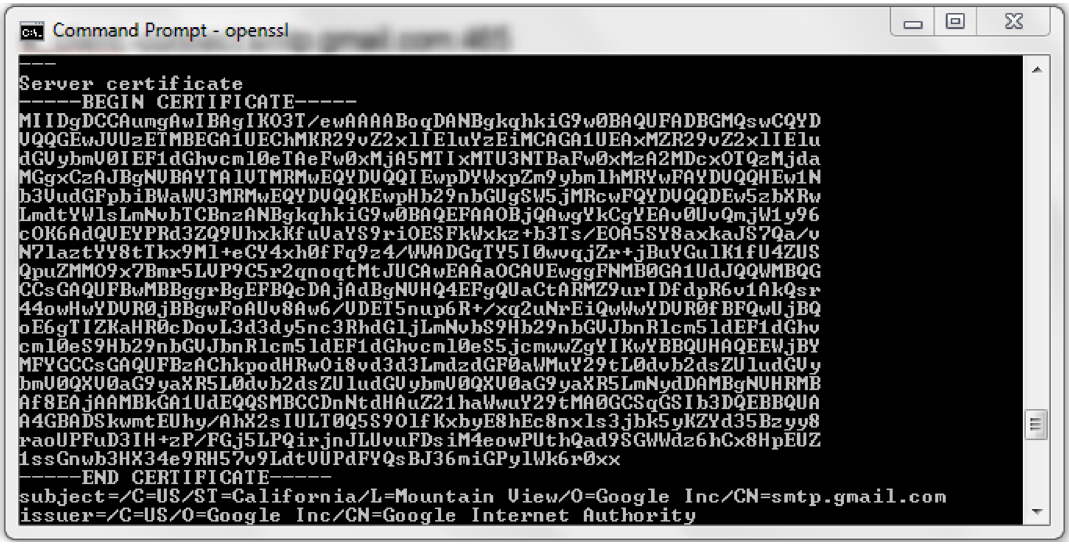
You should now copy the text starting with (and including) ---- BEGIN CERTIFICATE---- until (and including) -----END CERTIFICATE----- and paste it into Notepad. Now save the file in Notepad as a certificate file with the extension .cer. This file contains the certificate, that we would like to import below.
Importing a certificate in DCM
To import a certificate file into the Digital Certificate Manager (DCM) you first need to upload the file onto the IFS. This can e.g. be done via a mapped network drive or via FTP.
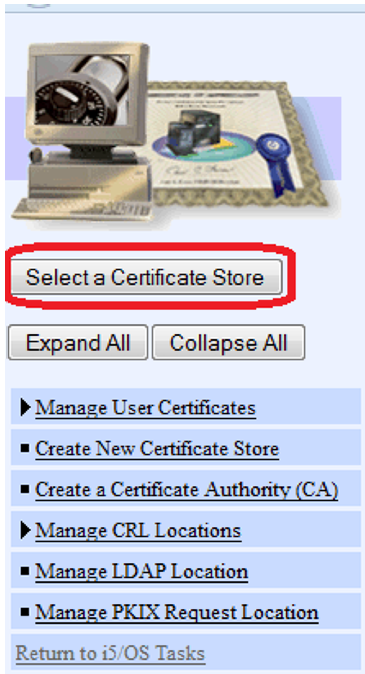
Now you should enter DCM and then click ‘Select a certificate Store’ icon on the left:
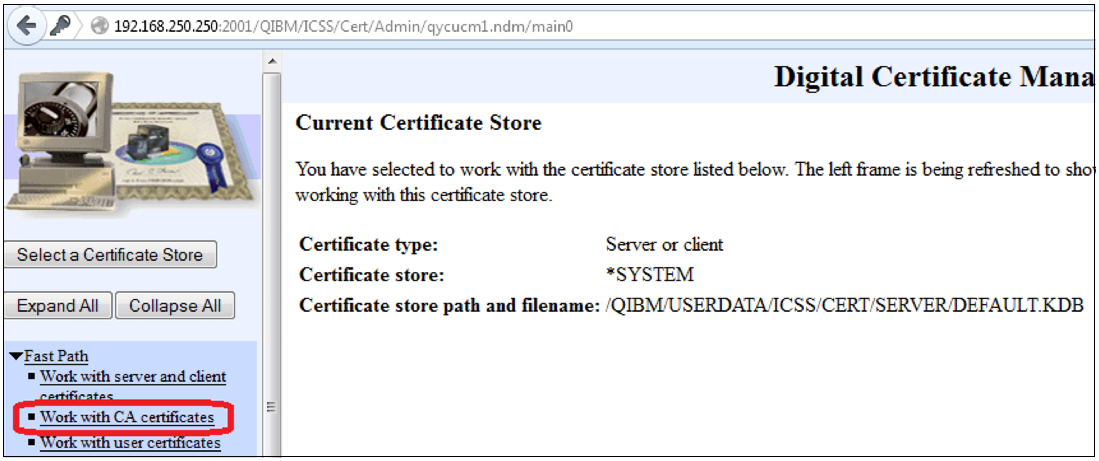
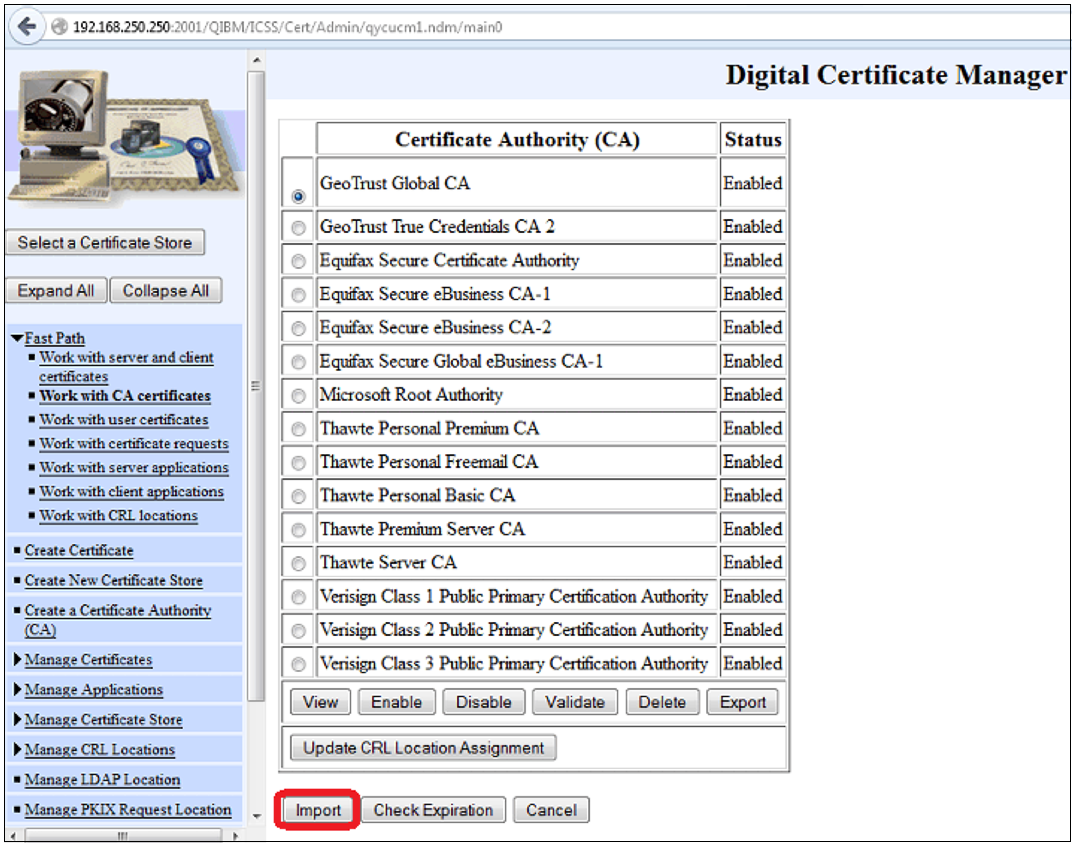
Now you select *SYSTEM and type in the password you specified when you created the certificate store. After that you can open the Fast Path and select ‘Work with CA certificates’ on the left:
Next you click ‘Import’ in the bottom to import the certificate from the IFS:
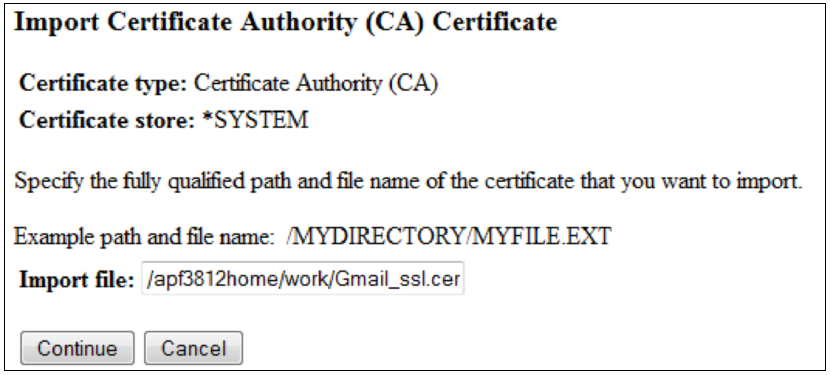
You write the path and file name here:
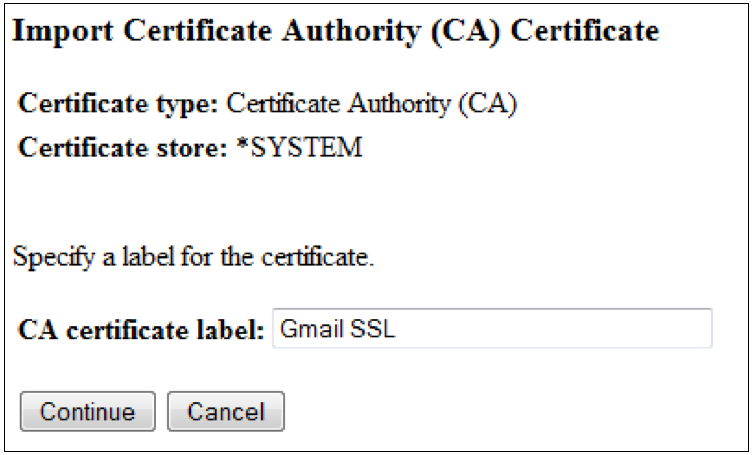
On the next screen you state a label for the installed certificate. You can chose this freely:
When clicking ‘Continue’ you might get an error message like this:

The problem here is, that the issuer of the certificate is not in the store. You need to import the issuer of the certificate first. You will need to import the whole list of the issuers starting with the first one. If you double click on the .cer file in windows you will be able to see the list of issuers:
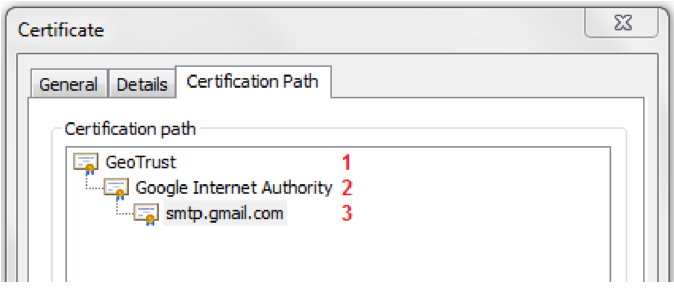
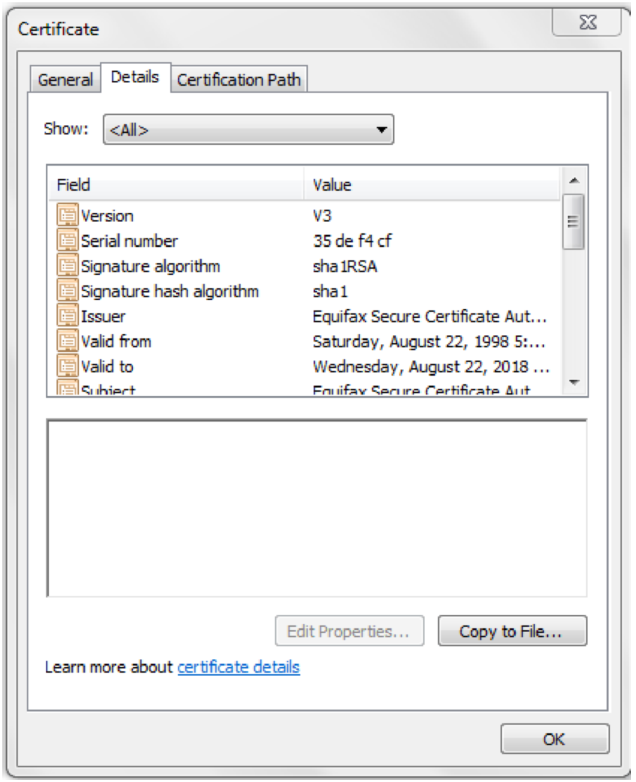
So before we can import smtp.gmail.com we first need to import GeoTrust and then Google Internet Authority. For each of the other we need to click the certificate in the path above and then click ‘View Certificate’ and the ‘Details tab’:
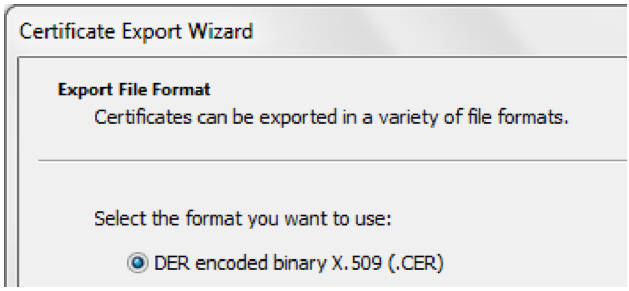
Now click ‘Copy to File...’ and select ‘DER encoded binary X.509 (.CER)’ as the output format:
Finally you state the path and file name for the certificate. You should repeat this for all certificates in the path.
Now you can import the certificates from the top. This means that we need to install the GeoTrust certificate first, but during the import you might get this error message:

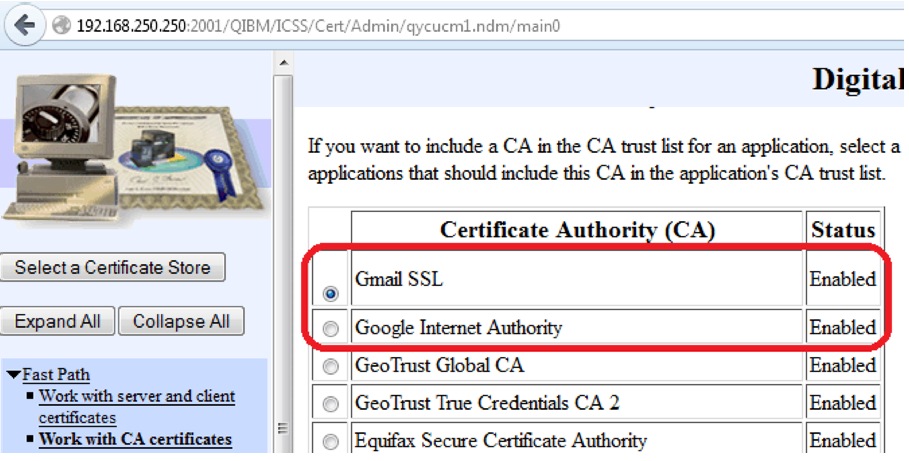
This means, that the certificate is already installed, so you can probably just ignore the error message and go on with the next certificate in the path. After importing all certificates the list now may look like this:
Now we can use the certificate for SSL emailing via Gmail.