When InterFormNG is to convert new XML files into PDF files, e-mails with an attached PDF file or a printed result, you will need to configure InterFormNG and the necessary plugins.
Below it is described how to setup InterFormNG to enable each of these outputs and other options. The setup can be done either via editing the setup files via e.g. Notepad or via the InterFormNG web interface. The setup file for the service is stored as: \InterFormNG\profiles\default\application.properties within the configuration directory. The setup files for the plugins are stored in the configuration directory under \InterFormNG\profiles\default\plugins\.
Remember to always restart the processor service to activate any changes of the configuration.
The only areas, where this is not needed are for the printer configuration* - and for the Workflow .
* For the printer configuration you only need to restart the processor service, if you change either of the fields in the top of the web interface:
Active
Save Print
Save Print dir:
If you use MS Internet Explorer as your browser, then you need to run version 9 or newer. Older versions will halt stop running after signing on as described here Troubleshooting.
Before you can access the web admin interface you need to start the web service.
Below we will use the web interface to edit the configuration:
Configuring via the web interface
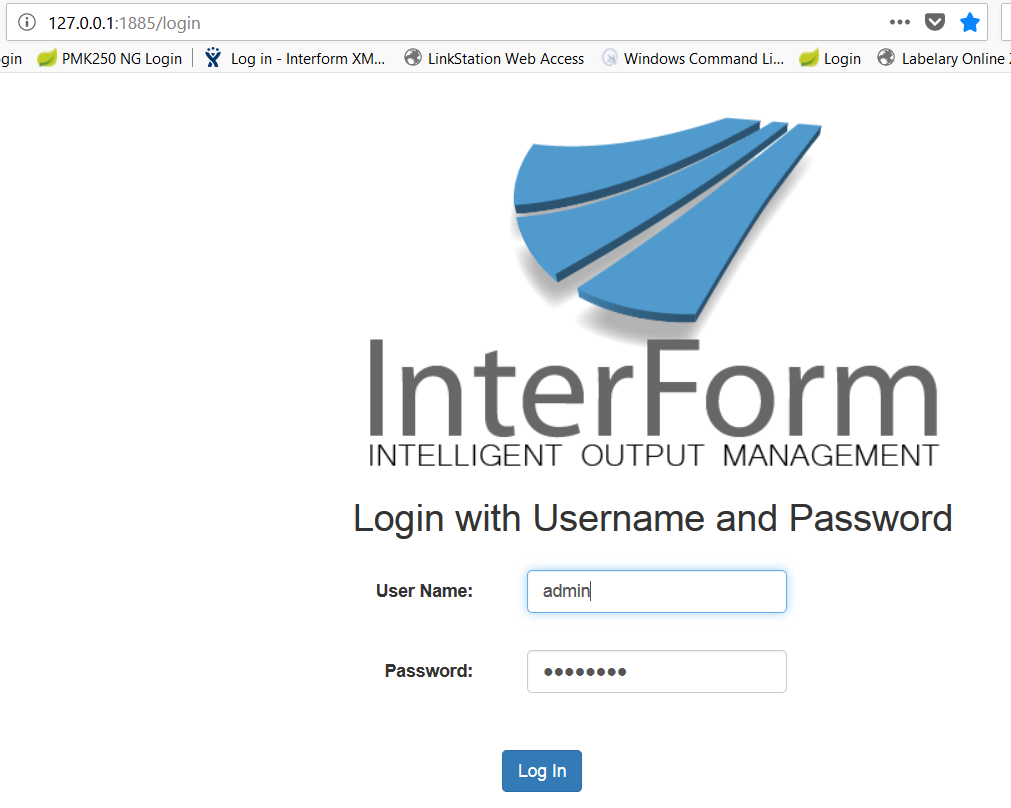
You can use the web interface to setup the plugins. You can start it in Windows by selecting ‘Start’, ‘All programs’, ‘InterFormNG’ and ‘InterFormNG web admin’. A browser session will open and you will be asked for a User and Password.
You can also manually type in the web site. It is the name (or IP-address) of the server followed by ':' and the used port number. The port number is default 1885, so if you want to access InterFormNG on the local machine the web site should be: http://127.0.0.1:1885
For the user you can state ‘user’ or ‘admin’ and you should state ‘password’ as the password. Please notice, that the password is case sensitive. If you logon as ‘user’ you can only view the settings; as ‘admin’ you can also edit the settings.
Changing the web interface port number
As default the web service will use this address: http://127.0.0.1:1885
If you want to use a different port number you can change that in two ways:
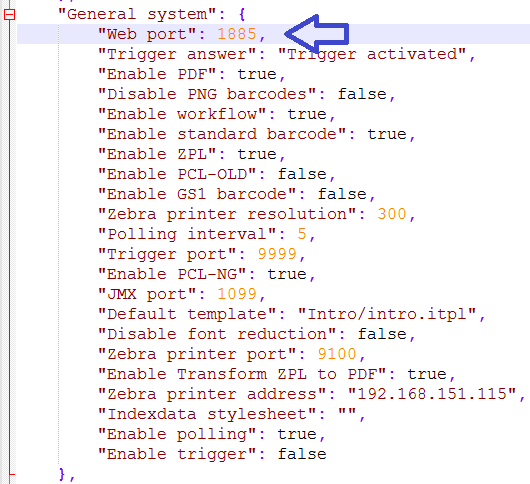
Via the web interface: You can set that as the web port via General system settings.
Via the {INTERFORMNG_HOME}/profiles/default/settings.json file. If you are unable to start the web server (e.g. because the port number is already used for something else), then you can change it by opening the settings.json file inside with e.g. Notepad++ (or Wordpad) and set the new web port number to use:
The changed port number will take effect from the next restart of the web server.
After changing the port number you might want to change the link, you have installed for accessing the web interface:
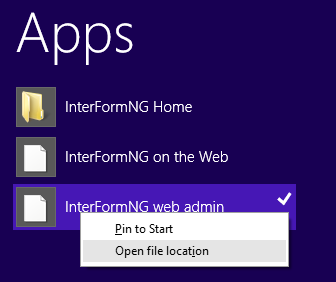
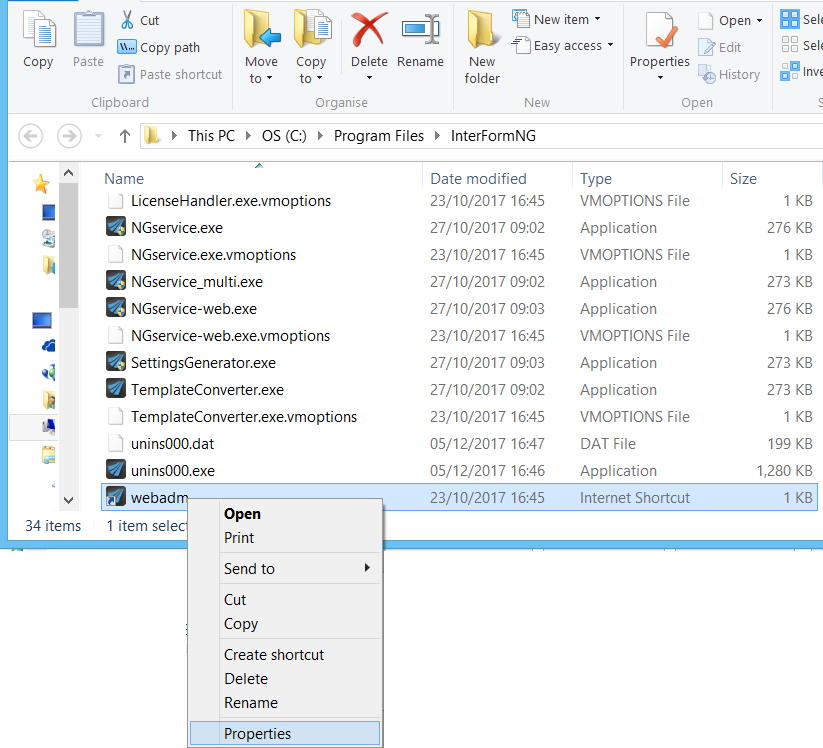
First you need to right click on the InterFormNG web admin app and select Open file location:
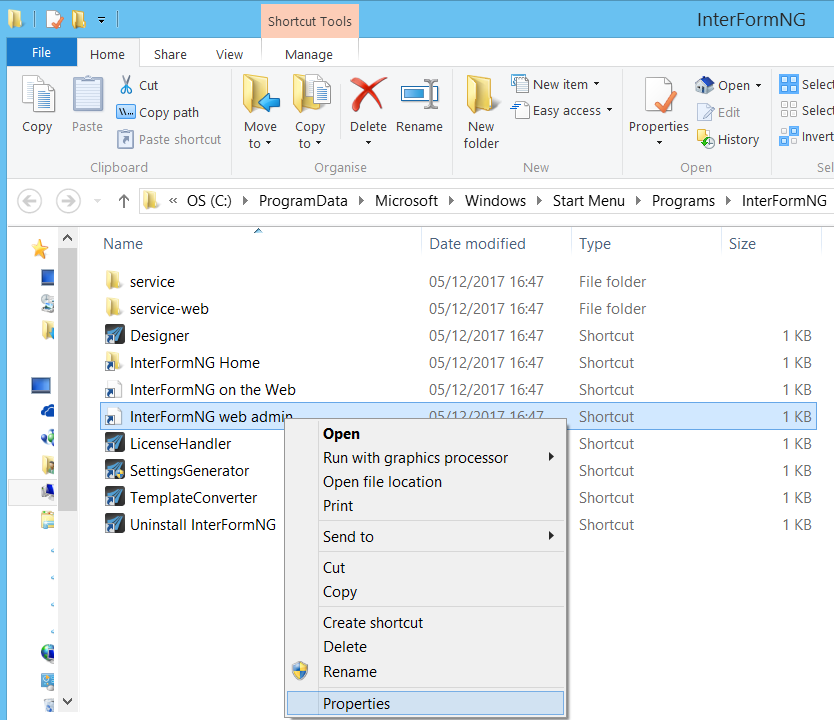
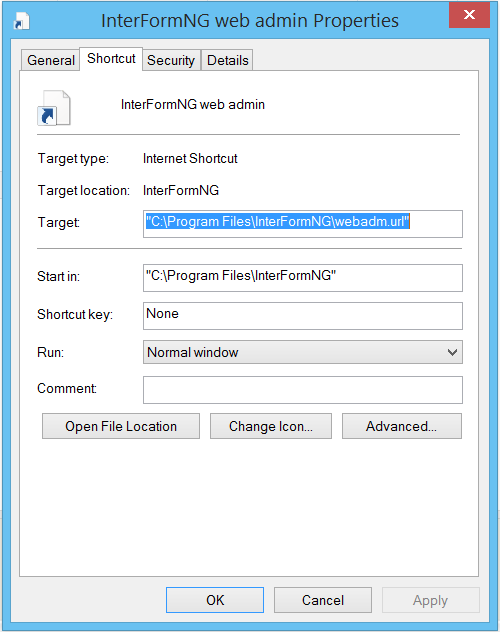
Now you see the folder, where the link is stored. Right-click on the InterFormNG web admin file and select Properties to view the link:
Now click Open File location icon on the lower left:
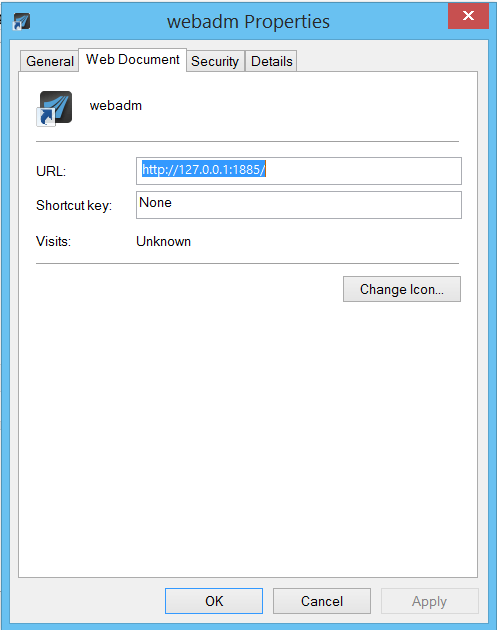
Now you see the webadm.url file. Right click on this file and select Properties like below:
Now you can see the link and change the port number for the link:
You might get an error message after the change when clicking ‘OK’, with the error message 'Cannot apply changes to this shortcut'. Even though it is not clear, the problem is most likely, that you do not have authority to change the file. You can give yourself write authority in this manner:
On the Properties for the webadm file you click the ‘Security’ tab, select your user and click the ‘Edit..’ icon. This will open another window. Here you activate ‘Allow’ for ‘Write’ and click OK. After the change you can click the ‘Web Document’ tab and change the port number.
Recovery of entered data
If you should happen to enter something via the web interface, while the web service was ended or while you lost connection to the web service, then the changes are stored locally. You will at first get this pop up, when you try to save:
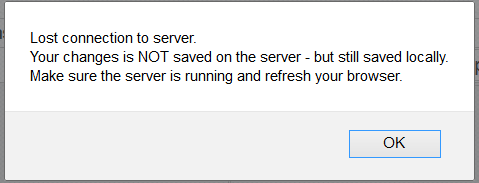
Now you just reconnect your computer to the web service (e.g. after fixing a network problem or restarting the web service), and then you will see this:
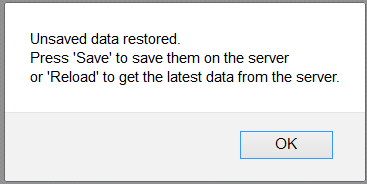
Asking you to save the data, that was cached on your local computer.