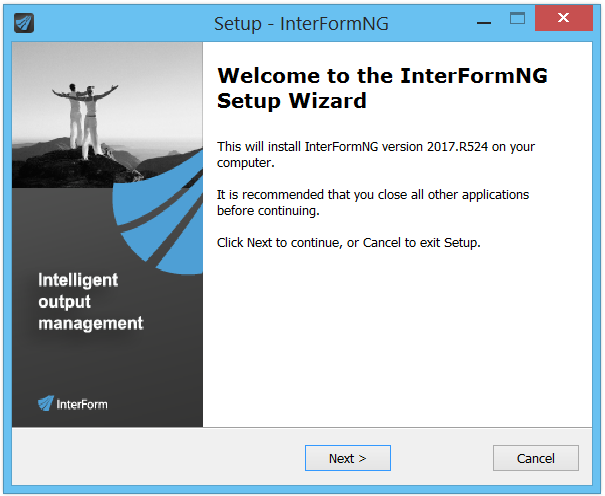
In order to install, you first need to unzip the distribution file, and then run the unzipped installation file. Now you will see these screens:
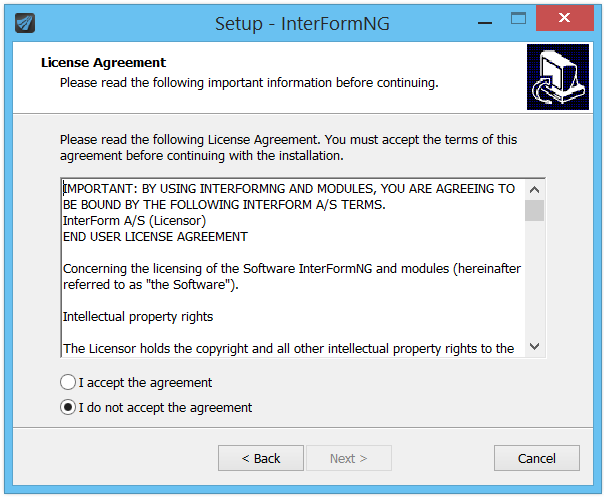
You need to accept the agreement in order to be able to proceed:
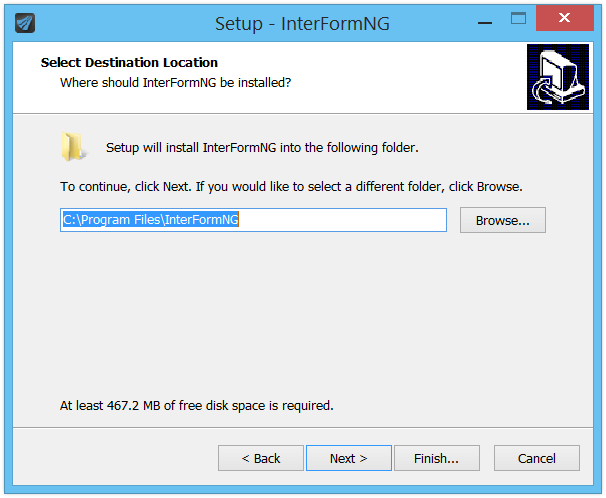
Now state the place where InterFormNG should be installed. The path below is suggested:
The next screen asks for the path for where data files and configuration files should be placed.
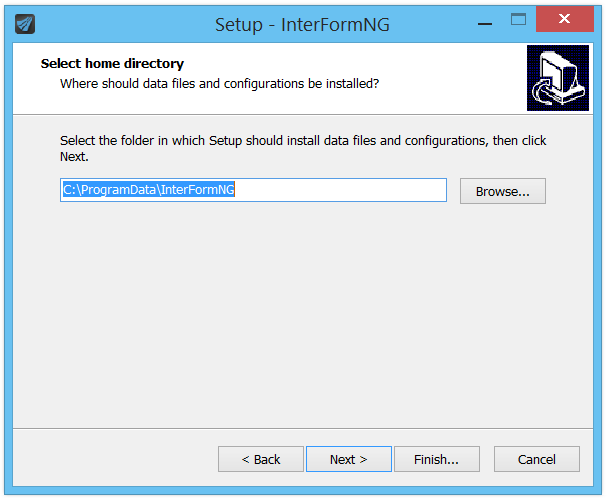
C:\Program Data\InterFormNG
(Please check/correct the exact path in your installation).
Before you go with the suggested path above: Please notice, that the ProgramData folder often is a hidden folder, so you may need to change the view in MS Explorer in order to see this. You can e.g. chose to ‘unhide’ it, or decide to ‘display hidden folders’.
Please make sure if this path is OK and change it if needed. You will need to use this path whenever InterFormNG is exchanging files e.g. XML files, so a more simple path may be a good idea. The selected path is referenced as {INTERFORMNG_HOME} in this manual and is stored as the environment variable, INTERFORMNG_HOME.
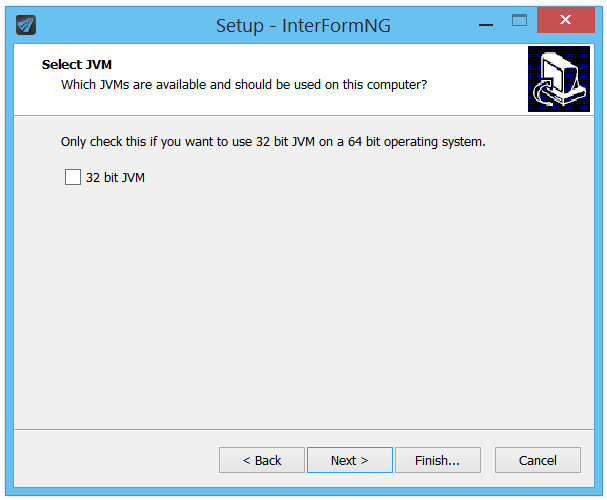
Next you have the option to install InterFormNG as a 32bit application if needed. It is recommended to install not to select that unless necessary:
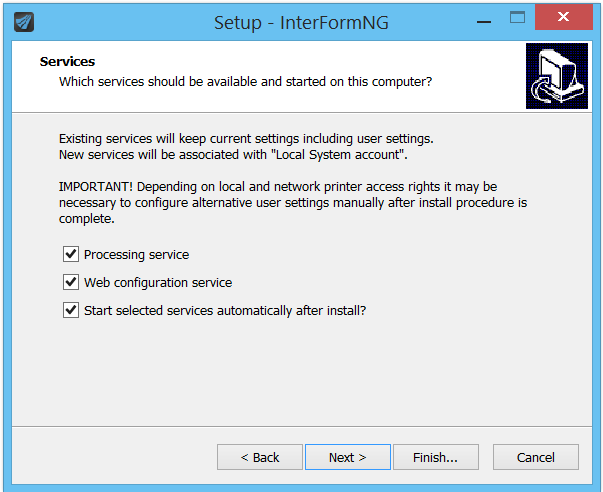
On the next screen you can decide which servers to install and if they should be started:
It is highly recommended to install both services - especially the web configuration service.
(Below I have chosen to start the services after install. As default they will not be started.).
The next screen specifies where InterFormNG is placed in the Start menu folder. Alternatively you can chose not to create a Start Menu folder (in the bottom of the screen):

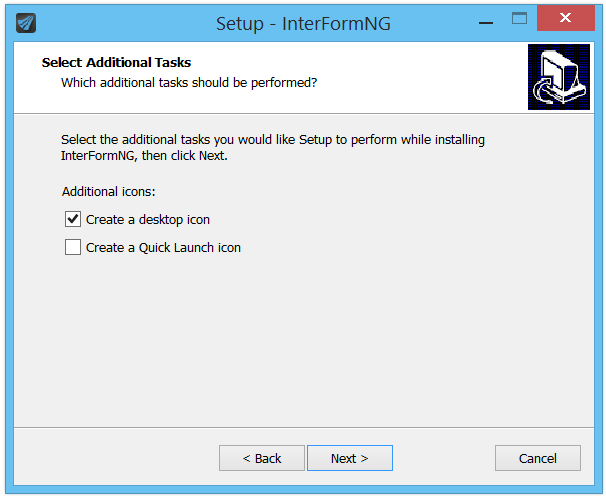
This screen asks if you want to create a desktop icon and a quick launch icon:
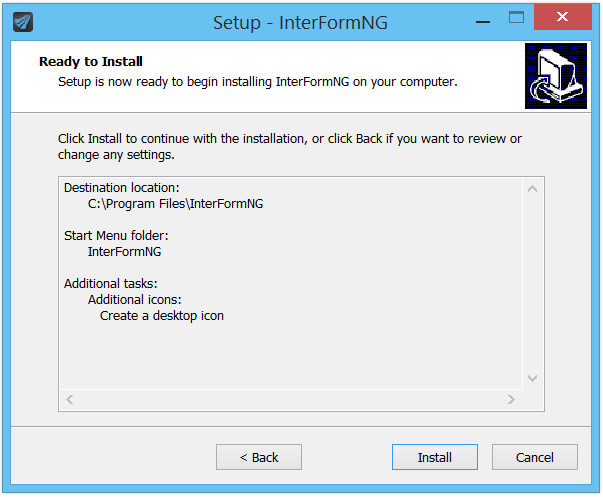
The final screen shows you all the settings for the installation. Click Install to start the installation.
Next you will see the screen below:
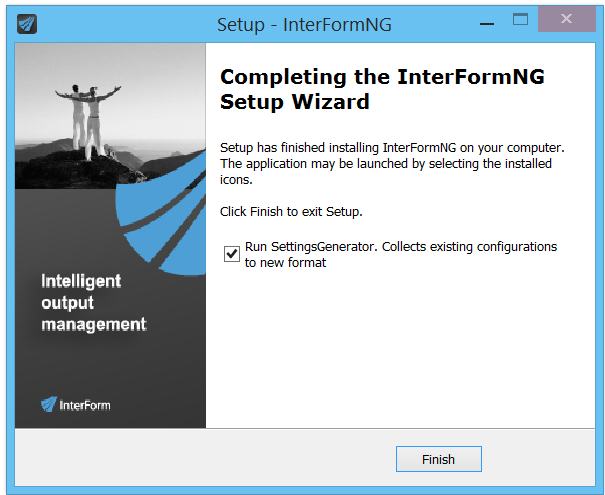
It is important, that you run the SettingsGenerator for a new installation. This will generate a configuration file. You may need to allow the SettingsGenerator to run.
The configuration file is called settings.json and is placed in:
{INTERFORMNG_HOME}\profiles\default.
Without this file the web service cannot run. You can create the file at any time by running the SettingsGenerator app manually. Just search your apps for 'SettingsGenerator'.
You can normally also find it here: C:\Program Files\InterFormNG\SettingsGenerator.exe
The settings.json file contains all the configuration, that you setup via the web interface. In pre 2015 versions the equivalent data where stored in other configuration files. For upgrades/downgrades this has this effect:
The first time you upgrade from a pre 2015 version to a 2015 version (or newer) the existing configuration will be converted into a settings.json file, where all changes will be done in the new web interface.
If you later chose to downgrade to a pre 2015 version, then the older version will not use the updated data in the settings.json file, but the original (older) configuration. If you then again later do another upgrade to a 2015 version (or newer) then the existing settings.json file will be used and the changes done in the older version will be ignored. If you would like an updated version of the settings.json file you can rename or delete the settings.json file and run the SettingsGenerator to regenerate the settings.json file.
Now you might need a license code for InterFormNG. Request and installation of a license code is covered here: The license code.
Set the maximum RAM usage of InterFormNG
If you use InterFormNG to process larger input files, then you might consider to increase the allowed RAM usage for the InterFormNG document processor service. On the Windows platform you can set that in this configuration file:
C:\Program Files\InterFormNG\NGservice.exe.vmoptions
It is highly recommended to backup this file before editing it with a simple text editor like e.g. Notepad.
The file contains these lines in a new installation (or very similar):
-Djava.rmi.server.useCodebaseOnly=false
-Djava.io.tmpdir=${INTERFORMNG_HOME}/temp
-include-options ${INTERFORMNG_HOME}\profiles\default\vmoptions\NGservice.exe.vmoptions
Now you can add an extra line to this file in order to specify the maximum RAM, that InterFormNG is allowed to use. If you e.g. want to increase the RAM limit from the default 2Gb to e.g. 4Gb, then you can add this line to the file above:
-Xmx4g
Making the new, changed file look like this:
-Djava.rmi.server.useCodebaseOnly=false
-Djava.io.tmpdir=${INTERFORMNG_HOME}/temp
-include-options ${INTERFORMNG_HOME}\profiles\default\vmoptions\NGservice.exe.vmoptions
-Xmx4g