Create a new workflow
To create a new workflow you need to select the blue icon "+ NEW WORKFLOW" after you have selected the WORKFLOW ribbon in the top:

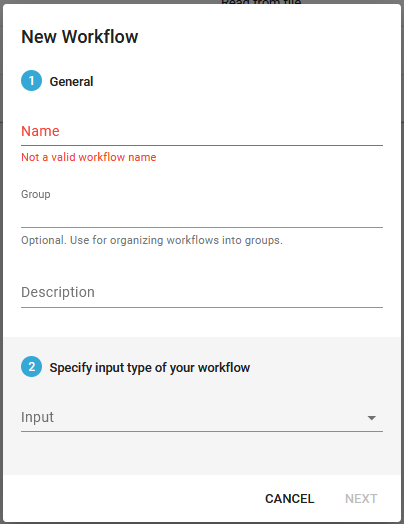
After that you see this pop up window:

Here these fields are found:
Name (Mandatory)
You need to fill out a name for the new workflow. This is the name, that will be shown in the workflow overview.
Group (Optional)
It is possible to specify a group name for a workflow. The group is displayed in a special column in the workflow overview, and you can sort the workflows e.g. on the group. In this way it is easier to identify workflows with identical groups.
Description (Optional)
Here you can type in an optional description of the workflow.
Specify input type of your workflow (Mandatory)
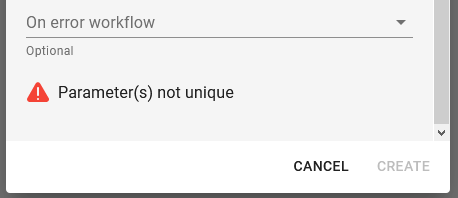
You always need to specify how the workflow is to find the input files, that are to be processed. After you have selected the input type, additional entry fields are shown - depending on the input type, that you have selected. The input/file selection must be unique i.e. it is not allowed to have two workflows, that select the same input files. If the selection is not unique you will see the error message "Parameter(s) not unique" (if you scroll down) and the create option is disabled:

Depending on the selected input type the remaining list of parameter will change. Click the input type link to see a complete list of possible input types including a complete list of the additional parameters.
For a new user it is recommended to start with the Read from file input type.
You can now save your empty workflow (without any actions) by clicking the save icon in the upper right:

or you can now proceed to edit the new workflow and edit the workflow components.