The flow area is this icon:

You can make InterFormNG position each element relative to each other with this feature. This makes it possible e.g. to place elements (especially texts) relatively - both horizontally and vertically, as well as insert either column, line or page breaks when necessary. The flow is used mainly to insert detail lines by inserting a ForEach loop inside the flow area.
It can be an idea to insert a fixed area inside a flow area, to make it easier to insert fixed columns.
The flow area can also be combined with these elements:
Columnbreak for force a new column in the output in a multi column setup.
Newline to force a line break. This can also be inserted with Enter inside a text constant.
Pagebreak to force a page break.
Page style can set a bottom margin to tell how close the flow area can come to the bottom of the page before forcing a new page.
If the flow area is inserted in a page element outside the statics folder, then a new page will be created, if it flows outside a defined flow margin.
Flow margin
If the flow is inserted outside the statics folder, and the flow area is the outer flow (i.e. not inserted inside another flow), then the flow can trigger a new page, when/if there is a page 'overflow' i.e. there is no more room on the current page. The bottom margin can be set in two ways:
1.On the Page style. This is a global setting for all flow areas.
2.On the flow area as the bottom padding. This has however an influence on the borders of the flow area, as the borders (if painted) will be extended to also surround the padded area.
The properties of the flow area are these:
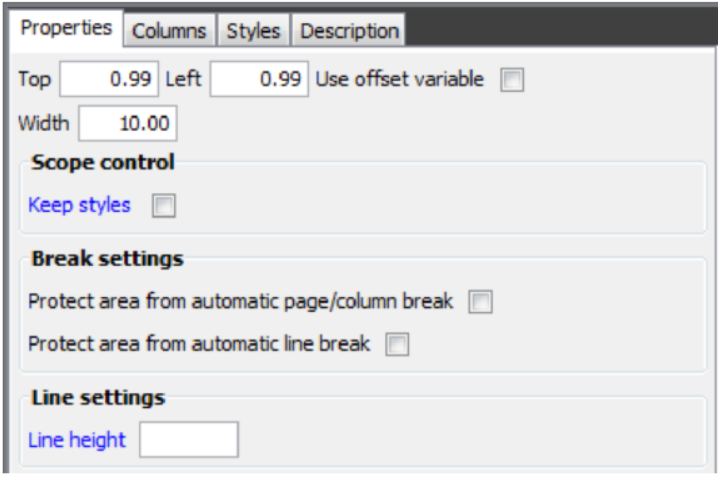
Top/Left
Start position of the flow area. The flow will position the first element relative to this position and move from left to right relative to the previous element inserted with the flow area.
Use Offset variable
If you enable this, then the flow area is positioned via the value of an Offset variable instead of a fixed point as specified above. This can e.g. be used if you want a flexible layout, where the detail lines (flow area) starts in one position on page 1, and in another position on the following pages.
Width
The width of the flow. That is important/necessary to set for a multi column setup.
Scope Control / Keep Styles
If you activate ‘Keep styles’ any styles defined within the flow area will ‘stick’ even after exiting the flow area. If this is not enabled, then all styles defined in the flow area will only have effect within this area.
Break Settings / Protect area from automatic page/coloumn break
If you want InterFormNG to consider everything within this flow area to be a block (and avoid a page or column break in the middle), then you should enable this option.
Break Settings / Protect area from automatic line break
If this is disabled, then the text will not force a line break - even if it cannot fit within the width set for this flow area. If it enabled the text will be moved onto the next line if there is not room enough.
Line height
The distance set here is the line height when a new line is inserted. This can e.g. be used for keeping a fixed line height even if some of the lines are using a smaller font. (The line height will normally e.g. adapt to the height of the characters used for the text elements and always go below any elements inserted in the flow).
You can use the columns setting to create an output with multiple columns like e.g. a newspaper. For that you need to set a width of the flow area and the two settings below. The column break element is relevant for multi column setup.
Under the Columns tab you have these two settings:
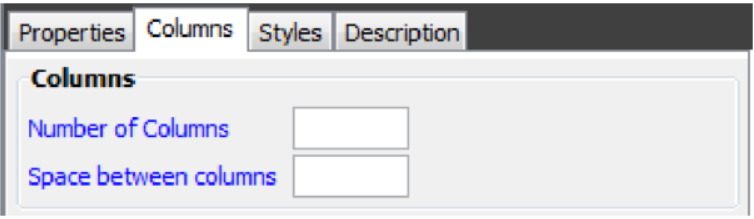
Number of Columns
As default only one column will be added to each page, and a page break is issued if a NewLine (or a pagebreak/columnbreak) is added, and there is no more room on the page. Alternatively you can here set a number of columns to add for each page.
Space between Columns
If you set a number larger than 1 for the ‘Number of Columns’ above, then you can here set the distance that you want between each column. This is combined with the flow width set under properties.
Under the Styles tab these last options are found:
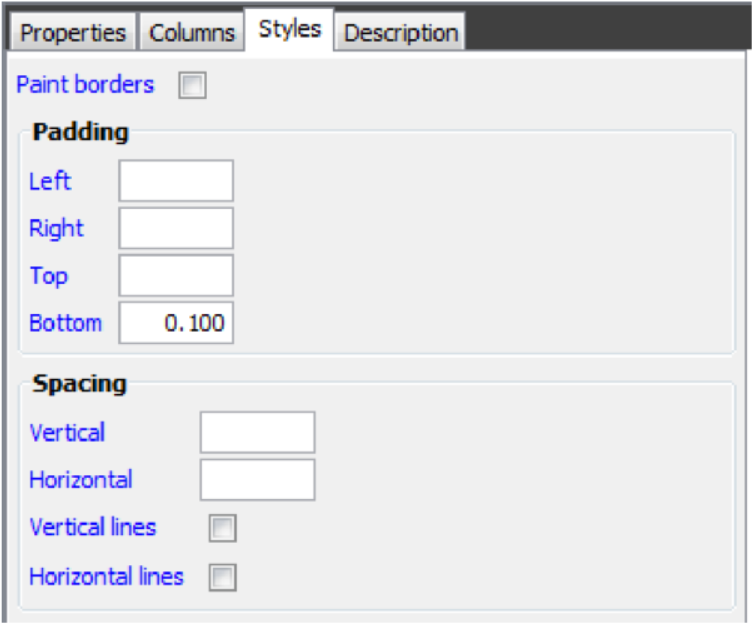
Paint borders
Enable this and you will get lines around the borders of the flow area. This can e,g. be used for creating tables or if you temporarily want to see the actual borders. The property of the borders are set via the Line and box style.
A distance between the leftmost/rightmost/top/lowest element within the flow area and actual borders of the flow area. If you enable the border to be painted above, then this padding is clearly shown.
Spacing
If you want additional spacing between each element in the flow area, then you can state it here - both in the vertical and horizonal direction. Enabling horizontal or vertical lines will insert a line between each element. These lines can be used for building up a table within the flow area.
This video can help you to decide between a fixed and a flow area:
An example showing the use of the flow area is included below.