Frame

Inserts a Frame. The properties are:
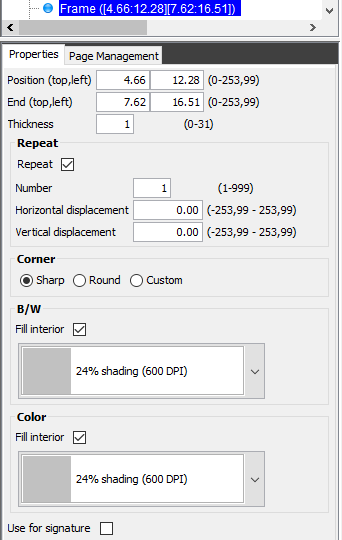
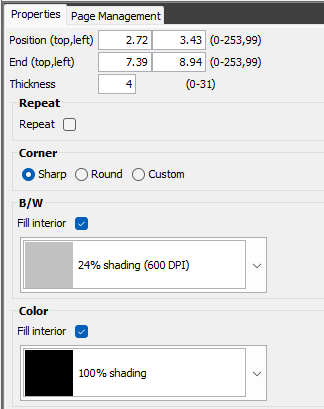
Position
The distance from the top and left of the paper to the top, left corner of the frame.
End
The distance from the top and left of the paper to the bottom, right corner of the frame.
Repeat
Refer to the description of the Line element.
Corner
Defines the shape of the corners:
Sharp
All corners are sharp.
Round
All corners are default round (radius is 24 pels)
Custom
Set the radius of each corner in each compass direction: NW, NE, SW,SE.
Radius = 0 is a sharp corner.
Radius = 24 is a ‘normal’ round corner.
The maximum value for the radius is 99.
Please notice, that you can actually create a circle with the frame element, if you set the roundness of all of the corners to the radius of the circle and also set the width and height of the frame to be twice the radius. The maximum radius of the circle can be 99 pels, which equals to 0.41 inches or 1.05 cm.
B/W Fill interior and Color Fill interior
Sets the filling of the frame in black/white and color output. For a nice smooth shading a 600 dpi filling is recommended. For color PDF output, you will get the best result, if you set the color filling to 100% black and combine it with a grey color with the Ink element. If you set the filling to 100% white shading you can delete elements, that was previously inserted and make the area white. Remember to select the same filling for both black/white as for color to get the same result. Refer to the Ink element for details.
If you want to use a grey shading in a frame, then it is highly recommended to check out the section below: Recommendations for grey shading.
Use for signature
A frame can specify the area designated for a written signature to be added with a signpad. If multiple frames are marked for signature, then the last signature will be used (as default).
Recommendations for gray shading
If you want to use shading on e.g. a frame, then you have two options:
1.You can simply select a shading on the frame element itself. Here you can select a 300DPI shading, which looks really grainy and you can also select a 600 DPI shading, but unfortunately that also looks very grainy in an output PDF file.
2.You can improve the quality of the shading a lot, if you use a color shading instead. This require, that you use a color merge, when you merge the spooled file with the overlay. This makes a huge improvement in PDF output, but color merge also works for most black/white printers, if you use the printer type, *BW (or *BWD for duplex).
The second, recommended solution is described below and can be used for any design element including watermarks except color images:
The setup looks like this in the graphical designer:
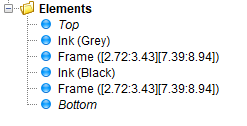
It consists of these 4 elements:
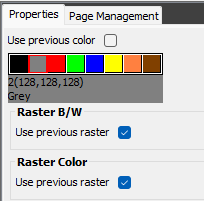
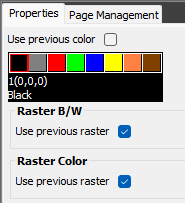
1.First an Ink element to change the color (for the color output only) into the right grey color. You can define any darker or lighter shade by adding a new color in the color palette.
In this case the Ink element is setup like so:
2.Next we add the frame, that is set to be grey for black/white (where the Ink element above is ignored) and black for the color output:
3.After the Ink we inserted in step 2 all output is in grey, so we need to switch the color back to black with a new Ink element like below:
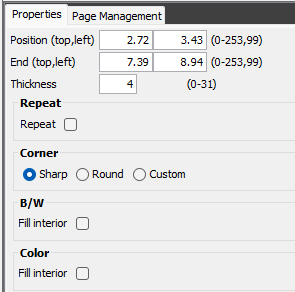
4.Finally we need to add the frame once more, as the frame, that was added in step 2 did not have any lines around the border, so now we insert the exact same frame as before with no shading at all - in order to get the black border:
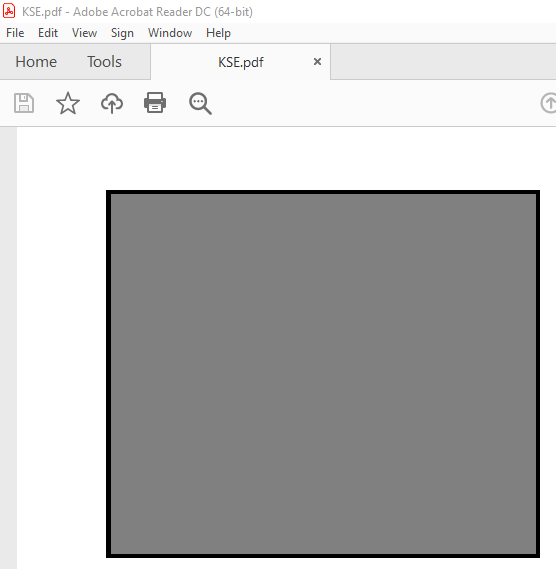
With the settings above the frame looks good - also in the resulting PDF file: