Prerequisites
Prerequisites for installing the graphical designer should be checked before installing.
Special configuration is needed, if you want to connect the designer via SSL.
Installing JAVA Environment
Before installing the graphical designer, you need to install JAVA Runtime Environment or Java Development Kit (if not already installed).
You can either install an Oracle based Java distribution or a free Adopt OpenJDK distribution:
Oracle Java distributionn
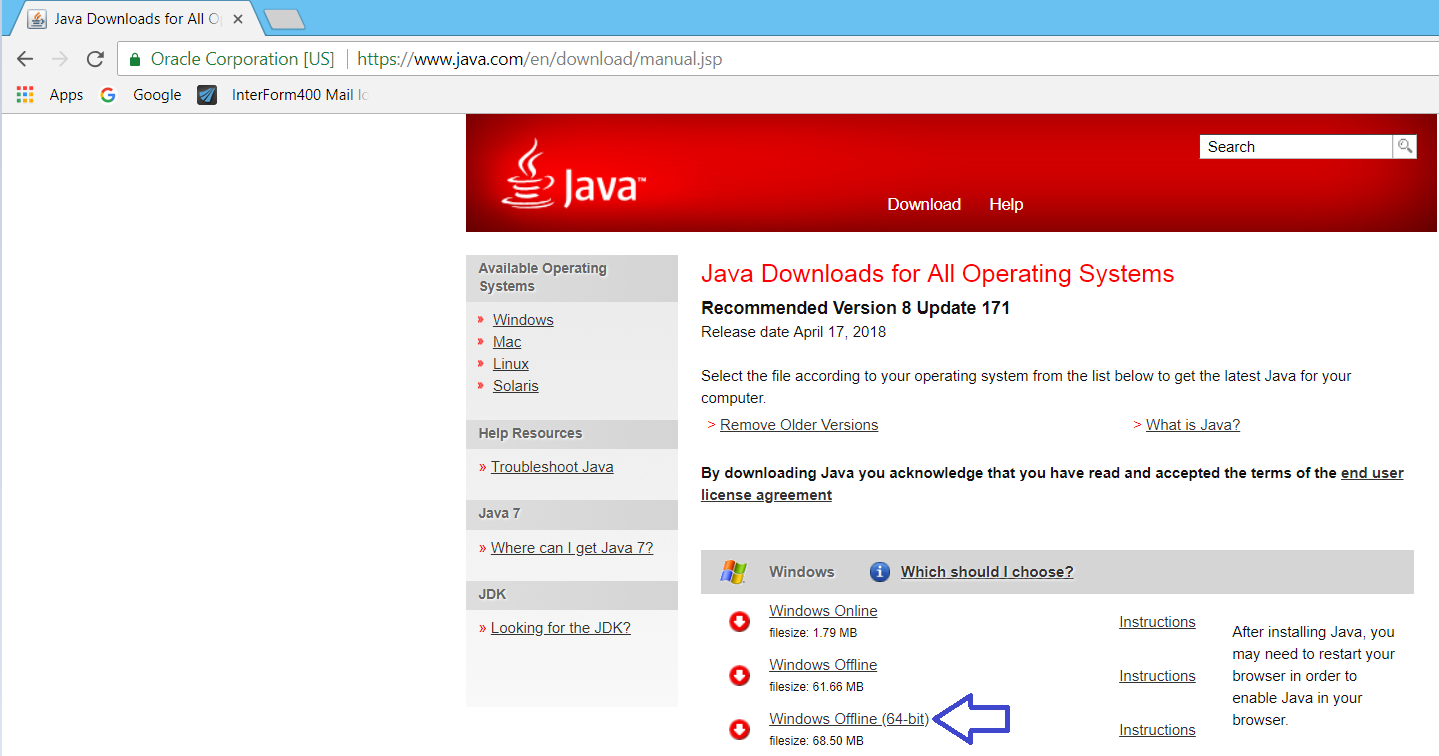
The latest Java Runtime Environment can be downloaded and installed from https://www.java.com/en/download/manual.jsp.
Make sure that you install a 64bit JRE, if you are running a 64bit version of windows. The 64 bit version is downloaded via the marked link below:

Instead of the Oracle based Java you can also install the free Adopt OpenJDK via the link below:
Select the OpenJDK 8 (LTS) and select the HotSpot JVM and click latest release. Start the installation. On the custom setup page, change “Set JAVA_HOME” to “Will be installed on local hard drive”.
Continue the installation.
Run the designer on a specific Java JDK
As default the InterForm400 designer will run under the default Java (JDK), that has been installed on the Windows PC, but it is possible to install another, specific Java (That is not the main Java) on the PC and then specifically select that JDK, when you run the InterForm400 designer. In order to do that you need to create a .bat file and then run the bat file, when you want to start the InterForm400 designer.
In this bat file we set an environment variable and then start the designer, so you will need to run the bat file when you want to start the designer. The bat file should have these 2 lines as the contents:
set JAVA_HOME=C:\Program Files\Java\jre7
"C:\Program Files\InterForm\InterForm Design\Design.exe"
(Where the first line refers to the path to the JDK, that you want to use for the InterForm400 designer. You need to change the first path above to the path of your Java installation.)
If you are running ArtForm400, you need to change the path to the designer into: "C:\Program Files\ArtForm\ArtForm Design\Design.exe".
Installing and setting up the Graphical Designer
TIP: Prior to installing the designer via the InterForm400 menu it might help to add a network share on the PC onto e.g. /APF3812Home.
You install the graphical designer from InterForm400 by entering InterForm400 with the command APF3812/APFMENU and selecting ‘12. Service functions’ and ‘70. Install InterForm Designer on your PC’:
Install InterForm400 Designer on your PC CLI100D
Java Runtime Environment (JRE) or a Java Development Kit (JDK) on your PC. Supported Java versions are 1.6, 1.7 and 1.8.
You can install either an Oracle Java distribution (costs money) or a free Java distribution. The free Adopt OpenJDK 1.8 distribution has been tested with the designer, and is recommended.
You can download Adopt OpenJDK via this link: https://adoptopenjdk.net/ Select the OpenJDK 8 (LTS) and select HotSpot JVM and click latest release. Start the installation. On the custom setup page, change "Set JAVA_HOME" to "Will be installed on local hard drive".
The Designer can be installed via option 1 on this menu (access to the IFS is required). The installation file (.exe) is also found in the IFS inside /APF3812Home/Designer/2020M001-xxx InterFormDesign-2020M001-001.exe Option: 1
The old install file and JT400-4.7.jar are included in /APF3812Home/Designer
F3=Exit F6=Display messages F12=Cancel
|
Here you select option 1 to install the designer.
If this installation fails, you can also find the installation file for the graphical designer in the IFS: /APF3812Home/Designer/. Find the directory with the highest number and download the .exe file to your PC and double click on the file.
Note, that you can setup a fixed code page to use for the graphical designer - per user.
The installation is also covered in this video:
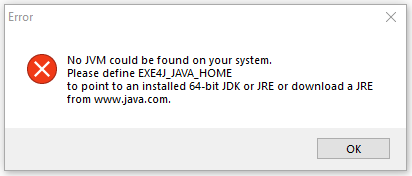
If you see this error message when starting the designer:

Then you should refer to this.
Setting up the designer for DBCS use
You will need to use other fonts in the designer, If you want to use the the designer for DBCS. First you need to install the True Type Fonts on the PC and then you can refer to the fonts in the designer configuration file. The configuration file is found here:
C:\Documents and Settings\<PC user>\.interform\conf\client.conf
If you open the file in e.g. Notepad you will find these lines:
#############################
## Font
#############################
DefaultFontBarcode: Free 3 of 9 Extended Regular
DefaultFontPDF: PDF417Sample
DefaultFontFixed: Courier New
DefaultFontProportional:SansSerif
DefaultSpoolFont: Monospaced
You can now change them e.g. to refer to the SimHei font instead (if installed) like this:
#############################
## Font
#############################
DefaultFontBarcode: Free 3 of 9 Extended Regular
DefaultFontPDF: PDF417Sample
DefaultFontFixed: SimHei
DefaultFontProportional:SimHei
DefaultSpoolFont: SimHei
You can also setup the DBCS codepage to use in the designer - per user.