This section explains how to work with rows in the Excel designer.
In order to add data into an Excel sheet you first need to add at least one row within a sheet and then at least one cell in a row.
These are the actions you can do related to Excel rows:
1.Add a row in an Excel sheet.
2.Delete a row.
4.Add a repeated row e.g. for handling detail lines of an input file.
5.Assign a fixed row number to a row.
The row itself does not output any contents of the input file. For that you need to insert a cell in the row.
Add a row
You can add row to an Excel sheet in two manners:
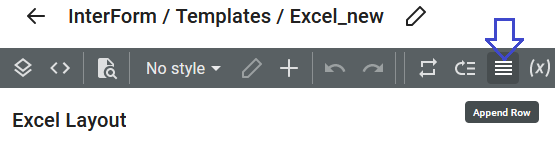
1.You can click the click the row icon in the top after you have selected where to insert the row in the tree-structure:
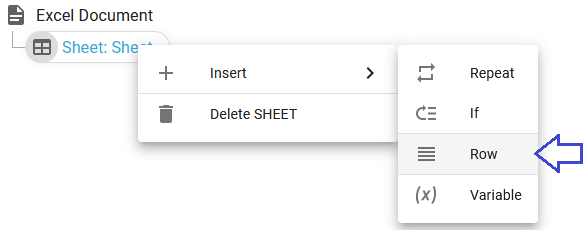
2. You can also insert a row, if you right-click on another row (or a sheet-element) and
Delete a row
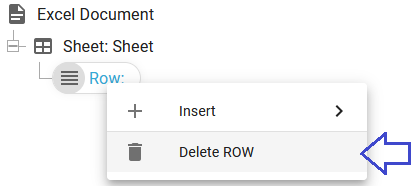
If you want to delete a row, then you need to right-click the row and here select Delete ROW:
Add a conditioned row
A prerequisite for adding a condition on a row on the input data is, that you have loaded a sample input file in the Excel designer.
(It is also possible to condition one or more cells.)
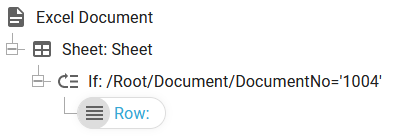
You first need to insert a condition by inserting an if element inside the sheet, and then you can insert the row inside the if-element:
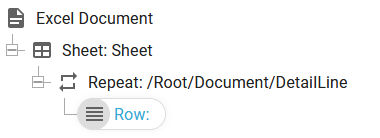
Repeated rows
A typical use of Excel output is to list all the detail lines of an input file. This means, that you will probably want to insert a row e.g. for each detail line node found in an input XML file.
A prerequisite is, that you have loaded a sample input file in the Excel designer.
To repeat the output rows to match all of the detail lines of the input file you should first add a repeat inside of the sheet and then insert the row element inside the repeat:
Assign a fixed row number to a row
Normally the rows defined in the Excel designer will output the rows in the sequence in which the rows are defined. This can be referred to as relative row numbers. On the overview you can see the assumed row number, but the final row number might be different depending on the other rows.
If you want to assign a fixed row number to a defined row, then you need to double click on the row element in the element list. Then the properties of the row element is shown:
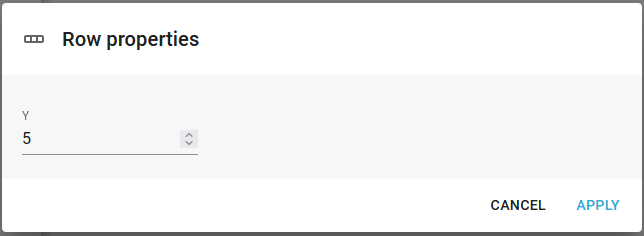
The Y-value is as default Auto (which means use the next row in the output Excel file), but you can set a specific row number here. The row number is shown in the tree-structure:
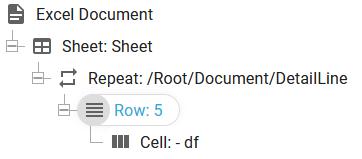
Any row, that is inserted after this row will be placed below this starting with the next row number, that is free.
Fixed positioned rows replace previous relatively positioned rows
If you already have a relatively positioned row, that has placed a value in the same cells (in the same output row), then all cells from the relatively positioned row will be overwritten by this fixed positioned row.