This section describes how to work with the sheets of an output Excel file in the Excel designer.
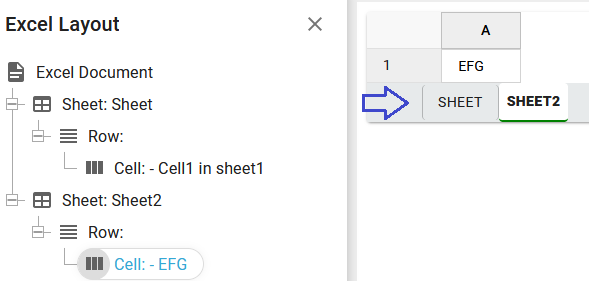
The sheets are shown as tabs in the bottom of the final Excel file:

This section covers these areas:
1.Set the name of the excel sheet in the Excel designer.
2.Create a new excel sheet in the Excel designer.
3.Delete an excel sheet in the Excel designer.
4.Select a sheet in the result view.
Set the name of the excel sheet in the Excel designer.
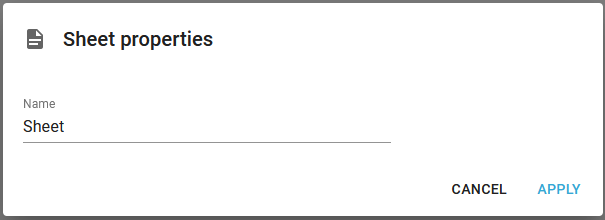
As default the output sheet will be named Sheet, but you can rename it, if you double-click on the sheet in the element list to see the properties and here type a new name:
If you intend to match the excel template on the workflow component, Create Excel document, so that the output will be inserted into an existing excel file, then you need to match the sheet names of the existing excel file and the name of the sheet in the excel template.
Create a new excel sheet in the Excel designer.
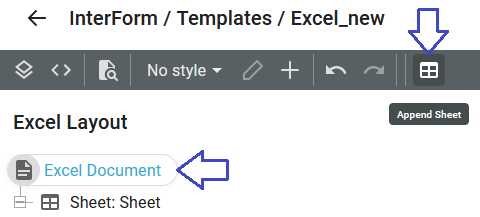
You create a new Excel sheet by clicking on the Excel document element and the Sheet element in the top of the designer:
The new sheet is created with the name undefined, which means, that the name will be generated automatically, but you can rename the sheet.
Delete an excel sheet
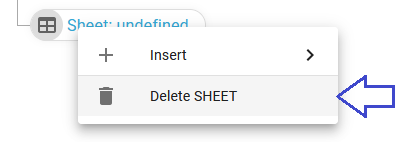
To delete a sheet in an excel definition, you need to right-click the sheet and then select Delete SHEET like shown below:
Select a sheet in the result view
If you want to verify the output as you enter new cells/values, then you can select a specific sheet by clicking the sheet name in the bottom of the result view: