In order to add data in the Excel output in the Excel designer, then you need to insert at least one cell. A cell can only be inserted within a row and a row can only be inserted within a sheet.
This section contains these topics:
2.Add/edit contents of a cell.
4.Insert a conditioned cell.
5.Insert repeated cells.
6.Set the style (font, color, borders alignment etc.) of a cell.
7.The cell type e.g. number or text.
8.Set the cell number counted from the left.
9.How to insert an excel formula.
11.How to insert an image in Excel.
13.Merge cells
Create a cell
In order to create a cell in the Excel designer you will need to first insert a row inside of an Excel sheet and then you can insert the cell inside the row.
You can insert a cell inside a row in two ways:
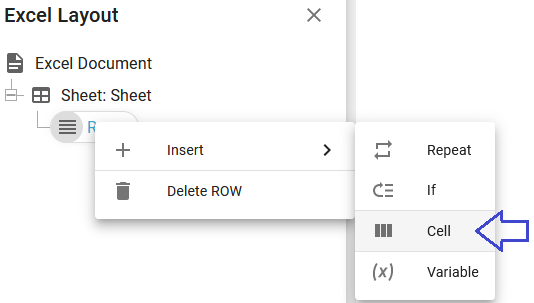
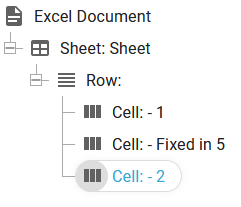
1: You can right-click on the row element in the tree-structure on the left, select + Insert, and then Cell like below:
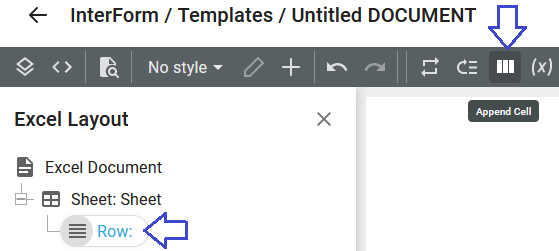
2: You can also select the row element in the tree-structure on the left and then click the cell element in the top:
When you have added a cell you can insert data in the cell and format it.
Add/edit data contents of a cell
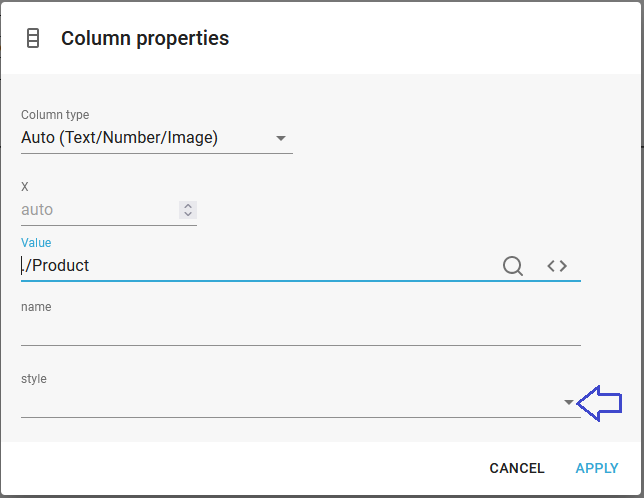
You can edit the contents of a cell, if you left click on it and then you will see this:
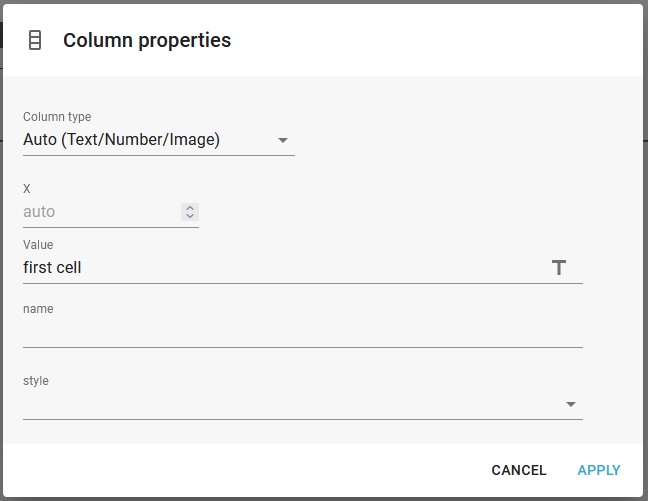
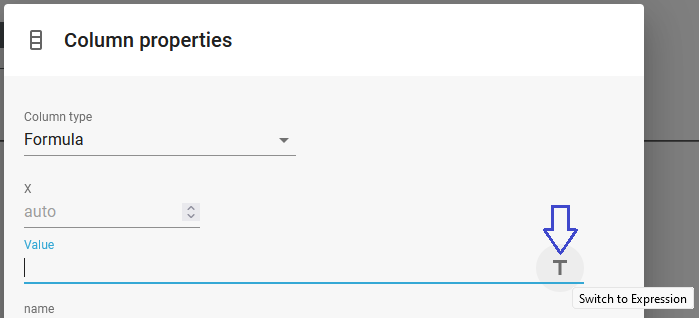
Here we focus on the data, that we put into this cell. That is setup on the field called Value. You can insert a fixed value by simply typing the text into this field while the field is in text mode. You can see the current mode on the right. The capital T means, that InterFormNG2 expects you to type in a text constant.
You can change the entry mode into XPath, if you click the T icon on the right. If you do that, then this is shown:

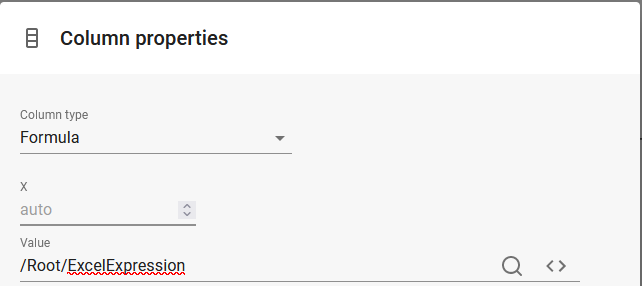
Now InterFormNG2 expects you to type in a valid Xpath expression, which might refer to the contents of an input file. If you have loaded a sample input file, then you can click the magnifying glass to include references to the input file.
In the screen shot above you can see an XPath error. The reason is, that this text is not a valid XPath expression. If you want to insert a fixed text in XPath, then you need to delimit the text with either single quotes (' ') or double quotes (" ").
Relative XML references
If you insert a cell inside a repeat loop, that e.g. iterates across all of the detail lines of an input XML file, then you should remember to cut out the initial part of the XML path.
If you e.g. have inserted a repeat loop, that repeat rows for all the detail lines of an XML file, then the Excel template could look like this:
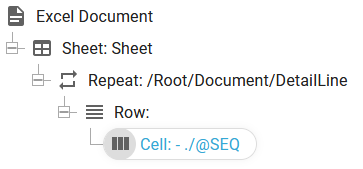
But when you insert a reference to a node in the DetailLine node, then the path looks like this:

Here you need to change the path above like shown below, if you want to output the value of the Product node of the current detail line (and you probably want that):

Delete a cell
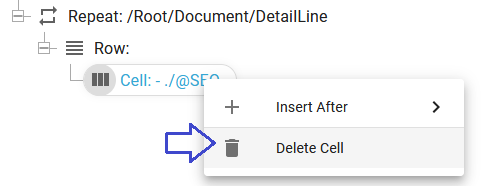
If you want to delete a cell in the Excel designer, then you need to right-click on the cell-icon in the tree-structure on the left and select Delete cell:
Conditioned cells
It is possible to a condition to insert a complete row, but it is possible to conditionally insert one or more cells.
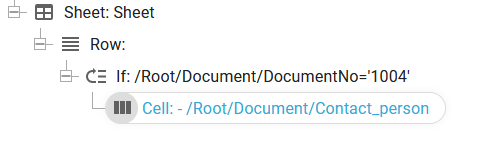
In order to do that you need to insert the if-element inside a row and then insert the cell inside of the if-element:
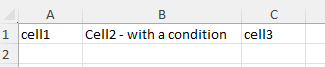
Any cells inside the if-box are all conditionally inserted. The cells in the same row, that are below the condition will move left or right in the output excel file depending on if the condition is true or not (if the cells to the right have a dynamic position from the left, which is the default setting).
So as an example above this is the result, if the condition for the second cell is true:
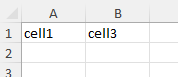
And this is the result if the condition is false:
Repeated cells
This section explains how to repeat cells horizontally within a row. More often you will probably want to repeat the rows e.g. for detail lines in an input file.
To insert repeated cells in a row you first need to insert the repeat element inside of a row element and then insert the cell(s) inside it.

Set the cell style
It is possible to set multiple attributes of a cell e.g. the font, alignment, borders, colors, formatting etc. This is all setup in an Excel style. Multiple cells can use the same cell style.
You can select a cell style by editing the cell and then select the style from the drop down list:
Details of the styles are explained in the Excel styles section.
The cell type
The cell type defines how MS Excel and also how InterFormNG2 is to interpret the value found in a cell. On example is e.g. that you should set the cell type to numeric if the value of a cell is a number. If you insert a number while defining the cell type to be a text, then MS Excel will warn you like below:

This is normally not a problem with InterFormNG2 as the default cell type is set to Auto.
The cell type is set on the top of the cell attributes:
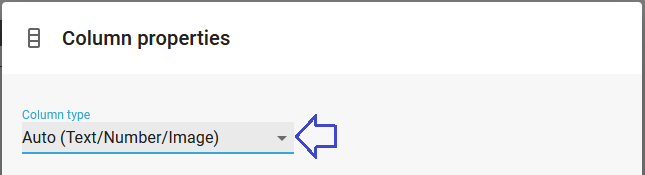
The possible values are:
Auto
The default value, Auto means that InterFormNG2 will decide for the cell type (either Text, number or image) depending on the value of the cell:
Number: If the contents is numeric (refer to the description of a number below).
Image: If the value is a link to an image (refer to the description of an image below).
Text: If neither of the above the cell type is set to Text.
Text
Tells MS Excel to expect a text and format the value as a text.
Number
This should only be selected, if the value is numeric or blank. If the value is not a number, then you will get an error when rendering the Excel output.
A valid number must be written in the format like this: -1234.56
That means:
•If the number is negative, then the minus sign must be the first character.
•If a decimal is to be used, then you need to use a decimal point - not a comma.
•No thousand separator is allowed.
If a number from an input file does not match this, then you can use an XPath expression to translate it into the right format.
Formula
If you specify formula, then the Excel designer expects you to insert a normal Excel expression. If you have a hard time with the format of the formula then you can consider to type in the formula in Excel and then copy it to the value of the cell.
Image URL
You can specify this, if you want to include an image in the cell.
This image can be dynamic, if the value is set to an XPath expression. The value should specify the URL of the image. The URL can either be a normal URL like described for the dynamic images in the normal designer or it can refer to an image resource installed in InterFormNG2 via a URL.
If you want to insert a fixed image then you should consider to insert an image in an input Excel template file and use that.
Cell number
Cells are as default inserted from left to the right, where you have the option to insert cells in the middle, which will push the cells to the right of the new cell.
The cells are in Excel referred to with a letter, but if you want to insert a cell in a fixed position from the left, then you need to refer to the cell number - counted from the left.
You can specify the fixed cell number in the X field on the cell attributes:
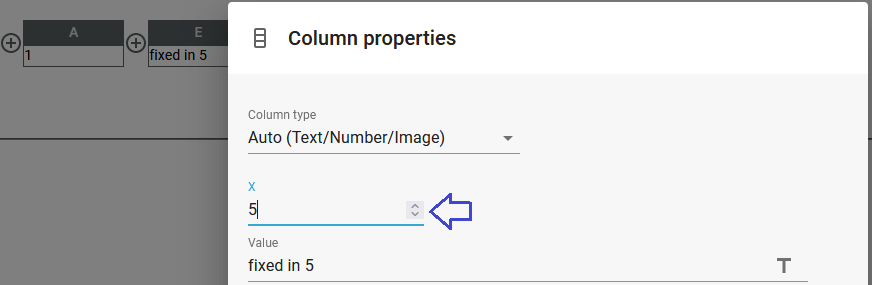
As you can see in the background cell number 5 means, that the value of the cell will be inserted in the fifth column, which is called E.
Any cells to the right of the cell, that has a fixed cell number will be inserted in the first free cell. That means e.g. that this Excel template:
Actually looks like below in the output Excel file as the rightmost cell is positioned in a relative cell number:

Excel formula
It is possible to insert a formula into the output Excel file in the Excel designer. Unlike the formulas in Excel you simply type in the formula without a preceding '= 'sign.
You can use the normal functions know in MS Excel. Actually you should consider to create the formula in MS Excel (for syntax checking) and then simply copy the formula to InterFormNG2.
The details for a formula are listed below:
•Set the cell type to Formula. A prerequisite for adding a formula is, that the cell type is set to formula.
•References to cells including referring to a cell just above or to the left of the current cell.
•Setup a dynamic formula via XPath
You can refer to cells in a formula in multiple ways:
•You can refer to the cell e.g. as A1 in order to refer to the top, left cell.
•You can also refer to an area e.g. sum(A1:B2) sums up the cells: A1, B1, A2 and B2.
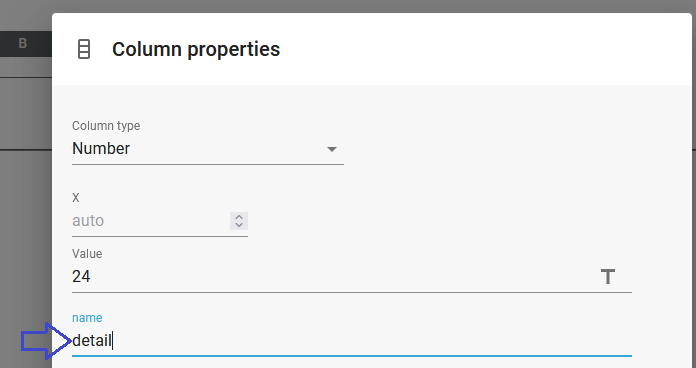
•It is possible to set a name on one or multiple cells and refer to the named cells as a group. You can e.g. sum the numbers of cells named e.g. detail with the function: sum(detail).
•You can also refer to a cell, that next to the current cell e.g. above or to the left of the current cell. That should be done with an excel formula.
•If you want to refer to the value of the cell just above the current cell, then you can use the formula: INDIRECT("A" & ROW() - 1). This formula works in column A.
•If you want to refer to the value to the left of the current cell, then you can use the formula: =INDIRECT(ADDRESS(COLUMN()-1,ROW())).
In the Excel designer you are not limited to just fixed formulas. You can even build a dynamic XPath expression to create a dynamic formula.
You can of course to e.g. the concat XPath function to combine variable information from the input file with fixed texts in the formula.
A prerequisite is, that you have already loaded a sample file in the Excel designer.
If e.g. you have the complete formula in the Excel file like this:

Then you first need to set the value of the formula to XPath mode, by clicking this icon on the right:
And then you can click the magnifying glass on the right and then click on the node, that you want to insert:
When you open an excel file (e.g. preview the Excel result) with a formula you might see this warning on the top:

The formulas will not be executed before you have confirmed, that it is OK to run them. You do that with a click on the Enable Editing icon on the top right.
Assign a name to cells
Instead of referring to cells via the position (e.g. A1 and B3) in the Excel sheet you can also consider to assign a name to the cells. If you then want to refer to a selection of cells in a formula, then you can simply refer to the name instead.
In order to use the name in the formulas you first of course need to assign the name to the cells. You can do that by editing the cell (click on it) and typing in the name here:
Insert an image
You can insert an image in the Excel output in two ways:
1.You can prepare an external Excel template file, that e.g. contains an image in a fixed position with the size of your choice and then let the workflow refer to this excel file as a template.
2.You can insert a URL to an image (which can be selected dynamically via an XPath expression) into a cell, that is selected dynamically in the Excel template.
The second option is described below:
Insert an image in a cell
You can refer to an image in a cell. A prerequisite is, that the cell type is set to either Auto or Image URL.
If you want to include an image from the resources, then you can specify that as e.g. resource:///images/Intro/logo.jpg
This will refer to the image, logo.jpg inside the Intro folder in images Library.
You can also refer to a http link to an image e.g. as: https://interform400.com/wp-content/uploads/2020/09/cropped-cropped-logotype-1-1-1.png
An example is seen below:

You can also click the T icon to the right of the value to setup the URL via an XPath expression and in that way refer to a dynamic image.
The size of a cell
The size of a cell cannot be set directly in the Excel template, but it is possible to set the size of the cells, columns and row in an Excel template file.
Merge cells
It is possible to merge multiple cells together. If you want to do that, then you need to merge the cells in an Excel template file.