It is possible to insert images in InterFormNG2. The image can be either a fixed image found in the library or you can refer to the image via a URL.
The related icon is this:

Install and upload of images is covered in the Library section.
Supported image types are: bmp, png, gif, tif, tiff, jpg, jpeg and svg.
Here these topics are covered:
1.How to insert an image in a template. Both a fixed image and a dynamic image, where the image is selected from the installed images in InterFormNG2.
2.How to select an image found via a URL - both via the file system or via the web.
3.Insert a hyperlink for the image, so that the image can be clicked in PDF and HTML output.
4.How to resize an image.
5.How to rotate an image.
6.How to vertically align a fixed positioned image.
7.Multiple properties of the image can be set via a dynamic Xpath expression in the bottom of the image properties. The position can also be setup via an Xpath expression.
8.Support for transparent images
How to insert an image in a template
An image can be inserted in two ways, if you want to insert a fixed image from the library:
1.If you click the image icon on the top left of the designer:
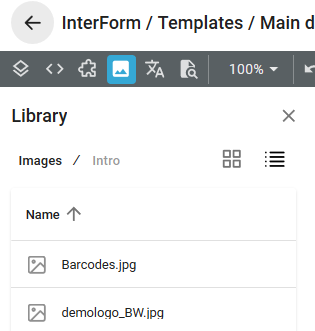
- then you will see the folder system containing the images, from where you can select and drag the image into the result view:
You now click this icon to see the layout (element tree structure of the template):

2.The other option can be used for fixed images and must be used for dynamic images. For this you click on the image icon in the top middle:
When you click this icon this window will pop up:
(The same window pops up, if you right click on an image and select 'Image properties')
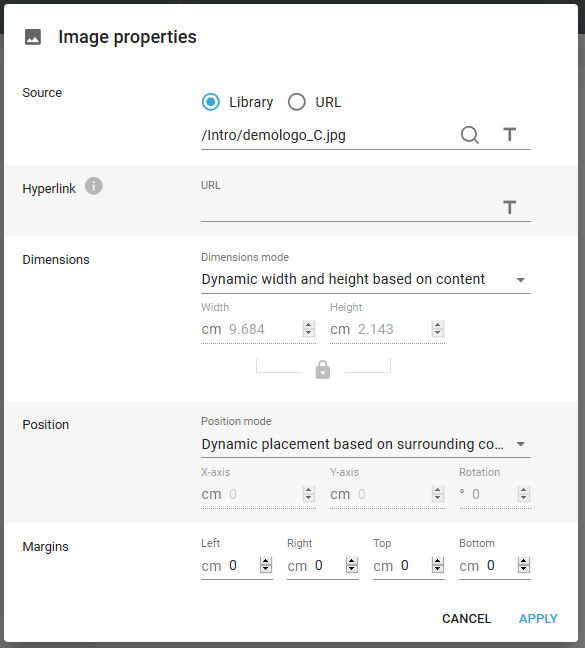
The fields for the image are these:
Source
If you select Library, then you can select (with the magnifying glass) between the images stored in the library. These images can also be selected dynamically.
If you select URL, then the URL of the image is to be defined e.g. https://www.interform400.com/templates/interform/images/logotype.png.
The URL option should be considered if either you want to use a link to an external image like above - or if you want to select dynamically between MANY images - so many images, that installing them in the library is not an option. Here you should consider an XPath expression to set the path - similar to like described for dynamic images.
If possible it is better to refer to installed images as this will improve performance compared to images found via a URL.
If you want to link to a local file, then you can do that with a URL like this:
file:/C:/Users/myuser/Pictures/Myfile.jpg
If you want to refer to an image e.g. in the IFS of an AS400 (from another machine e.g. a Windows PC), then you can use this as the URL in the designer:
file:////<machine ID or IP-address>/apf3812home/Work/Demoimage.JPG
This does require, that the Windows PC has Netserver access to the IFS. You might even need to run the InterFormNG2 under a specific user profile in order to gain access.
If you are running InterFormNG2 locally on the IBM i and you want to include a dynamic image from the local IFS, then you can refer to the image like so:
file:/apf3812home/work/Demoimage.jpg
If there is a space in the path, then you need to replace the spaces with %20. You can do that in this way with an XPath expression:
replace('file:/C:/Users/myuser/Pictures/My File.jpg',' ','%20')
You can use a dynamic image (which e.g. is found dynamically for each customer) in a mail template to track if a specific image has been downloaded as a way to track if an email has been opened.
The entry line of the source has two different modes:
Either the image is referenced with a Library path or a URL as above. In the Library mode the magnifying glass opens the list of all images in the library. In URL mode the image is referenced via a URL, so any reachable image can be used.
If you click the 'T' on the right, then the mode is changed to expression, which is described below. At the same time double quotes "" are inserted around the text to make it a valid XPath expression.
In URL mode you can refer to a placeholder image:
This placeholder image is then used in the designer only in order to replace the linked image in the URL. You can select the placeholder image from the Library via the magnifying glass on the right and remove the reference to a placeholder image, if you click the trashcan icon on the very right.
In expression mode you can build a dynamic reference to the image the magnifying glass opens an Xpath dialog, which can display the contents of the sample XML file, a list of defined variables and a list of all extra built-in Xpath functions. If you click the icon '< >' on the right, then the mode is change into the fixed mode above. If you e.g., use this Xpath expression with the demo xml file: concat("/Intro/image_",/Root/Document[1]/DocumentNo,".jpg") then the dynamic image will be: /Intro/image_1004.jpg. More information about Xpath is found here.
If you want to select a dynamic image, that is found in the installed images, then the source parameter should be Library. If you select URL as the source, then you can also use an XPath expression to refer to an image, that is not installed in InterFormNG2.
If you want to include a dynamic image via a parameter on an AS400 command, then you should check out the example here.
Fallback image
If you include a dynamic image e.g. to include an image of a specific product, that is mentioned on a detail line, then you might not have an image of any product, so you need a way to handle missing images. For missing images you can either choose to include a fallback image or choose to not insert any image at all. This is covered in the section, Fallback image.
Base64 image from input XML file
With the functionality mentioned above, you can even extract a base64 image from an input XML file and use that in the output defined in the designer. If you want to do that, then you can define such an image like below:
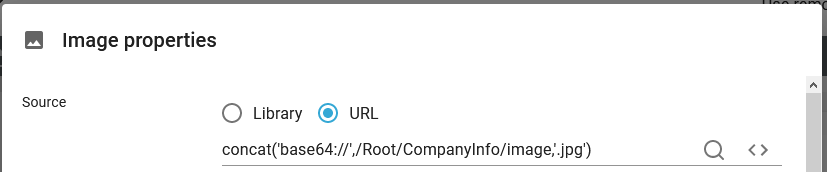
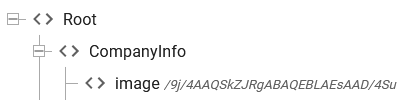
In the example above we define an image with the contents of a URL. The data for the barcode is found in the input XML file, that contains the base64 encoded image in the node /Root/CompanyInfo/image:
In the example above we tell InterFormNG2, that we expect the base64 encoded image to be a jpg image, but if the image is in a different image format, then InterFormNG2 will try to guess the right image format and use that instead.
Hyperlink
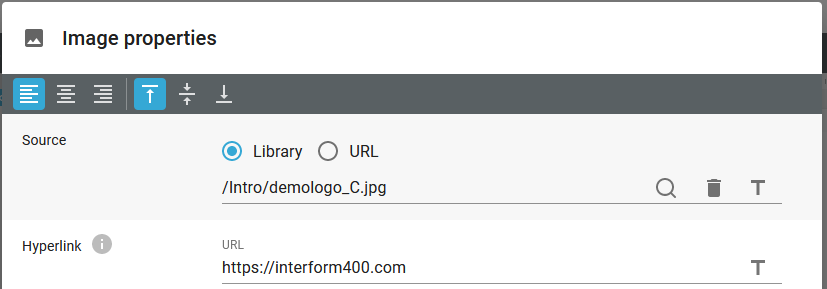
Here you can define a link (URL to be opened) for the image, when a PDF file is created. If the user clicks on the image, then this web site /URL is opened.
Dimensions
The size of the image. This can either by dynamic or fixed. If the size is fixed, then you can only set a specific height or width of the image. The other will be calculated to keep the ratio between height and width for the resized image.
Position
The position of the image. The position can be either relative or fixed within the page/container/table in which it is inserted. If the position is fixed, then the rotation can be set freely. The rotation is relative to the page/container/table in which the image is inserted.
Margins
Margins can be only be inserted, when the image is inserted with relative positioning. If fixed positioning is selected the margin settings are not shown, as they are not used.
Hyperlink for the image
You can assign a hyperlink to an image, so that a user can click the image in HTML and PDF outputs. You can set the hyperlink in the image element like below:
The hyperlink can of course also be set via an Xpath expression - if you click the T icon on the right.
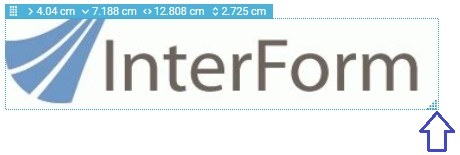
Resize the image
Resizing an image is like resizing any other element:
1.You can drag in the lower right edge of the image to resize it. The ratio between height and width is kept:
2.You can also type in the new size under the Dimensions field of the image:
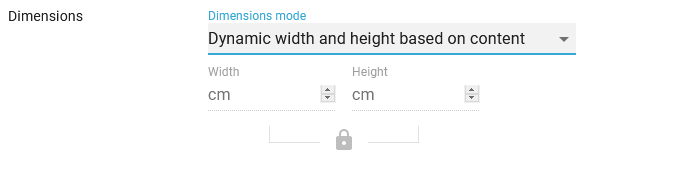
You can select how you want to define the size via the dimensions mode. Possible values are:
Dynamic width and height based on contents
This means, that the image size depends on the resolution (DPI) of the template and the number of dots/pixels in both directions of the image. If the resolution e.g. is 300 DPI and the image is 300 dots high and 450 dots wide, then the image will be 1 inch high and 1.5 inch wide. The image size is however limited by the container it is inserted in (because there is not room for the full image), if it is inserted with a dynamic position. The ratio between height and width of the image is kept, even if the image is resized because of a limiting container.
One fixed dimension
If you select this, then you can specify either the width or the height of the image. If you enter one of them, then the other is calculated. If you use this option the original ratio between the height and width of the input image is kept.
Fixed width and fixed height
Here you state a fixed height and a fixed width of the image. The ratio between the height and width of the image may not be the same as of the input image. You need to calculate appropriate values yourself, if you want to keep this ratio.
It is possible to rotate an image. You can do that in two ways:
1.By rotating the container in which the image is placed.
2.By rotating the image itself as explained below.
Rotations of containers and images are accumulated, if they are placed within each other.
To rotate an image without rotating the container in which the text is placed, you first double click on the image element to view the properties and then change the Position mode to 'Fixed position relative to parent container', then you can change the rotation as marked below.
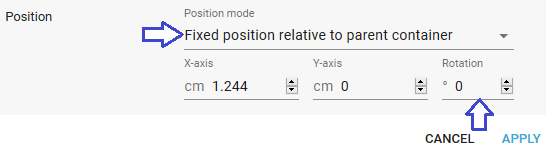
It is recommended to stick with rotations, that are multiples of 90 i.e. 90,180,270 to ensure that the rotation is supported by the printer.
Please note, that by changing the position mode the subsequent elements that are positioned relative will move upwards.
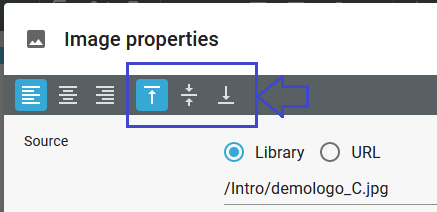
Vertically align a fixed positioned image
It is possible to vertically align a fixed positioned image. You can choose to position the image above, centered or below a reference point.
This is setup with these icons, when you edit the properties of the fixed positioned image:
This option is used below. All the images have the same position from the top, but they have a different alignment:
Support for transparent images
Transparent images are supported in InterFormNG2, but the transparency is only supported for PDF output - not the printed output. The requirement is, that the image itself is transparent (prior to installation in InterFormNG2).