There are several ways to use a dynamic image in a template, but if you use an AS400 command, then you can also include an image as an attachment in the command, IFORMNG2/NG2CMD.
Here is an example of how that can be done:
On the command you can simply refer to an image in the IFS like so:
IFORMNG2/NG2CMD COMMAND(attach) FILE(QPJOBLOG) SPLNBR(*LAST) FILE1('/apf3812home/work/nyqs logo.png')
The parameters of the command are covered in the section: Parameters of the AS400 command.
This command calls the workflow identified by 'attach', it includes the last spooled file with the name, QPJOBLOG and also includes the image, /apf3812home/work/nyqs logo.png from the IFS.
Now we just need a matching workflow with the input type, AS400 command input.
The workflow has been setup with a sequence of these components:
1.Setup of AS400 command input
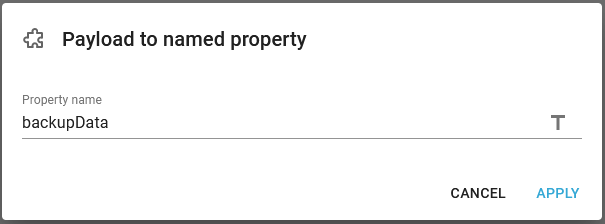
2.Save the input spooled file into a named resource for later retrieval.
3.Create a variable, $image to setup a unique, dynamic image name, in which the input file, FILE1 will later be stored.
4.Retrieve the attached file in FILE1 into the payload of the workflow.
5.Save the retrieved file in step 4 as a temporary image with the name of the variable, $image from step 3.
6.Retrieve the spooled file as saved in step 2 from the named property.
7.Merge the input spooled file with a template into a PDF file. The template refers to the image via the variable, $image.
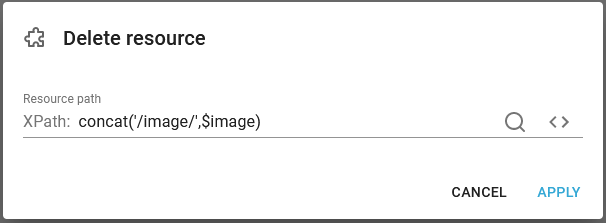
8.Finally delete the temporary image, that was created as a resource in step 5.
Each of the steps/components are covered in the linked sections below:
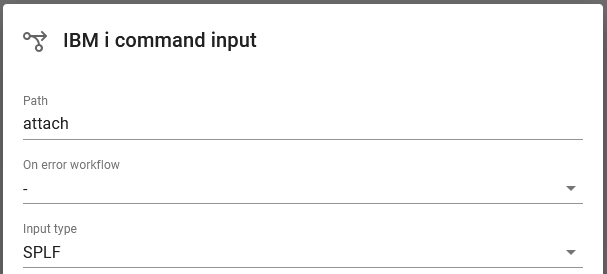
1.Setup of AS400 command input
As the first step the workflow is defined to be called via the COMMAND('attach') and the workflow expects a spooled file as input:
2. Save the input spooled file into a named resource
The second step is to save the input spooled file as we will later overwrite the payload of the workflow. It is saved via the payload to named property component:
3. Create a variable, $image for the temporary image name
In the third step we create a variable, $image to contain a unique, temporary image name. That is done with the component, Set one workflow variable:
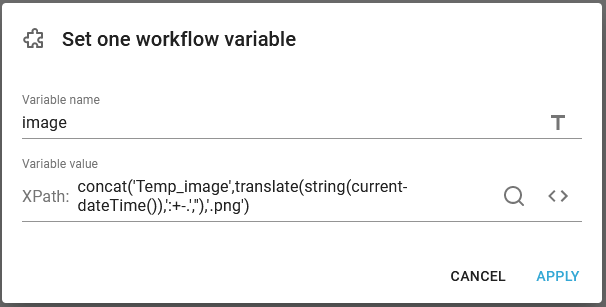
The function inside is this:
concat('Temp_image',translate(string(current-dateTime()),':+-.',''),'.png')
It use the function, current-dateTime() to extract the current timestamp. The translate function translates the special characters :+- into nothing i.e. removes them from the timestamp and the function concat, puts the fixed string 'Temp_image' together with the converted timestamp and the extension '.png'. The variable, $image can then e.g. be: Temp_image20211008T0939094310200.png.
4.Retrieve the attached file in FILE1 into payload
Now it is time for retrieving the input file in FILE1 into the payload. The FILE1 parameter is put into the file_1 attachment, so this is the one, that is to be copied into the payload with the attachment to payload component:
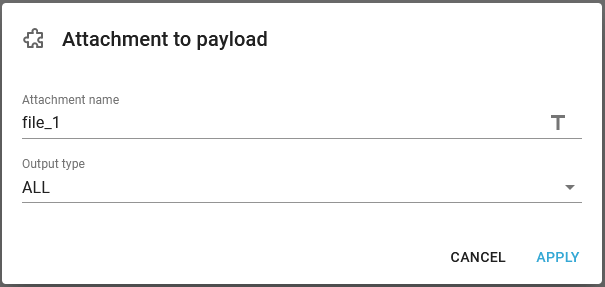
We select the type, ALL for the image, as that match the image type the most. The mapping of FILE1 into file_1 is covered in the section, Parameters of the AS400 command.
5.Save the attachment in the payload as an image resource
The attachment is now stored in the payload, and we can now store this as an image resource, so that the template can use this image. This is done with the component, Save in resources:
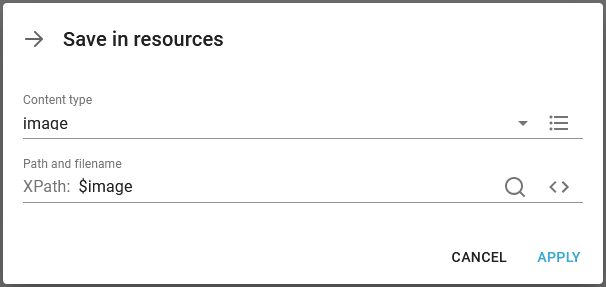
The content type is of course image and we use the variable, $image (which was set in step 3) as the name and path of the image.
6.Retrieve the spooled file from the named property
Now that the image is saved we can now retrieve the spooled file again, so that it is available for the merge with a template. The spooled file is retrieved with the component, Named property to payload:
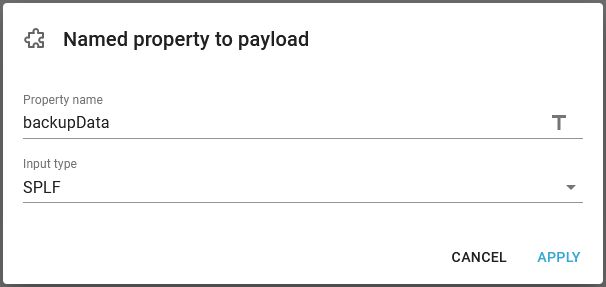
7.Merge the spooled file with the template into a PDF
With the component, Create PDF file we can now merge the spooled file with the template:
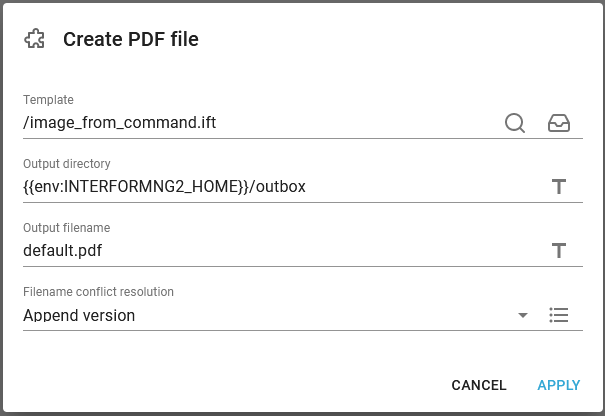
Inside the template we can now refer to the image in this manner:
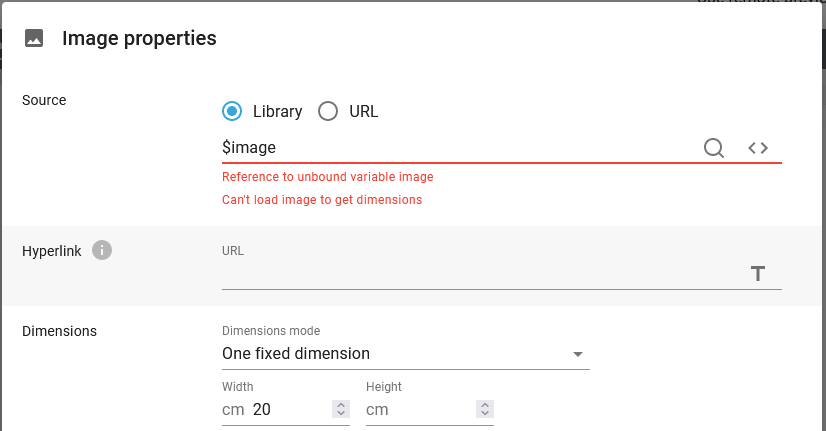
With this setup the image is not shown in the designer - not even in a PDF preview, but if you want to see a sample image in the designer, then you can add a workflow variable element in the designer to select an alternative image just for the designer e.g. like so:
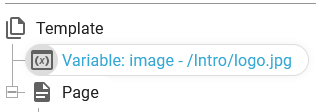
Here is the details of the element:
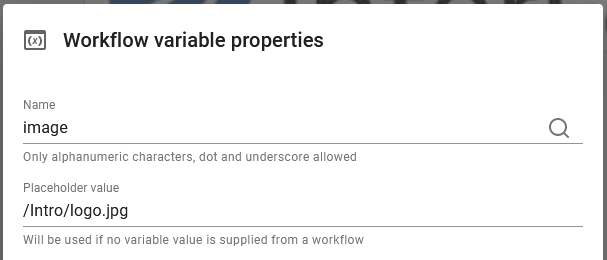
In this way we have told the designer to use the image, logo.jpg from the Intro folder.
The only thing outstanding is to clean up and delete the temporary image with the component, Delete resource:
