The component element is selected via this icon:

Components can be used, if you want to reuse a collection of elements for multiple templates. This can e.g. be used, if you want to define a special header or footer, that should be common for many business documents. The advantage with the component is, that you can easily change such a common component once and immediately change e.g. the company logo or contact information.
Important note: The component element is created as a way to share a part of a design template, that you want to reuse across one or more templates. It is not directly possible to create a page element within a component and that reflects the best pratice of the component: It might be possible to drag/move a page element into a component, but this is not how the component should be used. So if you see issues while placing a page element inside a component, the recommendation is to move the page element out of the component and instead e.g. consider to create up to 3 components instead: For the header, body and footer section of the page element.
The topics in this section are:
1.How to create a component.
2.How to include a component in a template.
3.How to change (and save) a component.
4.Delete a component from a template
5.Some component tools.
6.How to delete a component from the tenant.
7.How to use a component in header or footer.
8.List of sample/demo components. InterFormNG2 includes a list of sample/demo components, that you can use as reference or use as a basis to build your own components.
Create a component
To create a new component only a single element can be selected. This single element can e.g. be a container with multiple elements inside.
To create the component you right click on the element e.g. container and select 'Create Component':
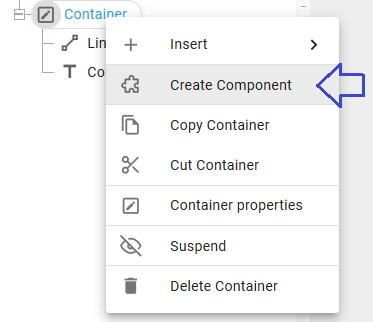
After you have clicked 'Create Component' this window is shown:
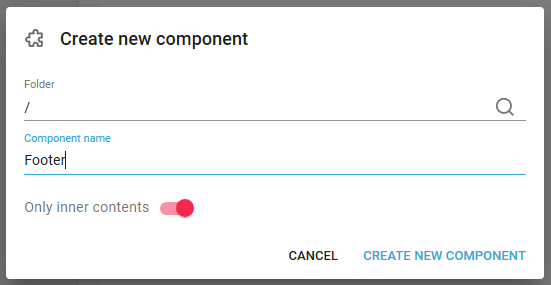
The fields are:
Folder
Here you can select a folder or create a new folder for the component with the magnifying glass on the right.
Component name
Type a name for the component to be saved.
Only inner contents
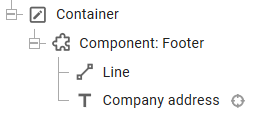
If this is activated (red - marker on the right), then only elements inside the selected container are moved to the component, and the component is referenced inside the container - like this:
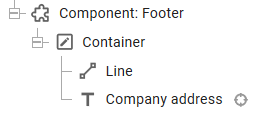
If it deactivated (grey with marker on the left), then the container element itself is moved into the component:
When you click 'Create new component' the component is saved as the specified name with the extension .icmp in the selected folder. The output of the template remains the same. After this the component is also listed in the Library.
Include a component in a template
You can include a component while editing a template in two ways:
1.You can click the component icon on the left:
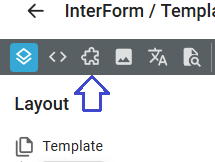
After that you are shown a list of all components and folders containing components. From here you select component a simply drag it to the result view.
You now click this icon to see the layout (element tree structure of the template):
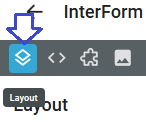
2.You can also select a component to be inserted by clicking the '+' in the middle of the top and click the component icon in the second row:
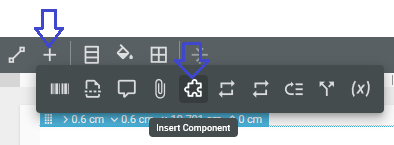
After inserting the component, you can drag (or copy and paste) the reference to the component into another place in the tree structure if needed.
Change a component
To change a component you need to include a reference to the component in a template. When you have done that you simply open the component folder and change the contents. This is almost too easy, so take care not to change a component by accident as this will effect all the other templates, that are using this component.
To avoid accidental changes you are warned in three ways:
First when you change a component you will see this warning message in the lower left corner:
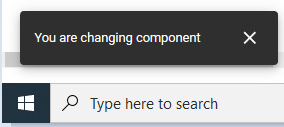
Then a red dot is shown to the right of the changed component in the element list:

And when you later want to save your changes you are reminded again, if you also changed a component:
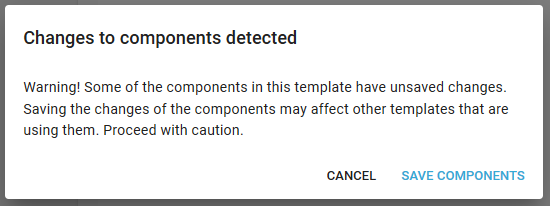
If you want to regret the change of the component, then you should select 'CANCEL' on the window above.
Delete a component from a template
If you want to remove a component from a template, then you can delete the reference to the component in two ways:
1.You can click on the component and then press the <Delete> key on your keyboard.
2.You can also right-click on the component in the element list and then click 'Delete component':
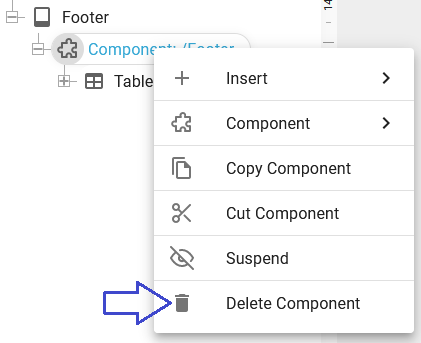
Please notice, that this Delete Component function only deletes the reference to the component, it does not delete the component from the system.
If you want to delete the component from the system, then you should read this section.
Component tools in the designer
If you right click on a component in the element list, then you will see these options:
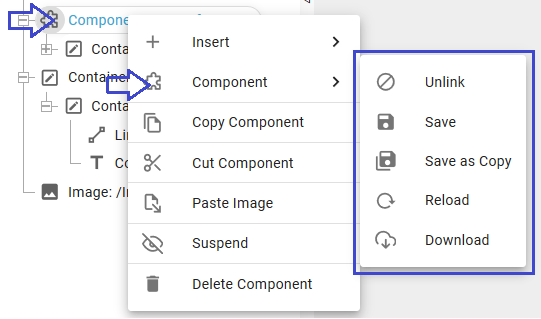
The tools are described below:
Unlink
Remove the reference to the component. This works like the 'Delete Component' option above. The component is not delete, but the reference (or link) to the component is deleted. If you really want to delete a component, then you need to do that from the Library.
Save
If you have changed a component you can chose to save it now with this option.
Save as Copy
Takes a copy of the component and references the new copy. This can e.g. be used, if you want to change a component, but as other templates should still 'see' the original component, you can instead take a copy and use that for this template. Then you can modify the new component without affecting any other templates.
Reload
Reloads the component. This can e.g. be used if another user has just changed the component, and you want to see the updated version of the component with the current template.
Download
With this option you can save a copy of the component to your local PC e.g. as backup or for copying to another installation.
How to use a component in header or footer
The use of a common component is covered in this video: