If you want to insert a line in a template, then you need to click the line element icon:

After you have clicked the line element, the pointer icon changes to a cross hair icon indicating, that InterFormNG2 now expects you to start and end position of the line.
To insert the line you now click the left mouse button to select the start position of the line. Now hold down the left mouse button while dragging the mouse to the end position of the line.
This section covers these topics for the line element:
1.The properties of the line element.
2.How to force a slope of x times 45 degrees.
3.How to set the line width.
4.Set the color of the line
5.How to change multiple lines simultaneously.
6.How to repeat horizontal lines
7.How to repeat vertical lines
The properties of the line element
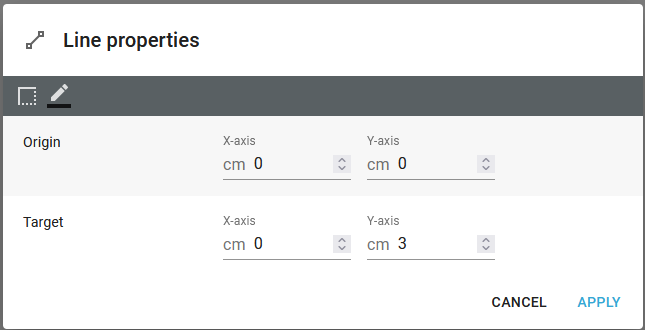
The properties of a line element can be seen and changed if you double click the line element either in the result view or in the tree element list:
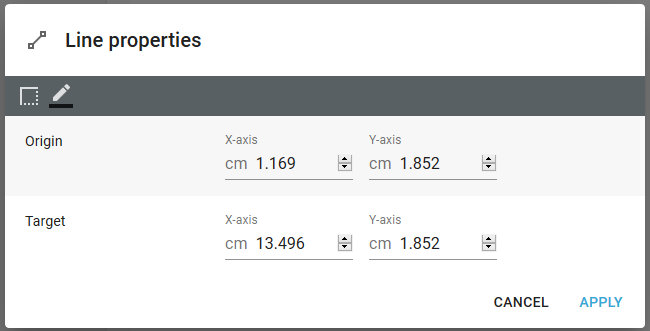
Apart from the two icons in the top you here set the position of the end points of the line - relative to the container in which the line has been inserted.
Force a line with a slope of x times 45 degrees
There is help, if you want to create e.g. a vertical or horizontal line. Actually InterFormNG2 can help you to easily create a line with slope of any whole number times 45 degrees. If you want this aid, then you just hold down the <Shift> key while dragging the mouse to the end point of the line.
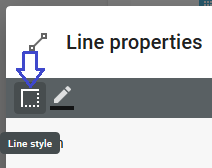
How to set the line width
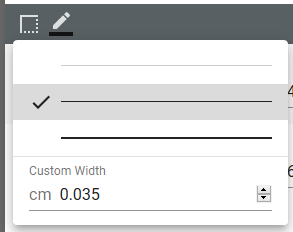
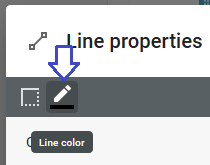
You can set a specific line width, if you click this icon on the line properties:
After you have clicked this icon you can either select a predefined line width or type a specific width:
Set the color of the line
The color of a line is default black, but you can choose any color with the RGB (Red, Green, Blue) combination of your choice.
You set that on the line properties with this icon:
Then a view of all defined colors are shown - an example is shown here. You can also define a new color in the same pop-up window.
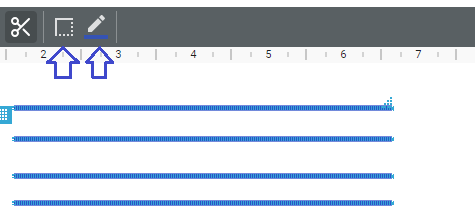
Change multiple lines simultaneously
As seen above you can change the color and width of one line element at a time, but you can also change multiple lines at a time. In order to do that you first need to select all the line elements and then you can set the new settings in the top of the designer as below:
While multiple lines are selected you can also move the selected elements as one (by moving the marked line element) or even resize the lines by dragging in the rightmost end of the marked line element.
How to horizontal lines
The descriptions above covers how to insert a single line element at a time, but there is a way to insert many lines of the same length below each other like in this image:
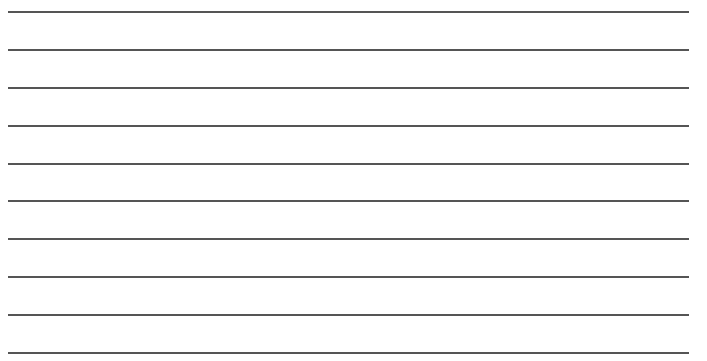
The smarter way to insert these multiple lines is with a repeat loop like below:
(We could also have added a top or bottom border to the displacement container, but then it is perhaps not fully clear what the purpose of this is).
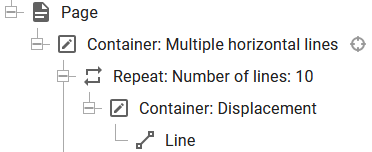
Let us look at the design elements, that used above:
1. Container: Multiple horizontal lines
This container can have a fixed or a dynamic position, the position of this container is the start reference point used for the lines. In this case we want to insert the first line starting in position 1 cm from the top and 1 cm from the left, so that is what we choose for the position of this container:
In the top left corner of the settings we have the default flow direction, which is column, which makes the flow of dynamically elements inside this container to be placed below each other.
2. Repeat: Number of lines: 10
Inside the main container we need a repeat which iterates for the number of lines, that we want to insert. In this case we want 10 lines, so the repeat is for 10:

3. Container: Displacement
Inside the repeat we need a displacement for each repetition so that each line is moved a bit below. In this example we want to move each line 1 cm below the previous one. In order to do that we need to insert the line inside another container (Displacement), which has a height, that match the displacement between each line element. This container must have a dynamic position and we need to ensure, that each container is 1 cm lower than the previous one. We do that here by setting the height of this container to be 1 cm:
The width is set to 0 cm, which the designer does not like, but the width is not used, so we could also have set that to any value.
4. Line element
Finally it is time to insert the line element inside the displacement container. The line is here 18 cm long and inserted in the top left corner of the displacement container, which was inserted above:
How to repeat vertical lines
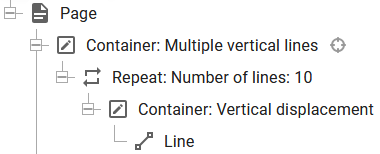
This section is very similar to the horizontal lines in the section above, but here we want to insert multiple vertical lines, where each line is moved a bit to the right of the previous one like below:
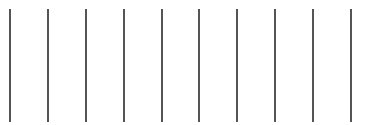
The setup of the template is similar to the horizontal lines above:
(We could also have added a left or right border to the displacement container, but then it is perhaps not fully clear what the purpose of this is).
Each element is described in detail below:
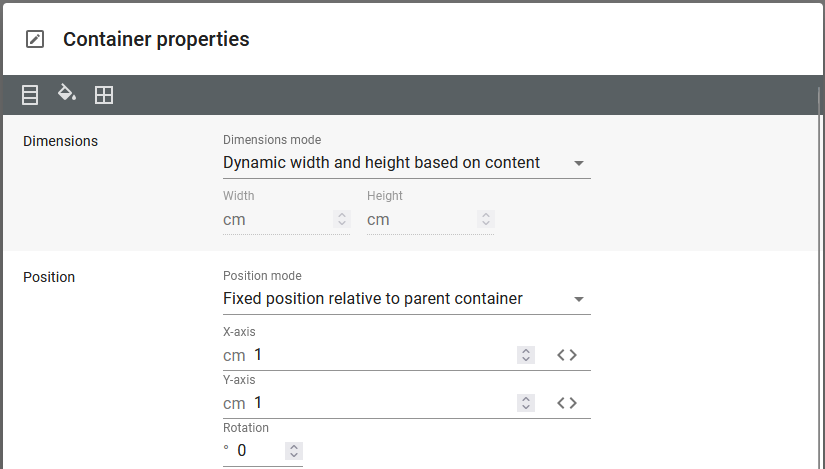
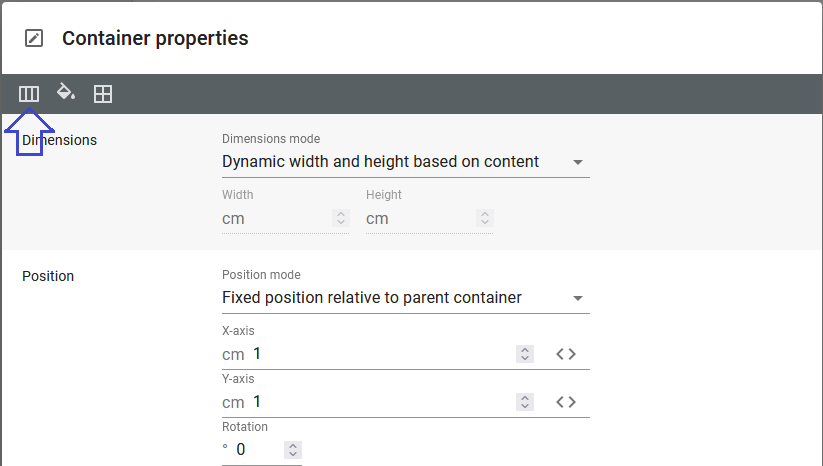
1. Container: Multiple vertical lines
This container can have a fixed or a dynamic position, the position of this container is the start reference point used for the lines. In this case we want to insert the first line starting in position 1 cm from the top and 1 cm from the left, so that is what we choose for the position of this container. We also need to setup the flow direction of this container to be row, so that each element inside (that has a dynamic position) is placed to the right of the previous element:
2. Repeat: Number of lines: 10
Inside the main container we need a repeat which iterates for the number of lines, that we want to insert. In this case we want 10 lines, so the repeat is for 10:
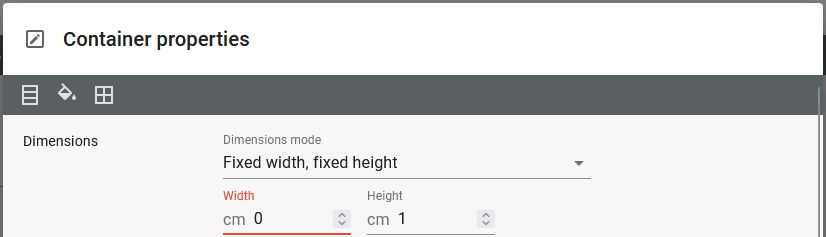
3. Container: Vertical displacement
Now we insert a container (with a dynamic position) which is to force the 1 cm displacement to the right for each repetition. We do that by inserting a container with this width like below:
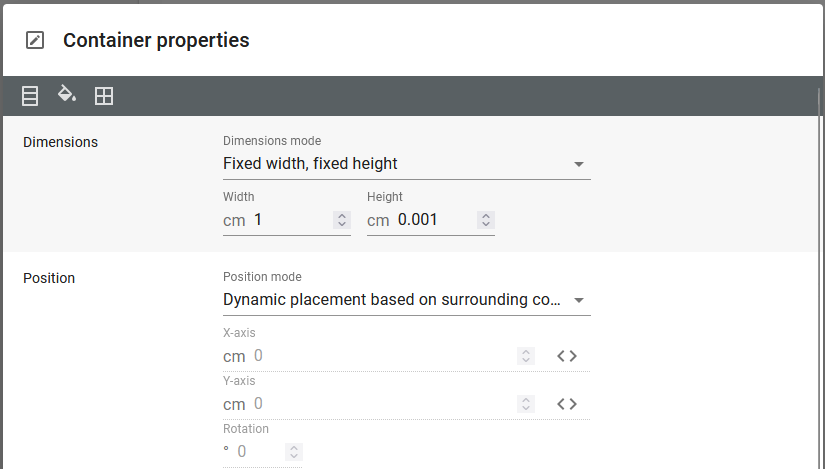
It is not allowed to insert a container with the height of 0 (and the height is actually irrelevant), so we here set the smallest height possible: 0.001.
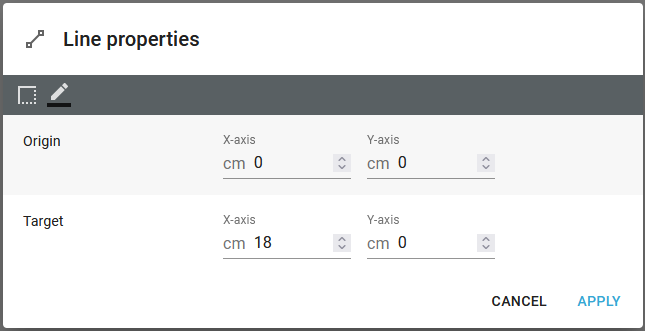
4. Line element
Inside the displacement container we can now insert the line element. Each line element is here 3 cm long: