You can use a table element to insert design elements in organized rows and columns. Each cell in the table can be surrounded by a border and/or filled out with a color. You can even create a dynamic table with a row for each detail line in the input XML file.
In each cell you can either insert one or more elements.
Click this icon (in the middle of the top row in the designer) to insert a table:

The topics in this section are these:
1.How to create a new table
2.How to resize the whole table.
3.How to set a fixed row height.
4.Disable/enable block protection on a row.
5.How to change a column width.
6.How to add borders to a table - both the thickness and the color.
7.How to fill a table or cells with a color.
8.How to add or delete a row.
9.How to add a column.
10.How to delete a column
11.How to merge and unmerge cells.
12.How to define a table with dynamic rows including repeated rows.
13.How to define a table with dynamic columns.
14.Setup a cell element and cell padding (internal margin).
15.Vertical alignment setup of the table, a row, a column and a cell.
16.Important notice if the table is used inside a component.
17.Setup fixed column header rows for page overflows
18.Example1: Use a table for a single type of detail lines.
How to create a new table
After you have clicked the table icon shown above you are presented with this pop up window:
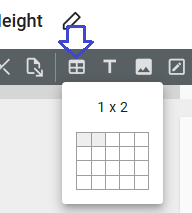
Now you can move the mouse to define how many rows and columns you want in the new table. This is just the initial numbers, rows and columns can be added and deleted at any time.
How to resize the whole table
If you want to resize the complete table then you have two options:
1.The easiest way is to select the main table element in the element list, and then you can drag in the lower right corner of the table:
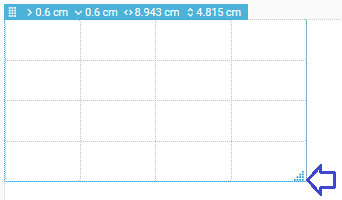
You should however notice, that if you do that, then any columns with a fixed width format setting is changed into a percentage instead.The row heights and column widths (only the column width with percentage format are changed) are adjusted accordingly while keeping the relative size compared to the other heights/widths.
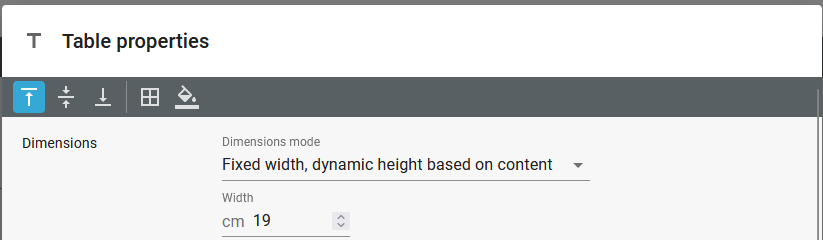
2. The alternative is to open the properties of the table element (double click on the table element in the element list), select fixed width and here type in a new width:
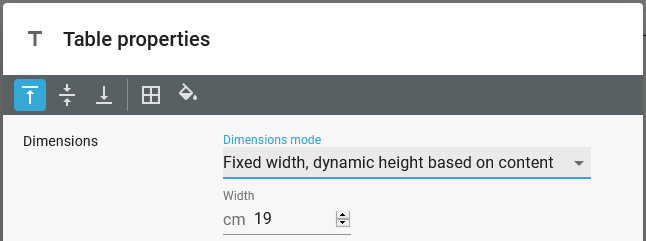
Please notice that if the table is inserted directly inside a component, then you need to set a fixed width like above. This is covered in the section, Important notice if the table is used inside a component.
How to change the height of a specific row
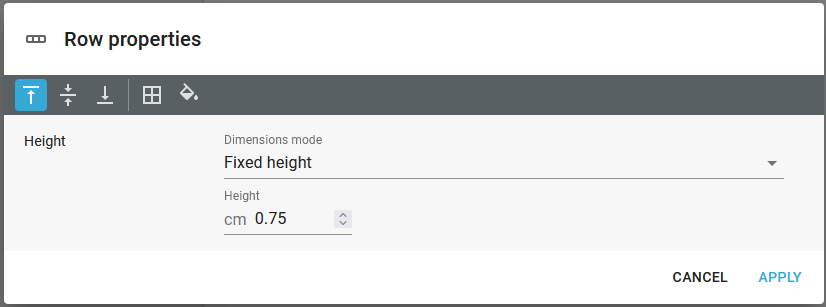
The easiest way to set a fixed height of specific row in the table is to simply drag the bottom line of the row with the mouse and drag the line up or down. Another way is to select double click the row in the element list, change the Dimensions mode to Fixed height and then type the new row height:
Disable/enable block protection on a row
The normal way to ensure a block protection of a section (in order to prevent a page overflow in the middle of the section) is to insert the elements into a cell. However dynamically positioned tables can also be used as a way to ensure columns, that are to allow a page overflow in the middle of such a cell. You can enable/disable the block protection on the properties of the row element on the Dimension mode parameter:
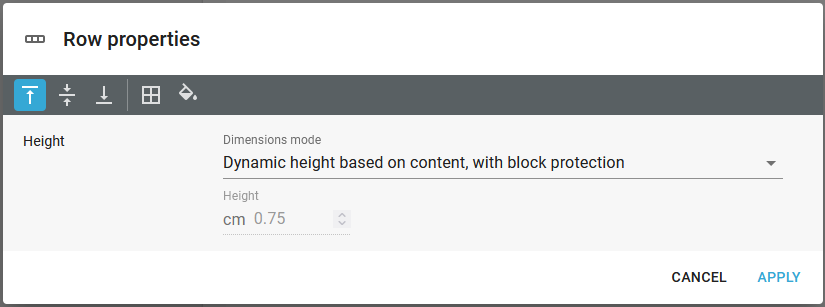
The possible values for the Dimensions mode are:
Dynamic height based on contents, with block protection
With this value all cells in the row are block protected - the complete row is moved to the next page, if there is not enough room on the current page.
Dynamic height based on contents, without block protection
All cells in the row can force a page break, if there is not enough room on the current page. If the row/cells has a bottom border, then a bottom border will be added on the first page.
Fixed height
The row is block protected.
How to change the column widths
The column widths inside a table can be set in three different ways:
1.As a percentage of the total table width.
2.As a fixed width.
3.As flexible
In a new column or table the column width is as default set to a percentage of the table width, where the total width is shared equally between the columns - except the last column width, which as default is set to be flexible. The flexible width indicates that this column width is to adapt to whatever is left of the total size of the table.
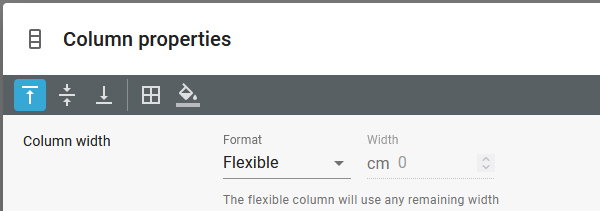
You can change between the width formats on the column properties:
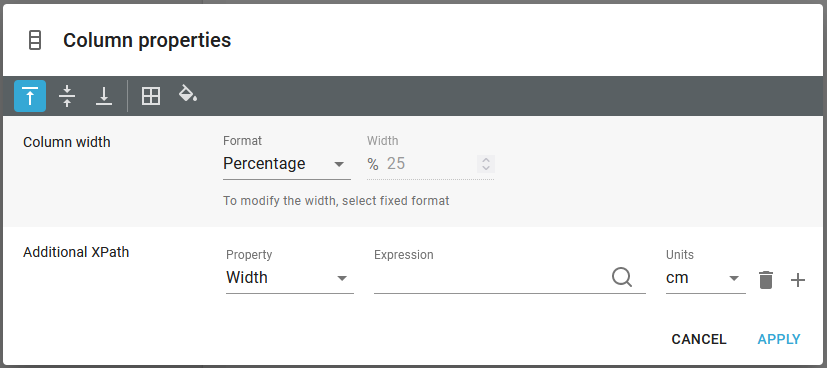
You can change between the three width formats as you please - with the limitation, that only one column can have a flexible width and at least one column need to have the width set to either percentage or flexible.
That is how fixed columns width can work together with the fact, that you can resize the complete table.
Like for the row heights you can drag the lines between the columns to resize them. The rightmost part of the rightmost column is however limited by the table width, so if you want to move that line, then you need to resize the complete table.
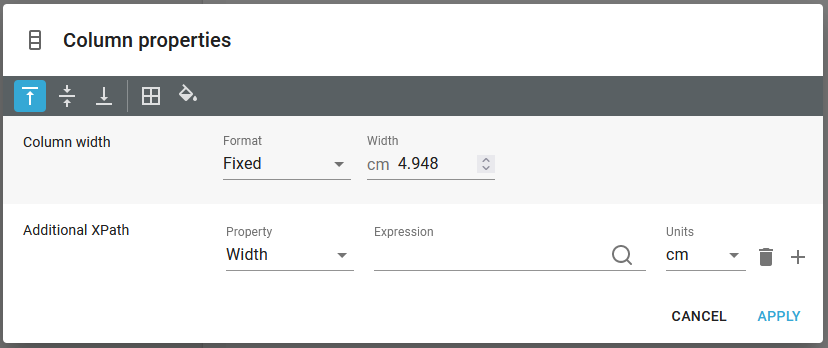
Please notice, that even though you have set a fixed width of a columns (in inches or cm). then the format is changed from fixed to a percentage if you either:
1.Drag the line to the right of the column left or right to resize it with the mouse.
2.Resize the complete table by dragging in the bottom right corner of the table.
You can also double click a column in the element list to type in a specific width:
How to add/remove borders to a table
It is possible to add and remove borders to a table, a row, a columns and a selection of cells. Only a single row or column should be selected at a time.
After selecting the object(s), you select the borders icon in the top ribbon of the designer:

After clicking this icon you will see this pop up window:
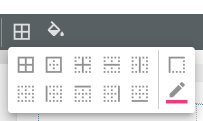
If you only want to add a default black border you can simply click the upper left icon, but if you want to use a specific line thickness, then you can select the Border style (line width) with this icon:

Here you can select a line width from the list or type a specific line width. If you already have selected specific borders in the leftmost part of the pop up window, then the width of these borders are set accordingly.
You set the color of the borders with this icon (select from the defined colors):
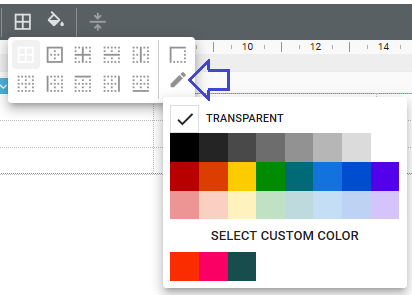
If you want to remove borders, then you select TRANSPARENT as the color.
Create a new color
You can add new colors (shown in the bottom of the screen shot above) by clicking the SELECT CUSTOM COLOR icon:
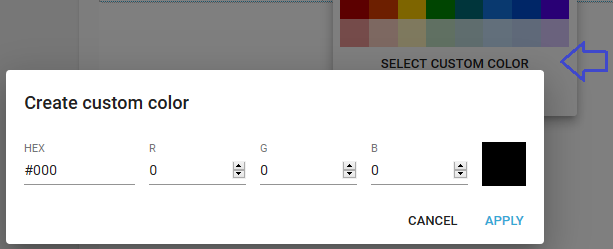
Here you can define the Red (R), Green (G) and Blue (B) components of the color in either hexadecimal or decimal.
How to fill a table or cells with a color
It is possible to add and remove color filling to a table, a row, a columns and a selection of cells. Only a single row or column should be selected at a time.
After selecting the object(s), you select the fill color (from the list of defined colors) icon in the top ribbon of the designer:
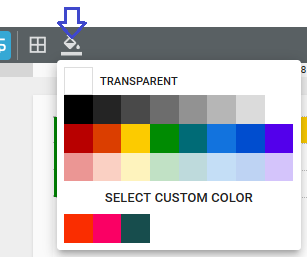
You can create a new color combination, if you want to use a new, undefined color.
How to add/delete a row in a table
To add or delete a row you need to right click on the row (or an existing row just below or above, where you want to add the new) and select 'Row properties', then you will see this:
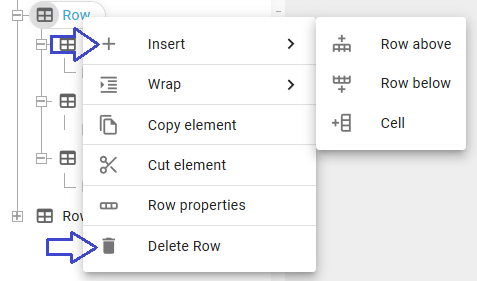
To add a new row you select 'Insert' and then '+ Row above' or '+ Row below' to add the new row before or after the selected row. You can even add a new column to the right if you select '+ Cell'.
To delete the selected row you select 'Delete Row' on the list above, or just select the row and press the <Delete> key on the keyboard.
How to add/delete a column in a table
To add or delete a column you need to right click on the column (or an existing column to the left or right of where you want to add the new) and select 'Column properties', then you will see this:
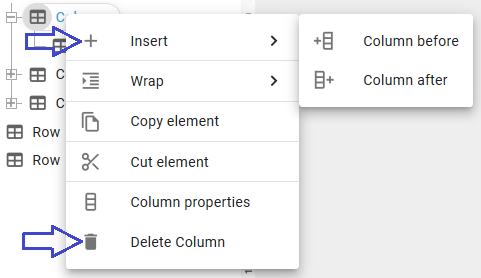
To add a new column you select 'Insert' and then '+ Column before' or '+ Column after' to add the new column to the left or to the right of the selected column.
To delete the selected column you select 'Delete Column' on the list above, or just select the column and press the <Delete> key on the keyboard.
When you delete a column, then InterFormNG2 will distribute the width of the deleted column on to the other columns, that have a percentage as the column width.
Delete of a column with flexible width
The delete of a column is however a bit special if the width of the deleted column is set to be flexible as below:
Then no changes are done to the other columns and you might end up with a table, that is more narrow than the available width - even though the table has been setup to use the full width with this setting:
So before the delete of the column the table will e.g. use the full width of the page like below:

After the delete of the flexible column the output looks like below:

If you want the table again to span across the full page width, then you can e.g. just set one of the remaining column widths to 'Flexible' and this column will now expand and the table will again take up the full width:

In the example above the last column width was set to 'flexible'.
How to merge and unmerge cells
It is possible select multiple cells (in the shape of a rectangle) and merge the selected cells into one. If you have select cells making up such a shape, then the merge icon is shown in the top of the designer:
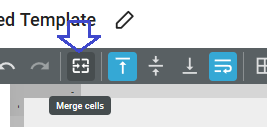
If you click this icon, the selected cells are merged into one.
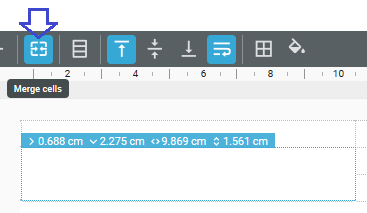
To unmerge cells you should select the merged cell. Then the same icon is highlighted in blue as below. Click this icon to unmerge the cells:
How to define dynamic rows in a table
A table does not need to be static i.e. containing a fixed number of rows. You can insert these dynamic rows:
1.Rows that are repeated a number of times depending on a constant, variable or expression.
2.Rows that are inserted for each node in the input XML file.
3.Rows that are inserted only if a condition is met.
To define a dynamic row you right click on an existing row and select 'Wrap' to get this view:
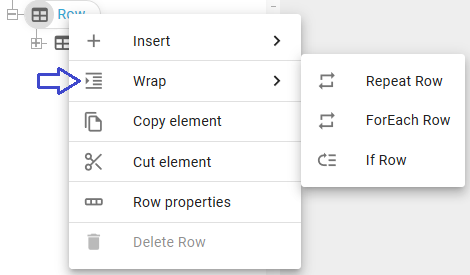
Here you see the three possible dynamic rows, which are described below:
Repeated rows
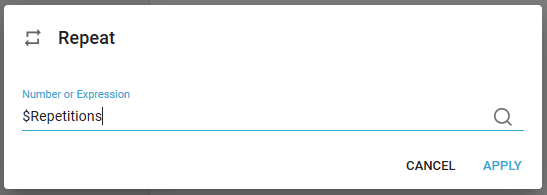
It is possible to repeat a row a number of times set by a constant, a variable or an expression with the Wrap and Repeat Row option on the row properties. As an example I here define a table with a row, that is to be repeated the number of times, that is stored in a variable called, Repetition:
The repeat can also be done for each node in an input XML file as covered below.
This is setup by selecting Repeat Row for the Wrap setting of the row:
Other prerequisites are setting up the variable before the table and to increase another variable for each row:
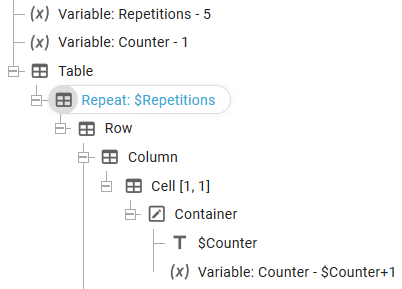
In the example above we use the variable element to set the value of the Repetition variable to 5, set the variable, Counter to 1, and display the value of the Counter variable for the repeated row. Finally the Counter variable is increased for each row.
Repeat rows for input nodes
You can also repeat a row for each node in the input XML tree, instead of a simple repeated row like above with the Wrap and ForEach Row option on the row properties. This can be considered if you e.g. want to display a table where each row relates to a detail node in the input XML file.
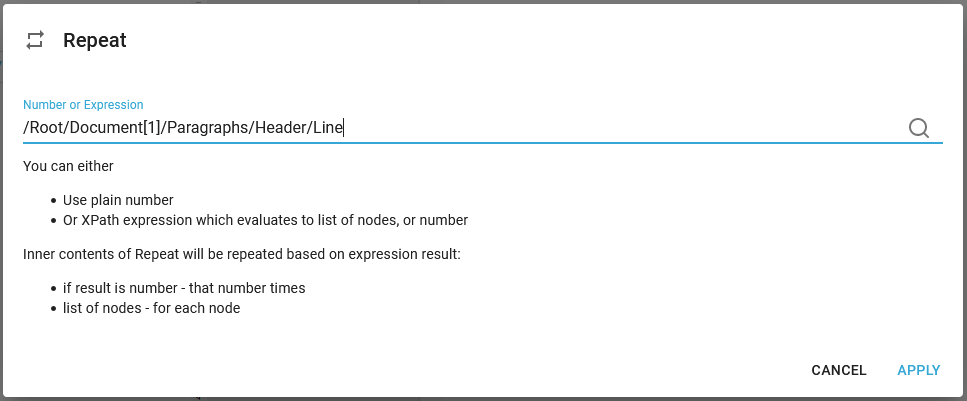
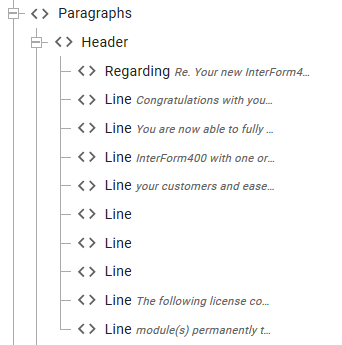
The for each row can be defined like this to print all header line nodes of the first document in the demo XML file:
The template layout looks like this:
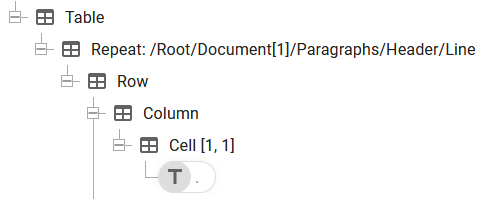
Where the text prints the value of the current node with the XPath expression '.' - or text().
The result is this output:
Based on this section of the input XML file:
Conditioned rows
You can insert conditioned rows in a table i.e. rows, that only appear if a condition is met. This can setup via Wrap and If Row under the row properties.
The condition works like the normal If element.
How to define dynamic columns in a table
A table does not need to be static i.e. containing a fixed number of columns. You can insert these dynamic columns:
1.Columns that are repeated a number of times depending on a constant, variable or expression. This is similar as for rows.
2.Columns that are inserted for each node in the input XML file. This is similar as for rows.
3.Columns that are inserted only if a condition is met. This is also similar as for rows, but a good example is shown below:
How to condition a column
You might want to exclude a special discount column in your output if there is no discount for any of the parts, that is included on an invoice. For that you could consider to insert a conditioned column.
If we consider an input XML file like this:
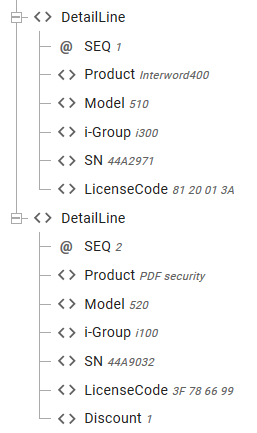
Then you can see, that there is a discount (value 1) for the second detail line. So what we want to do is to count all the detail lines, that contains a discount, that is larger than 0. You can do that with this expression:
(count(/Root/Document/DetailLine[Discount > 0])>0)
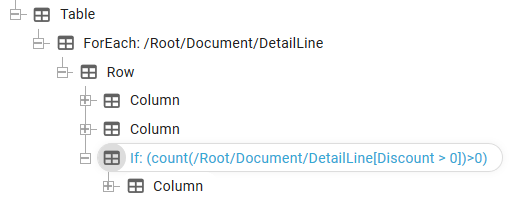
This expression returns the value false, if no detail lines has a discount larger than 0, and true if at least one detail line has a discount larger than 0. With this in mind we can condition a discount column with this exact condition:
Vertical alignment of elements inside a table
You can choose the vertical alignment of elements, that are placed with a dynamic position inside a cell within a table.
The vertical alignment is setup with these icons in the top:

You can setup the vertical alignment in these ways:
1.On the whole table. Just select the table element and click either of these alignment options.
2.On a row.
3.On a column
4.On a specific cell element.
The vertical alignment changes the previous settings of all the selected cells. So if you e.g. Change the vertical aligment settings for the table, then any vertical alignment settings for specific rows, columns or cells are changed.
Important notice if the table is used inside a component
This important notice concerns scenarios, where you want to insert a table element directly inside a component element.
When the table is inserted inside a component, then the table is not able to 'see' parents outside of the component, so it is unable to determine the available width. Because of this there is a special limitation when it comes to the width of the table: The table must have a fixed width when it is inserted within a component - unless the table is inserted inside a container, which has a fixed width.
You set the width on the properties of the table element:
These scenarios are illustrated below:
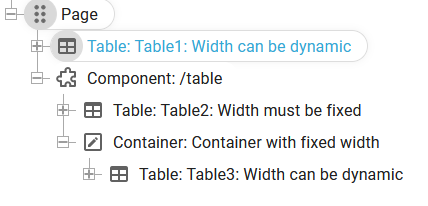
In the image above there are 3 tables:
Table1 is inserted outside the component, so it can have a dynamic width without any issues.
Table2 is inserted directly inside the component (with the component as the parent). This must have a fixed width.
Table3 is inside a container which has a fixed width so this table is allowed to have a dynamic width as the width is found via the parent container.
If you ignore the rule of setting a fixed width for the table when needed, then the designer will stop with an error if you try to edit a column width.
Setup fixed column header rows for page overflows
A typical use of the table element is to use it to present detail lines. Above all the detail lines we normally want one or multiple table rows, that contains the column headers that describes each column. If we use repeated rows within the table then we can define a fixed set of column header row to be included on each page.
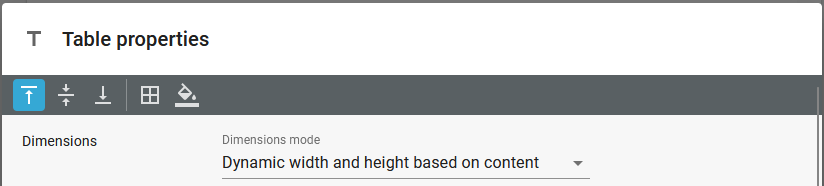
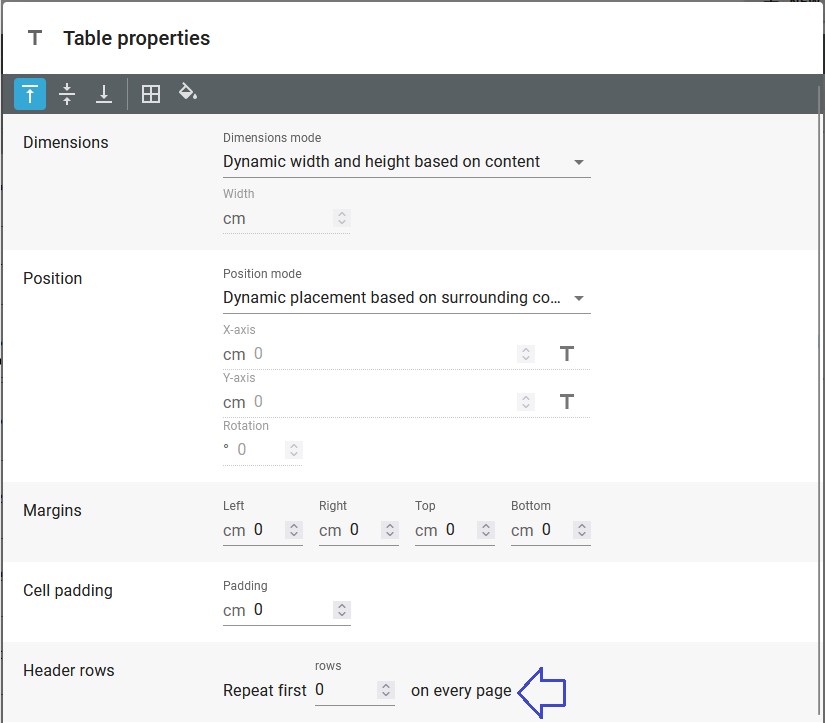
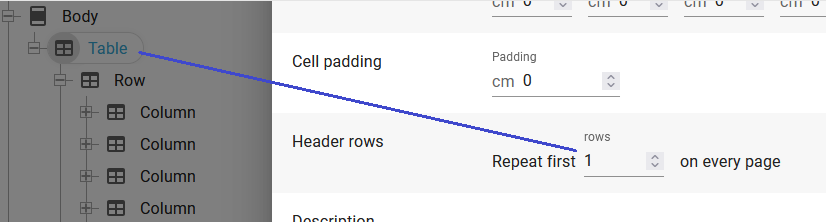
This fixed number of column header rows can be setup on the main properties of the table element:
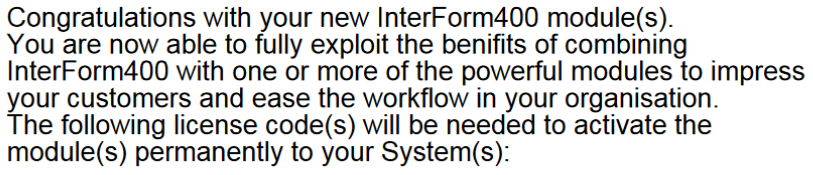
If we e.g. consider detail lines of an input file in this format:
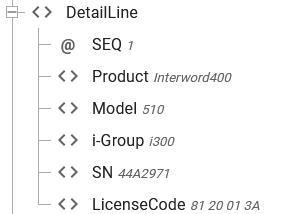
Then we can setup a table to present these values in a table like below:
The special settings are:
1.The table setting is setup to include the first row on each page:
2.We use the special repeat option on the second row of the table via the wrap option:
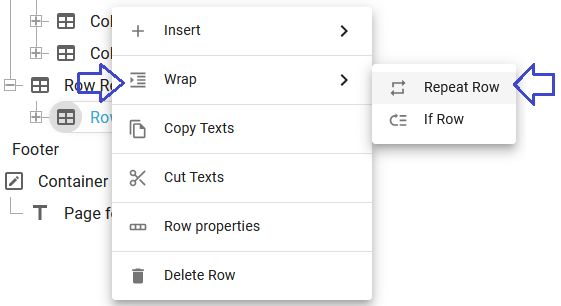
You should actually first insert this repeat before you add the values to the detail rows to ensure, that the XPath references to the input file are relative to the path setup in the repeat.
Example1: Use a table for a single type of detail lines
This section describes how you can use a table in InterFormNG2 to define multiple columns of detail lines and how to introduce column headings.
A better and more simple solution is shown above in the section above: Setup fixed column header rows for page overflows
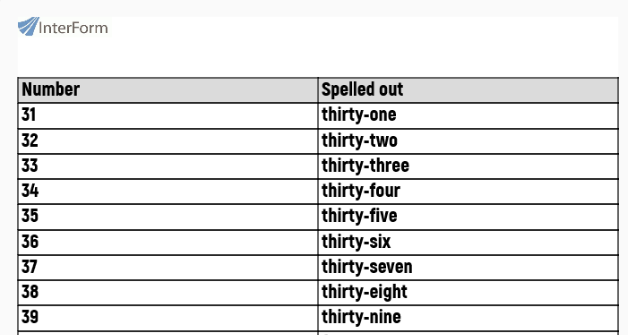
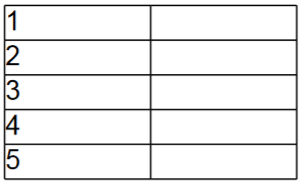
What we want here is a table looking like this:
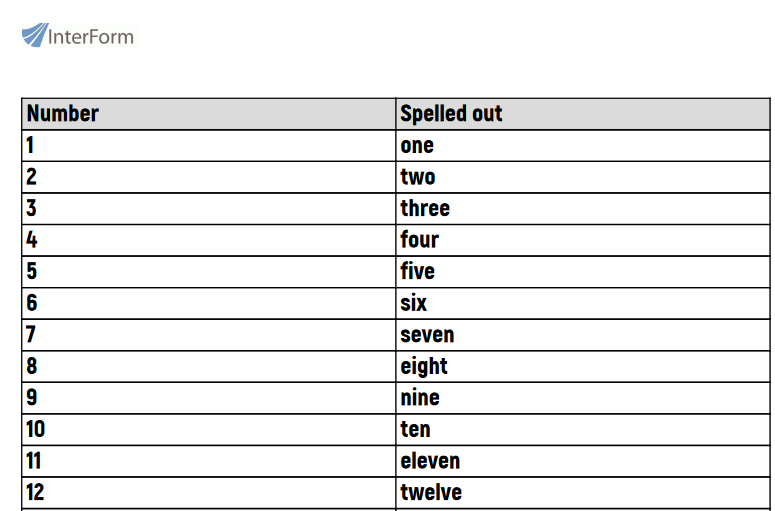
You may notice, that there is a header with an image and each column has a header in grey.
The output is in short defined as a repeat loop, where the leftmost column is a number, which keeps increasing for each row and the rightmost column is the same number spelled out in english.
The leftmost prints out the value of the variable, Index. The rightmost column is output with a text element with this as the contents: ng:spellOutNumber($Index,'en_US').
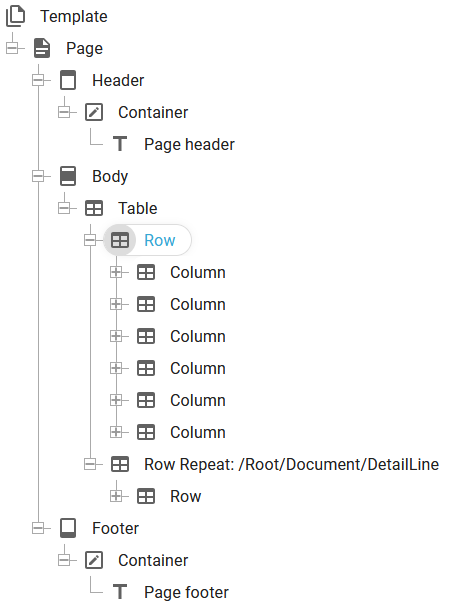
The template has been built up like below:
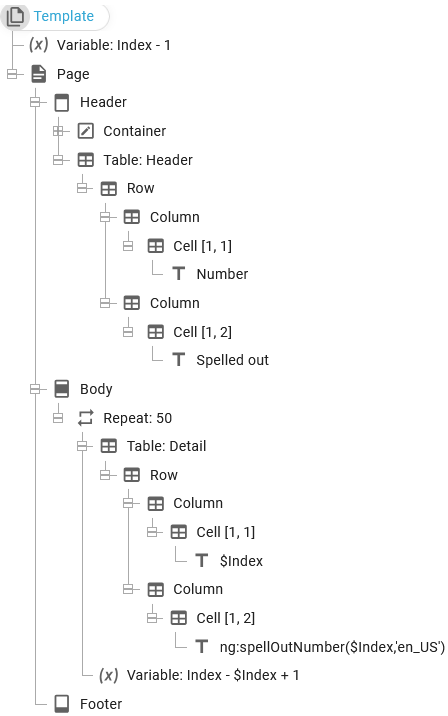
Two almost identical tables are defined:
The header table in the page header contains the fixed headers and the cells of this table are filled out with grey. This table appear just above the detail lines as this table is inserted as the last element in the header - with a dynamic position.
The detail table in the body section also has a dynamic position, so that each table is inserted below the previous one. Here 50 detail lines are output and when there is no more room on the current page the detail lines will overflow to a new output page where the header table will be inserted again: