As a part of configuring browser based signatures in InterForm400 you need to install and configure a Tomcat 9.x web server.
You can download it from here: https://tomcat.apache.org/download-90.cgi
Here you should select 32-bit/64-bit Windows Service Installer (pgp, sha512) under Binary Distributions.
The downloaded file might be called: apache-tomcat-9.0.34.exe (depending on the version of Tomcat).
Before you run the the .exe file it is a very good idea to check the sha512 checksum to verify, that the file is unchanged.
This section includes:
2.Installation and configuration of the Tomcat web server.
3.How to start/stop the Tomcat server.
Tomcat Security
The demo configuration below is an unsecure demo setup, which should not be used in production.
For production you need to secure the Tomcat server e.g. by using https and generally locking down the service.
It is e.g. also a good idea to run the Tomcat service under a user with very limited authority on the Windows PC.
Securing a Tomcat server is outside the scope of this manual, but here is a link, that can be useful:
https://geekflare.com/apache-tomcat-hardening-and-security-guide/
Installation and configuration of Tomcat (simple unsecure setup)
To install Tomcat you run the .exe file and you will see this:

Now click Next:
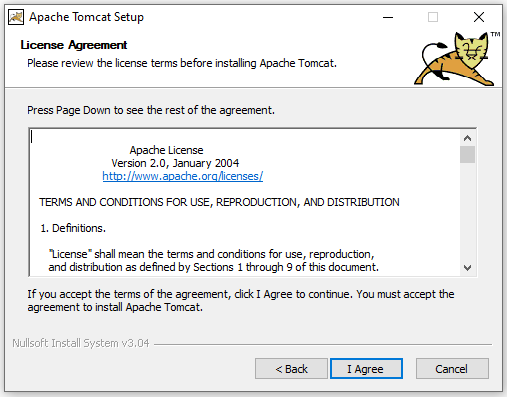
Click I Agree:

On the screen above you just use the default selection as shown and click Next:
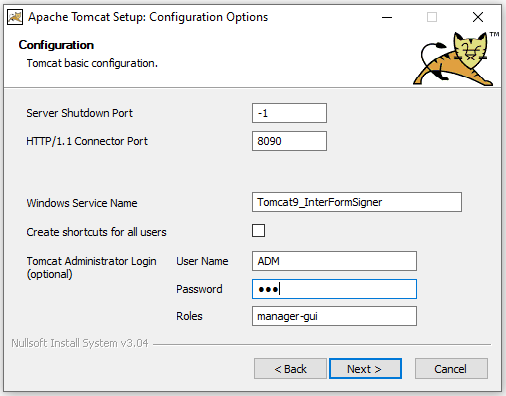
On the screen above you have a few things to consider:
State a port number, that you want to use for communication between the Windows PC and the (mobile?) devices, that are to sign the PDF files. In the example above the default port number of 8080 has been changed into 8090.
Windows Service Name
The name of the service as it is shown in Windows, when you run the Services app.
User Name
The administrator for the Tomcat server. In my example I have used ADM as the admin.
Password
The password for the administrator mentioned above. I have selected password: ADM, but it is highly recommended to select a different, longer password.
Click Next to move on to the next screen:
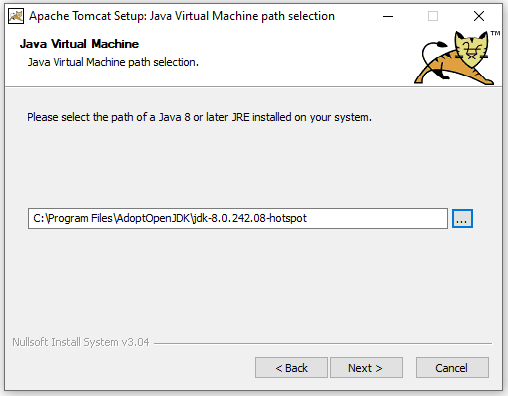
On the screen above you need to specify the path to the Java distribution, that you want to use for the Tomcat server. If you are using AdoptOpenJDK, then the default path is similar to the path as shown above:
C:\Program Files\AdoptOpenJDK\jdk-8.0.242.08-hotspot (depending on the exact version).
Click Next to continue to the next screen:
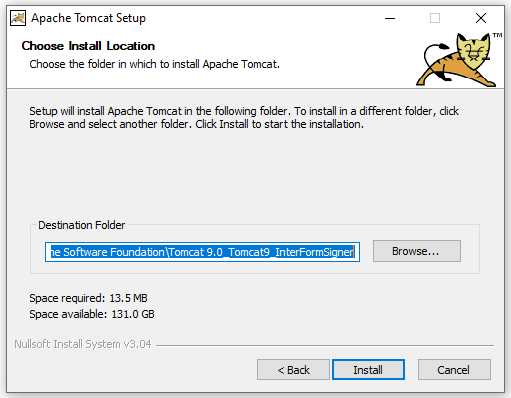
The screen above shows the default installation folder. You can change that if required before you click Install to start the actual installation.
After the install you see this screen:
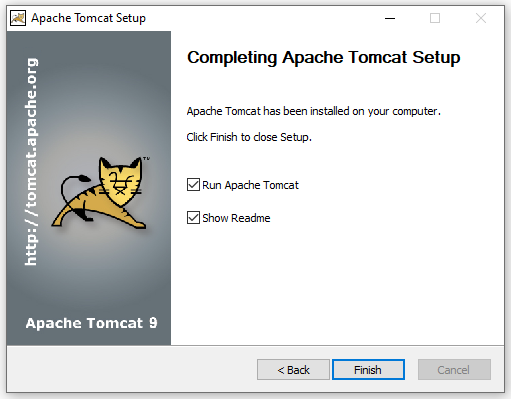
Click Finish when you have chosen, if you want to start the Tomcat server and if you want to open the Readme documentation for Tomcat.
Now you can:
1.Start the Tomcat server and verify, that it runs by accessing the link on the same PC: http://localhost:8090/ (use the port number specified during install).
2.Proceed with the installation of the SignoTec software.