InterFormNG2 is cloud enabled, and as a part of that it is prepared to run multiple, isolated environments on the same installation of InterFormNG2. These isolated environments are called tenants.
When setting up multiple tenants on a single installation you should consider the workload of the installation. If there are many, small, not busy tenants, then that will work fine, but if the tenants are busy or are processing very large documents, then you should limit the number of tenants in an installation and distribute the tenants across multiple installations.
The tenant settings are covered here.
These environments are called a tenant. For a normal non-cloud installation a single tenant should be sufficient, and only one tenant is supported with a normal license code.
You need to have access to a tenant, in order to work with the resources, designer and workflow for this specific tenant.
You can setup an image to identify the tenant e.g. via a company logo.
A new, standard installation is delivered with a tenant called home. In a new installation the user, default has access to this tenant.
You can also delete a tenant.
You can work with the tenants, and create new tenants (if your InterFormNG2 license enables this), if you are signed on as a system administrator:
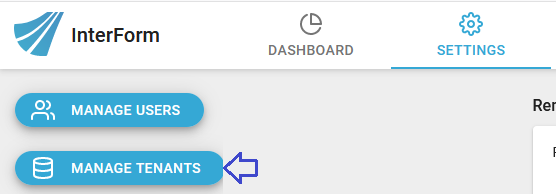
Here you need to select the Settings ribbon and Manage tenants on the top left:
Then this is shown:
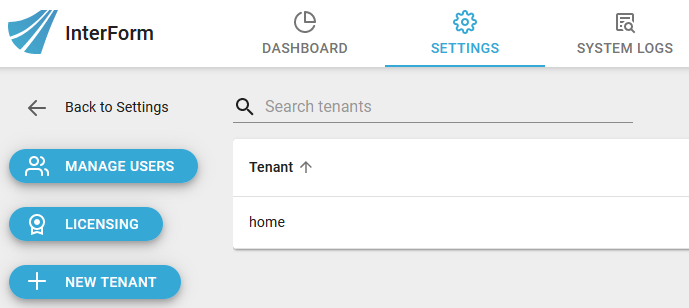
On the right you see the list of tenants, that has been created. On the left you can add a new tenant by clicking the blue + New tenant icon on the bottom left.
You can add/change/remove users access to the tenant as either a system admin or as a tenant admin.
Use these links to see explanations of the system admin and tenant admin roles.
Setup a display name for a tenant
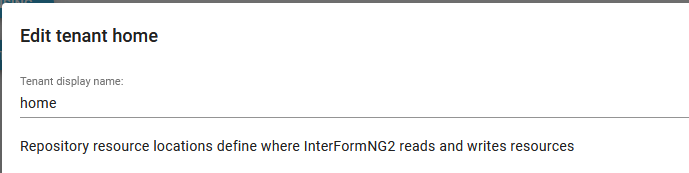
It is not possible to rename a tenant, but you can setup a display name for a tenant and in that way display the tenant as a different name. The display name for the tenant can be setup, if you select manage tenants as the system admin:
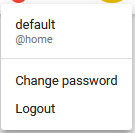
Here you state the display name and click save. Now this new name is shown e.g. in the upper right corner on the dashboard, if you open the user options: (Here the display name was changed into @home).
Setup of tenant repositories
If you click Manage tenants as shown above, then you can edit the list of repositories of the tenant with the pencil icon the the right of the tenant:

Now you can edit the list of repositories to search for Library resources e.g. to use resources from Github.
Note: You can also store the resources in a database.
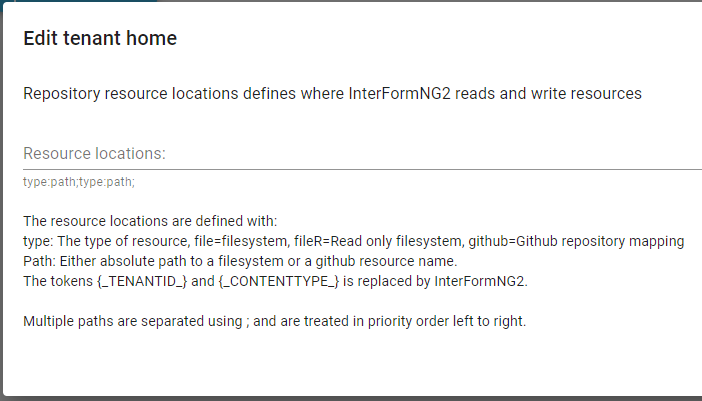
If this field is empty, then InterFormNG2 will use the normal default repository as selected via the INTERFORMNG2_HOME environment variable in the subfolders under /resources/<tenant> e.g. C:\ProgramData\InterFormNG2\resources\home
You can however setup a prioritized search list via the option above.
The search list consists of a type and path for each repository, and each repository are delimited with a semicolon (;).
Type
Possible types are:
file: This indicates a folder in a file system with full rights to the tenant.
fileR: This indicates a folder in a file system with read only access for the tenant.
github: A github directory.
databaseR: Read only database resource mapping.
Path
The path to the repository. As a part of the path you can use these tokens/variables: {_TENANTID} and {_CONTENTTYPE_}. InterFormNG2 will replace these with the current tenant and the current object type as listed in the Library. If you want to keep the same structure of extra repositories as in the normal, standard repository on windows, then you can use this as a reference: file:C:/ProgramData/InterFormNG2/resources/{_TENANTID_}/{_CONTENTTYPE_}.
If you e.g. use this as the resource locations above:
file:C:\ProgramData\InterFormNG2\resources\{_TENANTID_}\{_CONTENTTYPE_};github:MyGithub/{_CONTENTTYPE_}
- then InterFormNG2 will first search in the local folder(s) for the resource, that you are using, and if not found, then the resource will be taken from the Github definition from a folder, that match the type of object e.g. template or document as listed in the Library section.
If the same resource is found in multiple repositories, then the first found will be used i.e. in the example above: If the same template is found both locally and in Github, then the local template will be used.
Write protecting a template-distribution while allowing user to change and delete templates
The repository setup described above can be used e.g. by ERP vendors in situations, where they want to supply the customers with a standard-distribution of templates and other resources while allowing the customers to edit, customize and delete e.g. the templates from the web-interface of InterFormNG2
Such a scenario can be created with this repository setup:
file:C:\ProgramData\InterFormNG2\resources\{_TENANTID_}\{_CONTENTTYPE_};fileR:C:\ProgramData\InterFormNG2\resources_shipped\{_TENANTID_}\{_CONTENTTYPE_}
With the setup above the customer can open all resources found in resources_shipped, but since this repository is write protected the change resources are always saved into the normal resources as this is the first repository listed. Also if the customer decides to edit an already changed template, then the changed template from reources will be opened for edit.
A special effect of this is, that the customer can delete any resource - but only if the resource is found in the resources. So if e.g. that there is a template with the same name and path in both resources and resources_shipped, then the customer can delete the template once. Then the template still exists, but now it is the template from resources_shipped, that is used and shown. If the customer then tries to delete the same template again, then the user gets this error message:
Cannot delete /<template name>: Status is not OK - like below:

Delete a tenant
A tenant can be deleted by the system administrator by using the delete icon button on the tenants list (After you select Manage tenants on the upper left) :
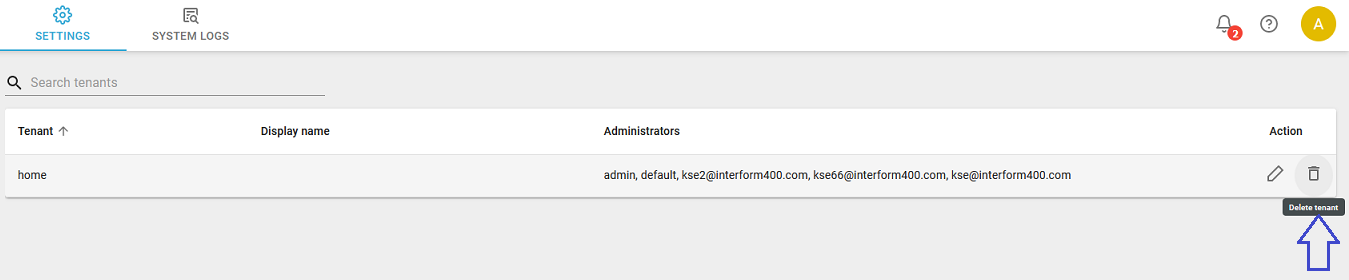
A confirmation dialog will appear, and here you have to type the text "delete" to confirm deletion.
Be very aware that the tenant deletion procedure will delete everything related to that tenant, including resources, workflows, settings and logs. Also, all users that only have access to this one tenant will be deleted. The deletion is non-reversible, so it may be a good idea to make a tenant export beforehand.
Also note that if custom resource locations are defined for the tenant, all writable locations will be deleted. Only locations marked as read-only (with fileR:) will be left untouched. Before deleting the tenant, check the resource location setting and update as needed.
When the deletion procedure has completed, it is a good idea to look at the system audit log. If any part of the tenant deletion procedure failed, then it will be reported in the audit log as a warning. If any warnings are displayed related to the tenant deletion, some manual procedure may be needed to remove anything that is still left of the tenant data.
If the system is configured to use an external database, then the tenant deletion procedure is not able to drop the tables and databases belonging to the tenant. This step can be done afterwards by a database administrator.